Assignments
Learners use the Assignments tool to upload and submit assignments directly in Brightspace, eliminating the need email their work to instructors. On paper submissions, and observed in person assignments are also available and do not require file submissions to be made in Brightspace.
Instructors can use the Assignments tool to create and edit assignments, see users’ submission times, view submissions on the Evaluate Submission page, associate assignments to rubrics and competencies, and return submissions with grades and feedback.
Learn more about Assignments by expanding the Accordions below.
How to setup an Assignment in Brightspace
- Navigate to your course.
-
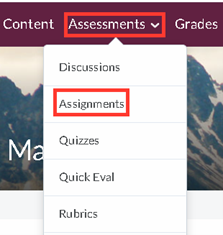
On the Navigation Bar (NavBar) click on Assessments > Assignments.
-
Click on New Assignment.

-
Name the assignment.

-
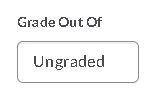
Under Grade Out Of, you can leave it as ungraded or enter a points value.
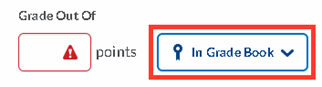
 Once a points value has been entered, you have a few options:
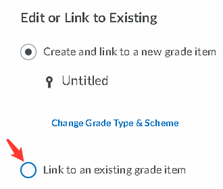
- Connect to Pre-existing Grade Item: If you already have a gradebook set up and want to connect the assignment to a pre-existing gradebook item, click on In Grade Book.
-
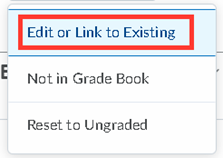
Select Edit or Link to Existing.
-
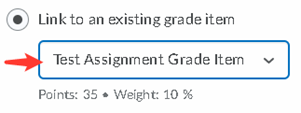
Select the second option, Link to an existing grade item,
-
and select the grade item from the drop down.
-
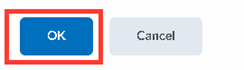
Click OK.
-
Select Edit or Link to Existing.
- Create a new Grade Item: If you want a grade item to be created and named the same as the assignment, you don’t need to do anything at this step. Once the assignment is saved a grade item will automatically be generated.
-
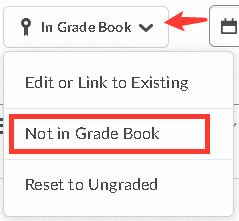
Don’t connect to Gradebook: Click on In Grade Book then,
-
Select Not in Grade Book. This option will allow you to grade the assignments, but those grades will not be published into the gradebook.
-
Select Not in Grade Book. This option will allow you to grade the assignments, but those grades will not be published into the gradebook.
-
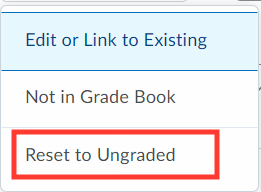
Reset to ungraded:
-
Click on In Grade Book.
-
Select Reset to ungraded.
-
Click on In Grade Book.
To continue with the Assignment setup: - Connect to Pre-existing Grade Item: If you already have a gradebook set up and want to connect the assignment to a pre-existing gradebook item, click on In Grade Book.
-
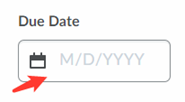
Enter a Due Date.
-
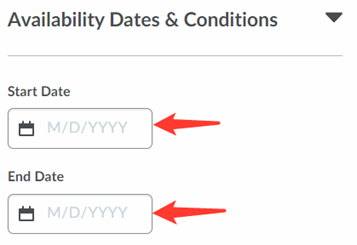
Under Availability Dates & Conditions, you can set start and end dates (Availability) that will allow the up students to have access to the Assignment folder. Leaving the dates blank means that students always have access to the folder.
 You can also set Special Access, which can allow certain students to have a different due date or availability window.
-
Under Submission & Completion.
-
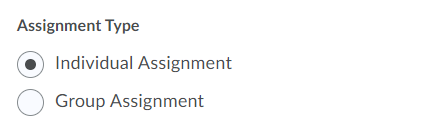
Set up the Assignment type (Individual or Group),
-
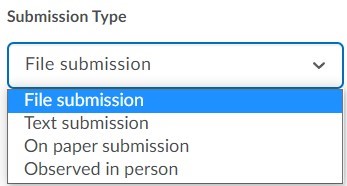
Submission Type,
-
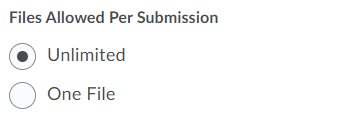
Files allowed per submission,
-
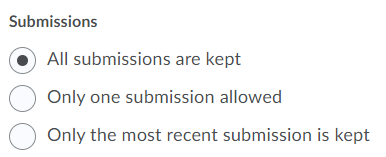
and # of submissions kept.
-
Set up the Assignment type (Individual or Group),
-
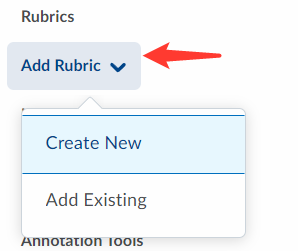
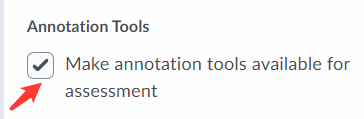
Under Evaluation & Feedback, you will have the option to connect a Rubric,
-
turn on/off Annotation tools for Assessing
-
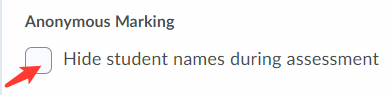
and turn on Anonymous marking.
-
turn on/off Annotation tools for Assessing
-
Once you have selected the settings you want, click on Save and Close.

-
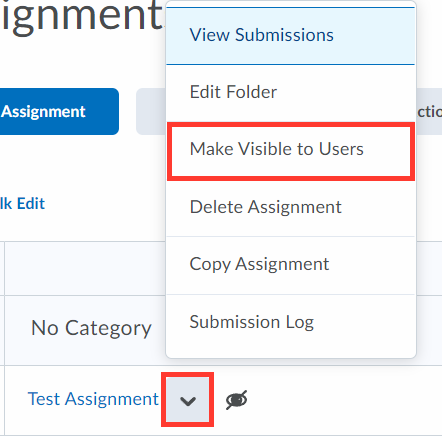
By default, the Assignment will be hidden from Students. You can toggle on visible before you Save and Close (toggle next to the cancel button).
 or after saving - click on the down arrow next to the title and select Make Visible to Users.
Viewing Assignment Submissions
-
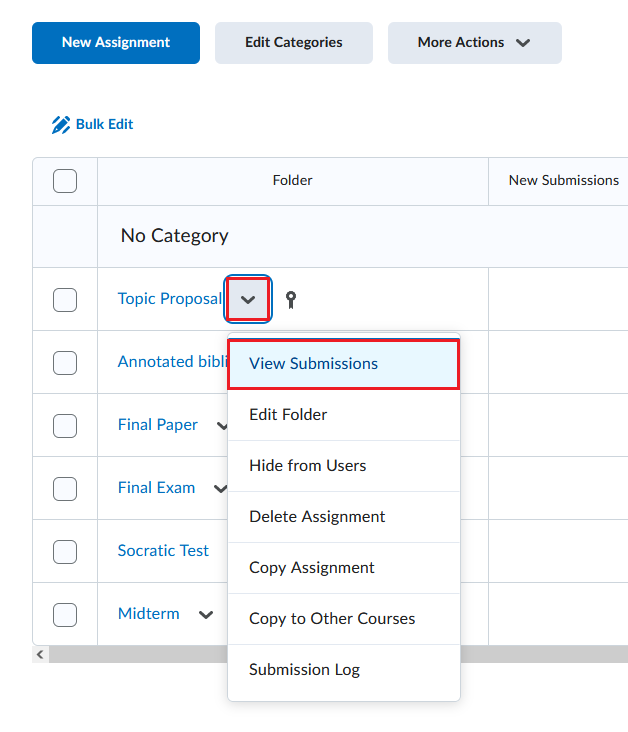
Go to Assessments > Assignments.
- Click on the Drop-down Arrow near the Assignment title.
-
Click on View Submissions.
-
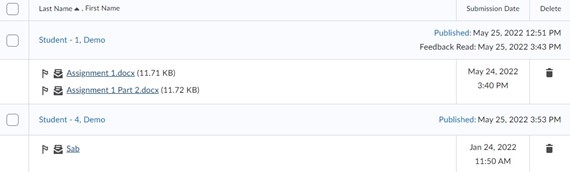
Here you will see a list of your students that have submitted an Assignment, as well as the date and time of their submission.

-
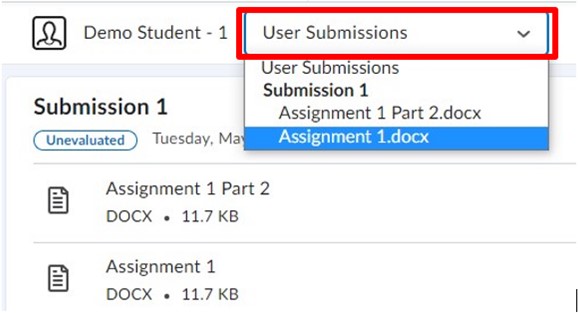
Open their submission by either a) selecting the file that they have uploaded or b) by selecting the student name, then selecting the file. If the student has multiple submissions, you can toggle between submissions by clicking the drop-down menu near the student’s name.
-
The submission will open as a PDF. You can use the annotation tools provided by Brightspace to evaluate the assignment, as well as use a Rubric, enter in a grade, and leave feedback for the student.
-
You can download the assignment by clicking on the Cloud icon in the annotation panel near the top of the assignment. Select to download as the original file type (word, excel, etc.) or as PDF (with annotations).

-
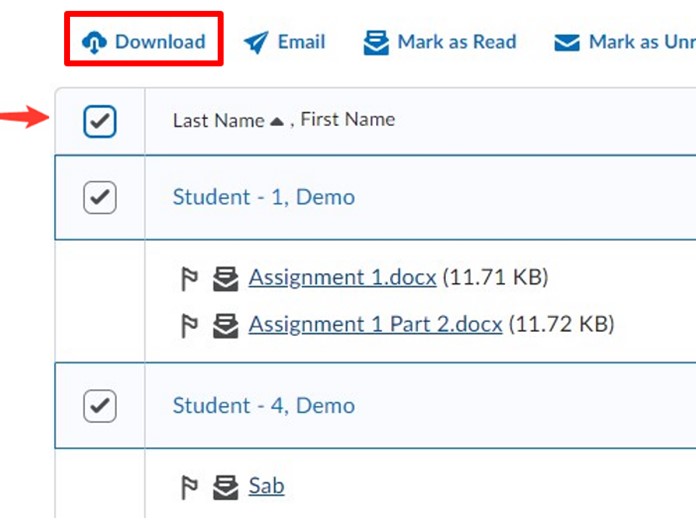
If you wish to grade the assignments offline, bulk download the assignments by navigating to the submissions page, where all students are listed. Select all students by clicking the top left box on the list of students. Then select Download, located just above the box.
Evaluating Submissions
-
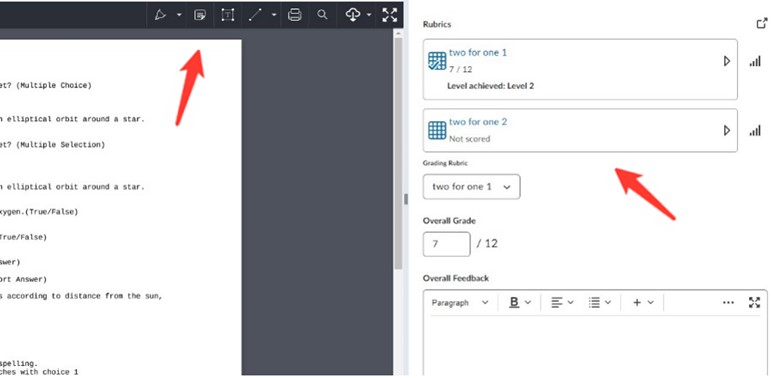
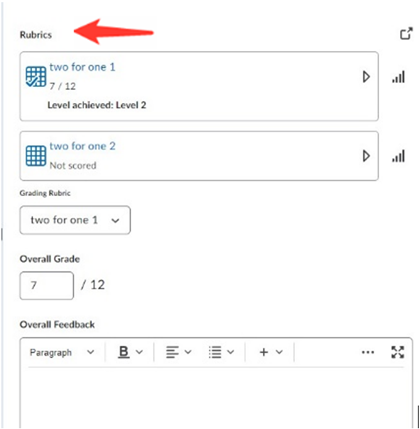
Using the assessment pane on the right side of the page, you can enter feedback for student work.
-
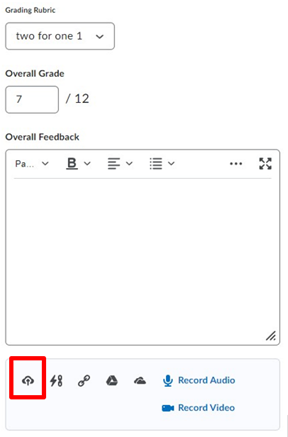
If student submission file was downloaded and annotated in word or a pdf software, it can be re-uploaded by selecting File Upload.
-
Use the built-in annotation tools by selecting the different drawing, highlighting, text box, sticky notes, and shape tools from the annotation and navigation bar at the top of the assignment.

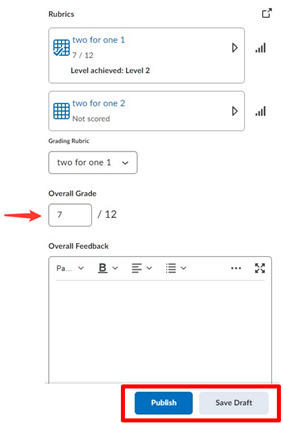
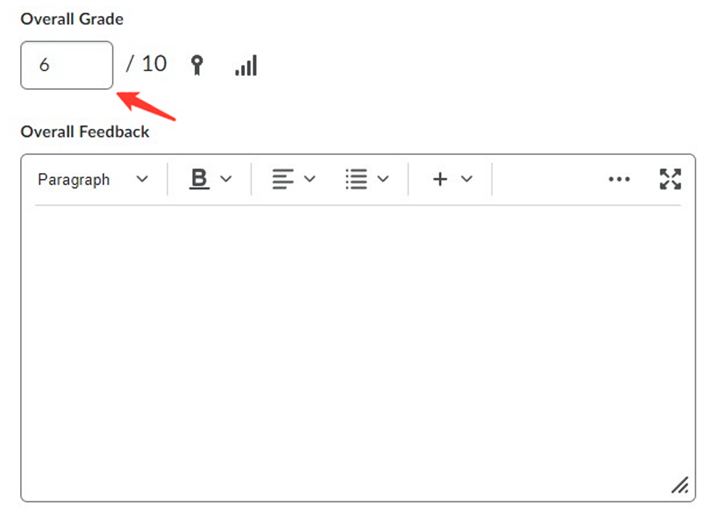
- Enter the mark the student has received in the score box.
-
When the evaluation is complete select Publish or Save Draft.
- Save Draft holds the mark and feedback until released.
-
Publish sends the mark and feedback to the student immediately.
Annotation Tools
-
Click on a submission to open it.

-
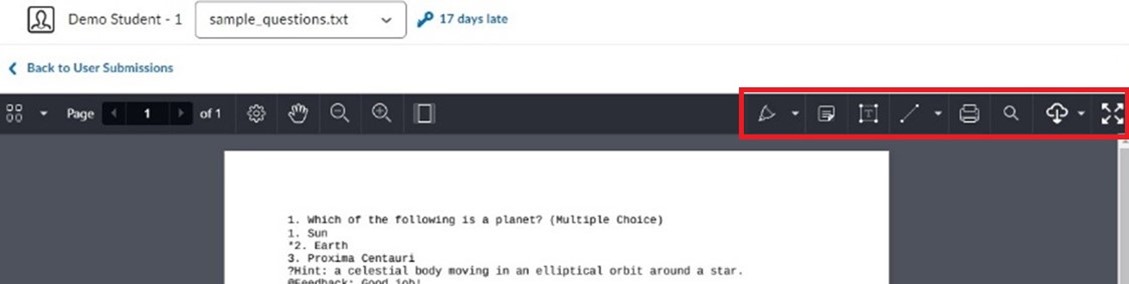
When the submission loads, you can access the annotation tools at the top of the screen.

-
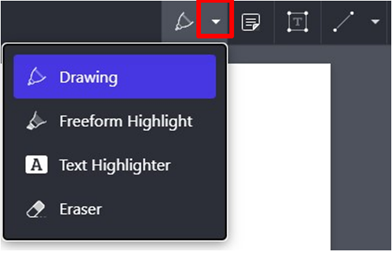
You have several tool options, including a drawing tool, two different highlighters, notes, insert text, and draw objects. From the Annotation tool bar, you also have the option to print and/or download the submission and options to changing the page layout.

-
To use the drawing tool, select Drawing from the drop down menu, adjust colour and size as desired and then draw on the document. To remove markings, select the Eraser.
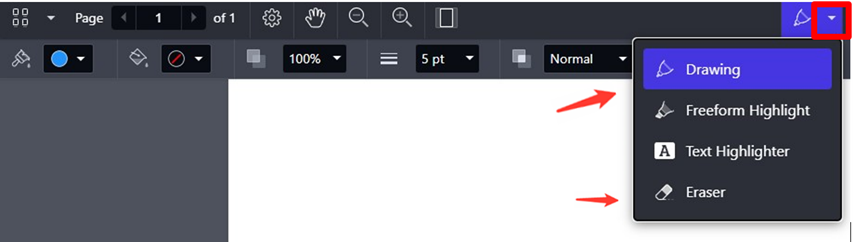
- The Freeform Highlighter highlights text you scroll over. Whereas the second option, Text Highlighter, grabs actual test inside the document and highlights it.
-
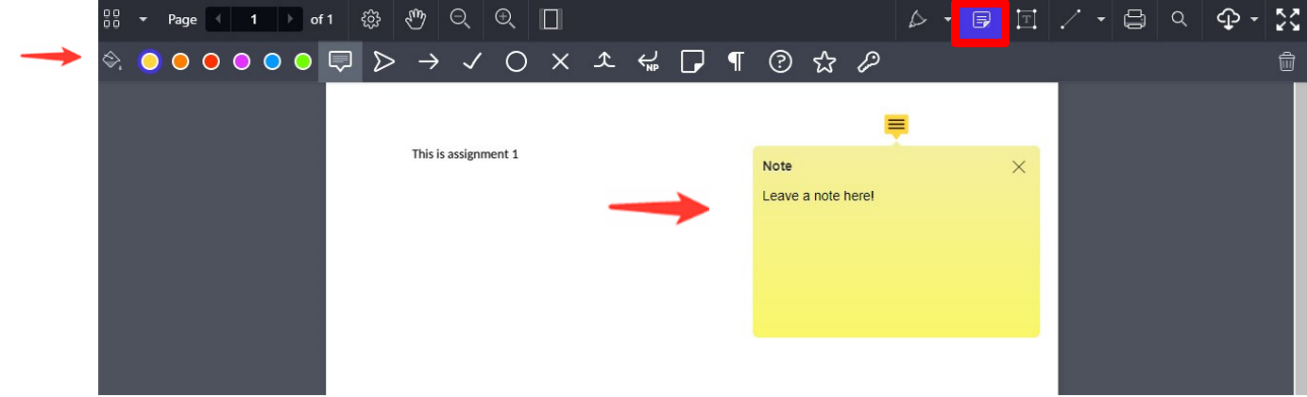
To insert a comment, select the Note option and click on where you would like to place the note. Type comment in note. Click off of the note and it will be active whenever you hover over it.
-
Text can be inserted by clicking on the text box and then clicking on the document.

-
After you’ve completed the annotations, you can assign a score and add any other feedback that you wish.
- Selecting the Publish button will automatically send the feedback to the student while Save Draft will hold the feedback until you are ready to submit to students.
Publishing Assignment Feedback
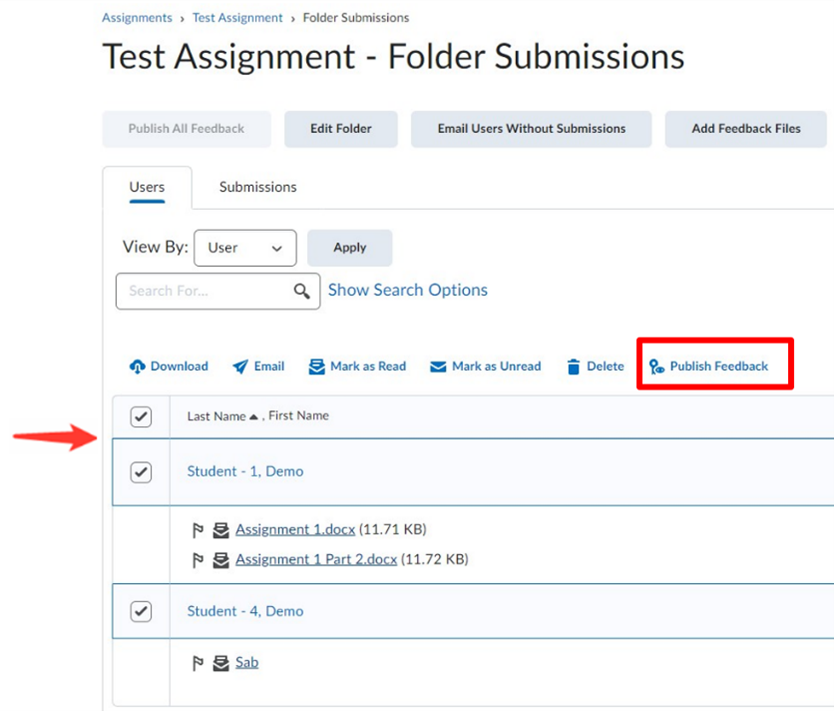
- To Publish saved feedback on Assignments, navigate to the submissions page. Each Assignment will be logged if feedback has been saved as a draft or published as well as with the date and time.
-
Select all students by selecting the upmost checkbox, at the top of the list of students.
-
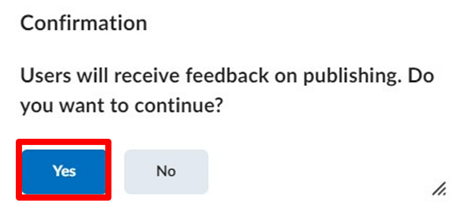
Select Publish Feedback and click Yes.
-
The status of each assignment will be changed to Published.
Additonal Information
Using Quick Eval
This is a short intro of the Quick Eval Tool and how you can use it to track pending assessments.
-
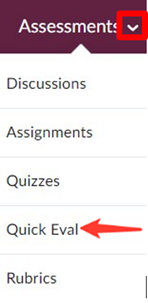
To access to the Tool, go the Brightspace homepage by clicking on the home button and click on Quick Eval from Assessments > Quick Eval on the Navigation Bar.
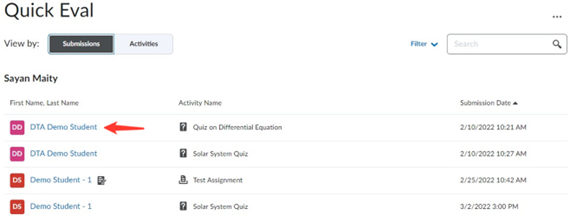
- Once you open the Quick Eval tool, you will see a list of all the assignments that are pending assessment.
-
You can see the student’s name as well as the Assignment name, the course, and the submission date.
-
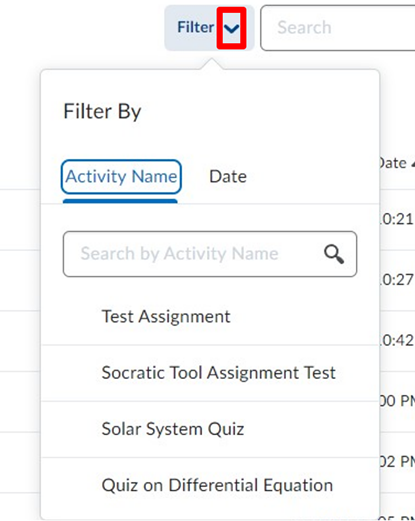
You can filter the submissions by selecting the Filter button near the top right of the screen. You can filter by assignment, course, or date.
-
On the Submission page you can see submissions listed by student name. You can toggle over to the Activities page which will then list submissions by Activity (assignment) item.
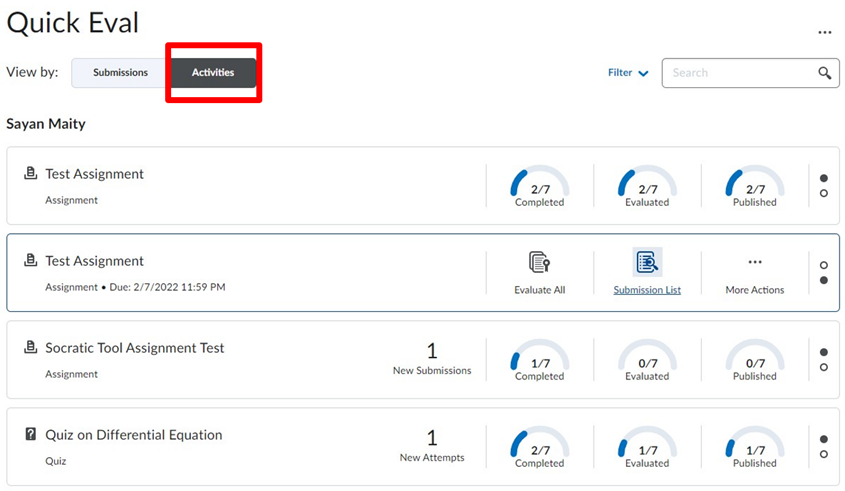
-
Here you can see how many submissions there are for a particular assignment, how many have been evaluated, and how many are published. To view all submissions for a particular assignment:
-
Hover your mouse over the Evaluated section.

-
Then click on the Submission List icon that appears. This will bring you directly into the Assignment submission folder where you can proceed with evaluating the assignments.

-
Hover your mouse over the Evaluated section.
-
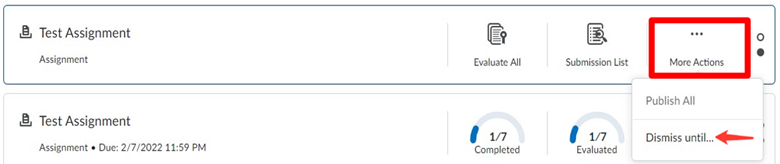
There is also an option to dismiss an assignment from the Quick Eval tool until a future date. To do so:
- Hover mouse over the assignment.
-
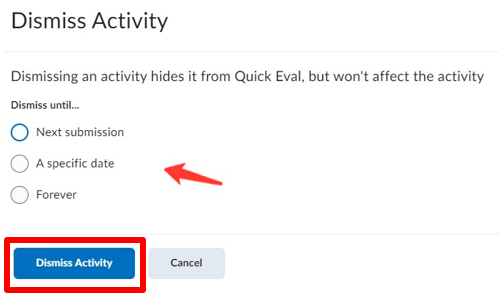
Click on more actions and choose Dismiss until.
-
Select the date you wish to dismiss until and click on Dismiss Activity.
- This will remove the pending assessments from the Quick Eval tool until this future date. The assessments can always be accessed from the Assignment submission folder, even if they have been dismissed from Quick Eval.
How do students find Assignment Feedback?
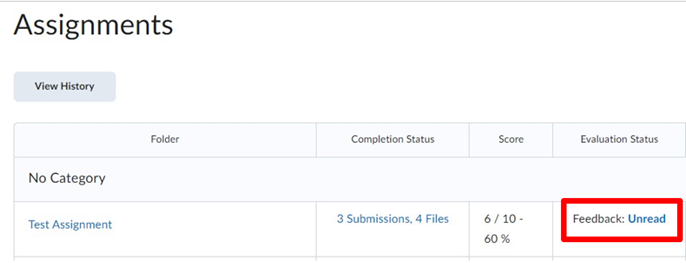
After feedback is published, students can view the feedback by going to:
- Assessments > Assignments.
-
And clicking on Unread/read under Evaluation Status next to assignment.
-
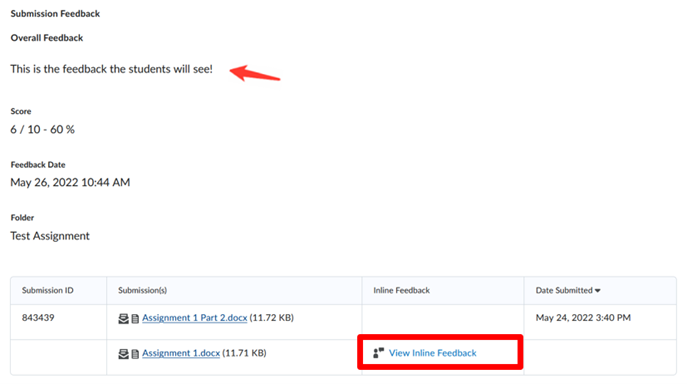
Overall Feedback and Score will be visible to students here. Selecting View Inline Feedback will load the document that was annotated, and they can view annotations directly on the screen.
Supported file types in Assignments
The following file types are supported by the annotations tool in Assignments:
- .doc
- .docx
- .rtf
- .odt
- .ppt
- .pps
- .pptx
- .ppsx
- .odp
- .xls
- .xlsx
- .txt
- .jpg
- .jpeg
- .png
- .tif
- .tiff
- .gif (once converted to PDF, only the first frame of the .gif displays)
The following file formats are compatible with the Assignments document viewer:
| Extension | File Type | Notes |
|---|---|---|
| HTM, HTML, MHT, MHTML | Web document | Brightspace Learning Environment strips the <title> tag and text within the tag from user created web documents. |
| RTF, PPT, PPS, PDF, DOC, DOCX, PPTX, XML, XLS, TXT, WPD | Text document | Converts to PDF, but can download in original format |
| JPG, JPEG, PNG, GIF, BMP, TIF, TIFF | Image | |
| SWF, MPG, MPEG, RM, MP3, MP4, M4V, M4A, AVI, WAV, RAM, ASF, MOV, RA | Media | The extensions MP4, M4V, and M4A allow users to drag entire albums, video podcasts, and movies from iTunes |
Back to top


