Setting up Zoom
Here is a link to a YouTube video showing how to download and install Zoom:
Here is a link to a YouTube video showing how to schedule a meeting in Zoom:
How to Update Zoom Desktop App
-
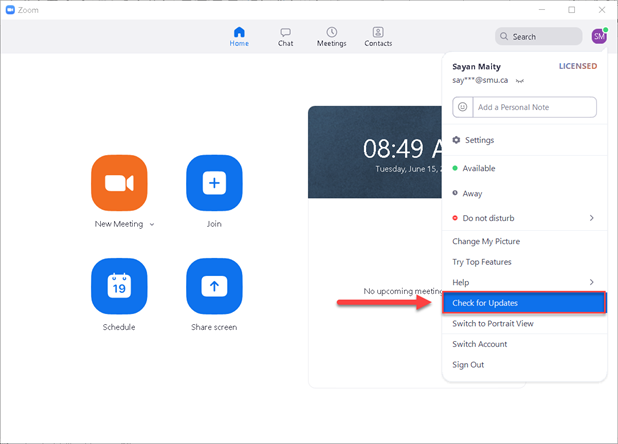
Open Zoom Desktop App and click on your profile (Profile Picture or Your Initials).
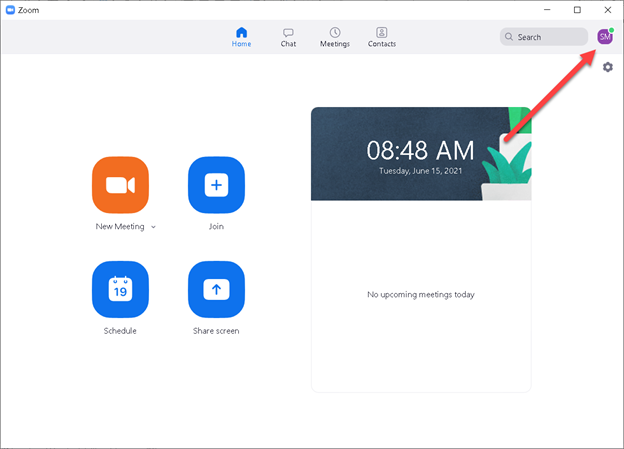
-
Select Check for Updates.
-
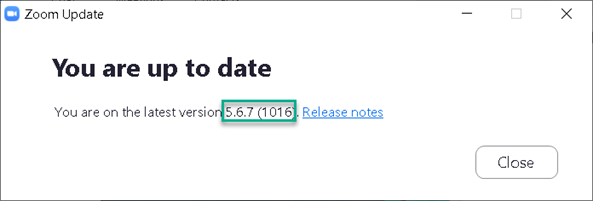
Depending on which version of Zoom you have, you may see either of these screens:
-
If you Zoom is up to date, you will see the following screen.
-
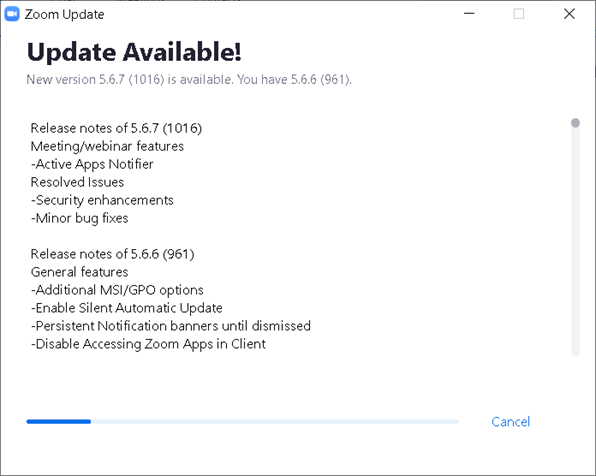
If you Zoom is not up to date, your update will automatically download, and you will then see the following screen.
-
If you Zoom is up to date, you will see the following screen.
-
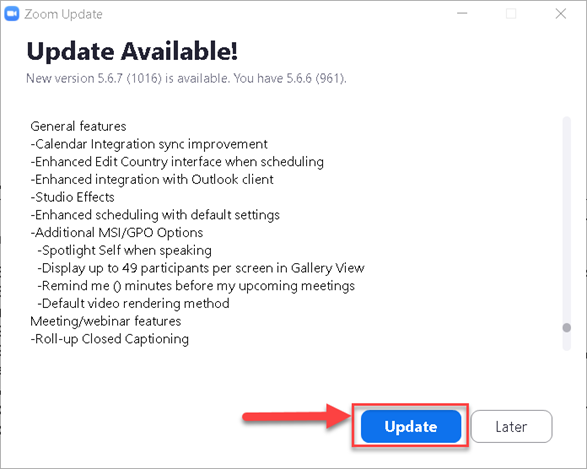
Once the download is completed you will see the following screen. Click on Update to start the update.
-
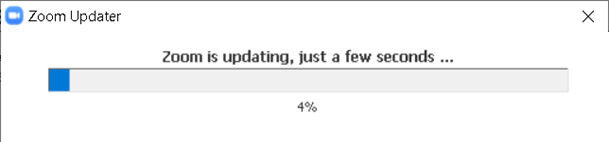
Zoom will start updating and you will see the following pop-up window.
- Once the update is complete, Zoom will restart. Once Zoom restarts, repeat steps 1 and 2 to see screen 3.a. The latest version of Zoom available as of this writing is 5.7.8.
How to Schedule a Zoom meeting from Zoom Website
- Log in to Zoom.us using SMU Email address and your password for Zoom account.
- From the left navigation panel, go to Meetings.
- Click on Schedule a new meeting.
-
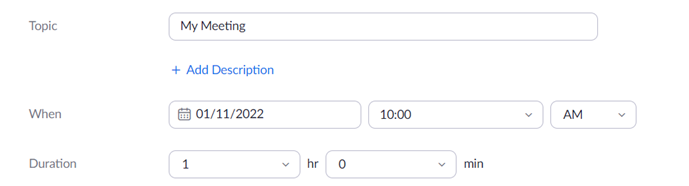
Change the topic name, set the date and time and the duration of your class meeting.
-
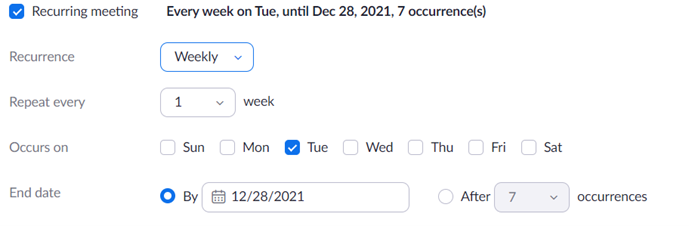
Set up the meeting as Recurring meeting by checking the box Recurring Meeting.

-
Set the recurrence (This feature is only available in Zoom.us)
- For your weekly classes, set the Occurrence to weekly.
- Set the Repeat every to the 1 week and select.
- Set the Occurs On to the day of the weeks it will occur.
-
Set the End Date or set the number of weeks to repeat.
-
Enable or Disable Waiting room as you prefer. You need to admit the participants manually if you enable the waiting room. You can leave the option Passcode to default.

-
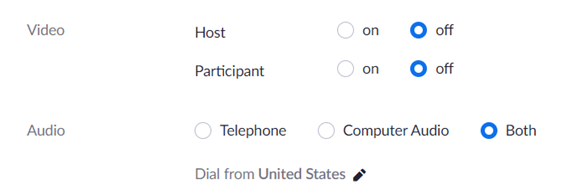
Leave all the Video and Audio options to default.
-
Click on Show beside Options to show the Meeting options.

-
Once you click Show, you can see the following options. Check the box beside the option to enable them.

Here are the descriptions for each of the options:
- Allow participants to join anytime: This option will enable the students to join and start the meeting. We would suggest not to select this option.
- Mute participants upon entry: This is to make sure that all participants have their microphones muted when they join the meeting.
-
Breakout room preassign: You can create breakout rooms prior to the meeting. You can:
- Create Rooms - You can Create rooms manually. Here you can only add the SMU Email addresses.
-
Import from CSV - You can import the Breakout Rooms using a CSV file. You can use any Email address.

- Request permission to unmute participants: option will display a dialog box when participants join the meeting. The dialog box will ask for permission to allow the host to mute or unmute them. Once participant gives their consent, the host can mute or unmute them.
-
Automatically record meeting: If you select this option, the meeting will automatically be recorded. Also, under this there are two other options. On the local computer and In the cloud.

- Approve or block entry to users from specific regions/countries: This will enable any Zoom data centers that are not already enabled by the Zoom admin. We would suggest you not to change this option.
-
You can add any Alternative host for your meeting. The Alternative host needs to have a Zoom license from the SMU if you are scheduling the meeting from you SMU Zoom account. If you check the option Allow Alternative host to add or edit polls, the other host can add and edit polls to your meeting.

- Click Save.


