Brightspace Audio-Video Advanced Editing
When uploading videos to the Content page, your videos now store in the Media Library. Videos are converted to playable formats (MP4s) automatically and streamed giving viewers the option to downscale files if they are on slower connections, and they can search inside videos for keywords. D2L has also added some new video editing capabilities including auto-captioning, clipping, chapters, and caption editing.
Note
For more information on the Media Library please click HERE.
About Advanced Editing
Instructors who upload new video files into Content can now access Advanced Editing features on Brigthspace.
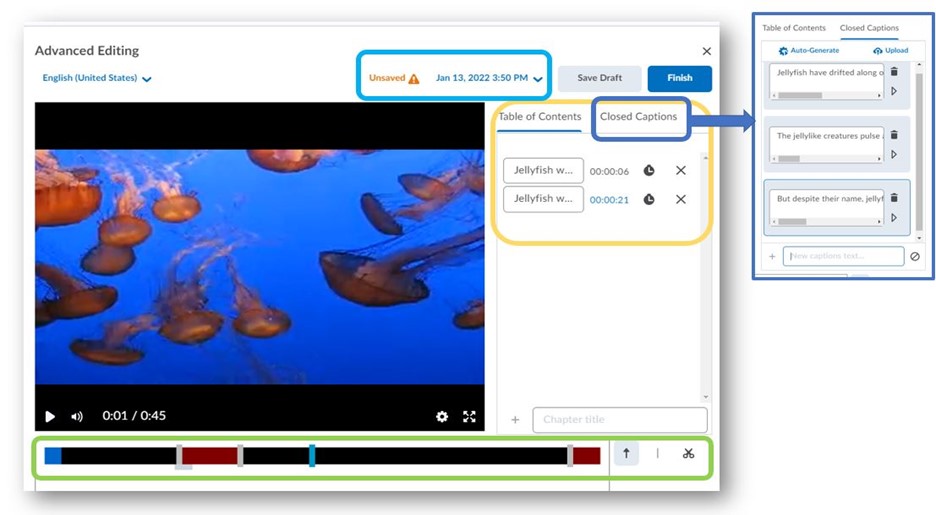
In the Advanced Editor Workflow, you will find:
- A Timeline Editor: Trim out the slow parts of your video using the Seek (arrow), Mark (line), and Cut (scissor) tools. We've improved on our Capture Editor design by also enlarging the timeline for accessibility by clicking and dragging on the tab below the timeline.
- Chapters: Create meaningful segments in larger videos with chapters. Chapters appear above the timecode when a user mouses over the timeline.
- Closed Captions: Toggle to our new Closed Caption Editor. Select the Language of your file and choose Auto Generate or upload/edit your own Closed Captions.
- Versions and Drafts: Roll back to earlier versions and revisit previous edits. The latest Saved version appears wherever the file is used within Brightspace.
For more information on how to use the new Advanced Editing Tools, please click on the topics below:
Adding a Media Topic (file) to Content
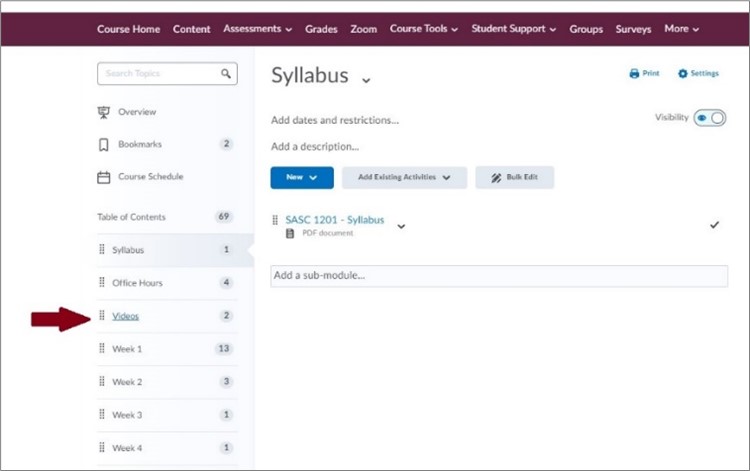
In the Content tool:
-
Select the Module you would like to upload your video to.
-
Click New and select the Video or Audio option.
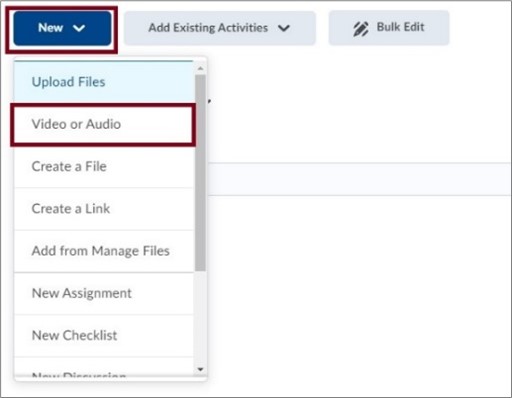
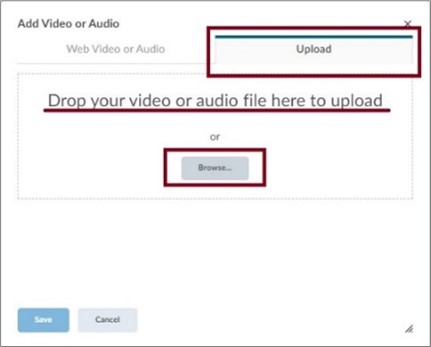
- In the Add Video or Audio window, select the Upload tab.
-
You can use Browse or drag your video file into the upload space.
-
The upload process begins. Once the upload is complete, the video may go through a transcoding process depending on the file type. All MP3 and MP4 video files are saved in their original form because they can play in a browser without transcoding. Other files, such as WMV and AVI, which would not play by default, continue to be automatically transcoded. This could take several minutes depending on the length of the video. If the video is transcoding, you will see the following message:
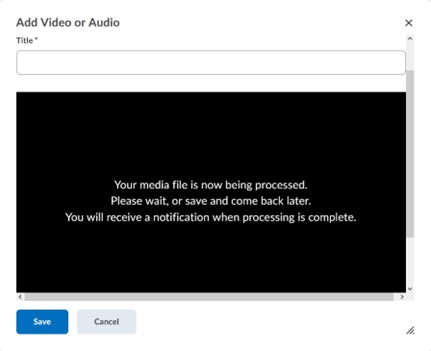
Add a title and choose Save if you wish to navigate away from this window to continue working in Brightspace. You will receive a notification when the video is ready. At that time, you can edit your video or publish it.
-
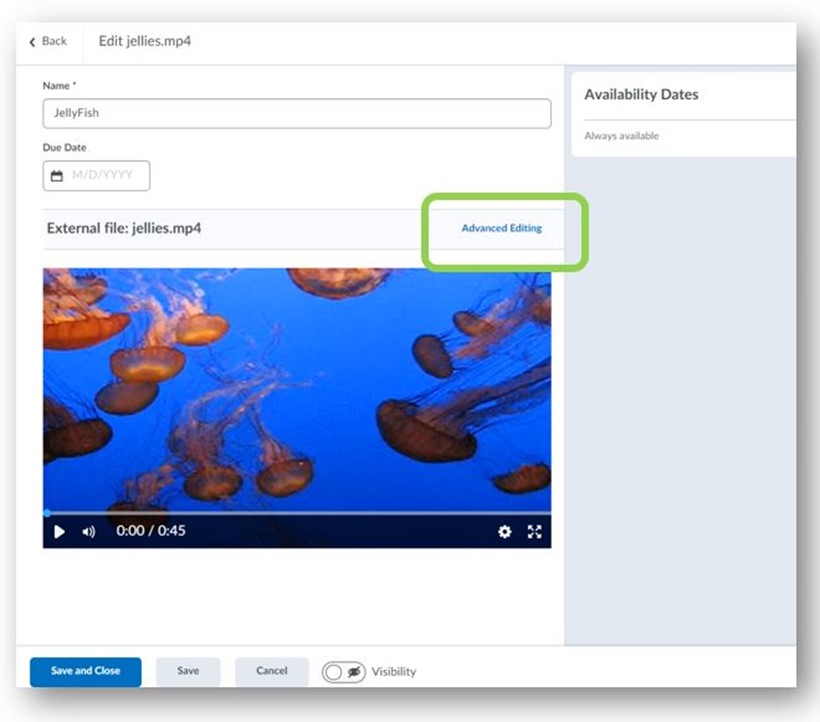
If you chose to wait for the transcoding process to be completed, after completion enter a Title and then select Advanced Editing at the bottom of the video, you may need to scroll to see the option.
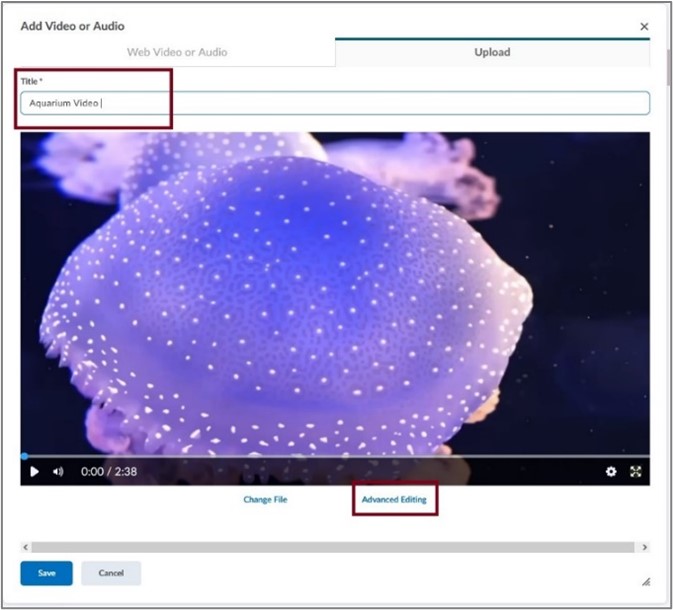
- The Advanced Editor opens.
-
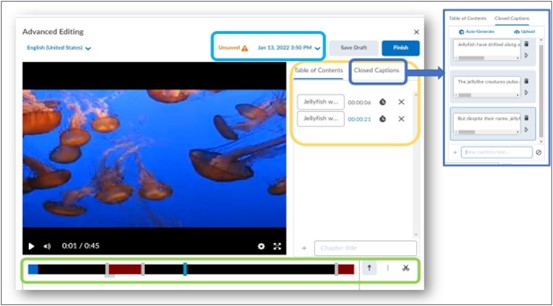
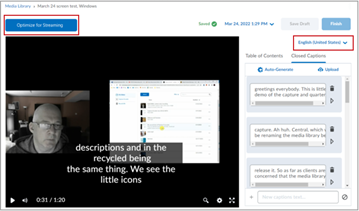
From the Advanced Editor you can set the language of the video, generate a caption track from the Closed Captions tab and access the Timeline Editing and Chapter features. These features will be discussed in more detail below.
-
If your video did not go through the transcoding process (mp4 or mp3 files), you may wish to optimize the video for online viewing, for example, to reduce the file size or enable multi-bitrate streaming. In the Advanced editor, you can select the option Optimize for Streaming.
Editing: Timeline Editor
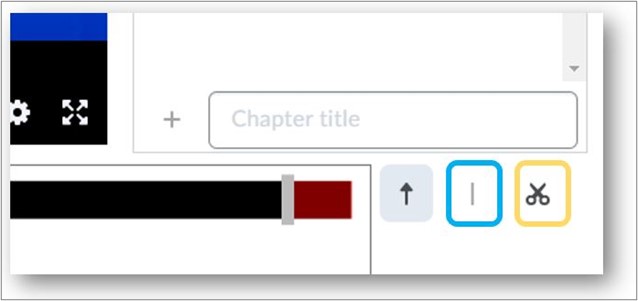
- To snip out parts of your media file: in the Advanced Editor use the middle icon, the Mark tool, to mark places on the timeline at the starting point and ending point of the part you wish to remove.
-
Select the scissors tool and click between the two marks to cut it out. The selected section turns red and is not shown playback.
Note: Mousing over the timeline displays a small tab at the bottom of the timeline that can be grabbed and dragged up and down to enlarge the timeline for accessibility.
- To restore the cut section simply click a second time between the two marks.
- To remove a mark on the timeline, click it again with the Mark tool.
-
When you are done editing, you can:
- Save Draft - keeps the changes, but doesn’t update the published file(s).
- Finish - saves the changes and publishes a new version of the file.
-
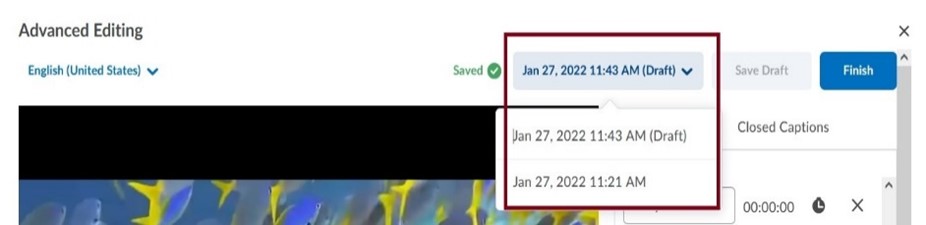
Use the version timeline dropdown to return to a previous version of the file. You can move from an older version to your new draft and vice versa.
Editing: Chapters
-
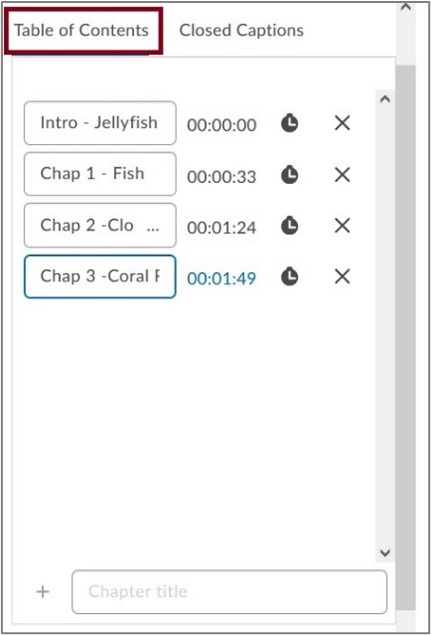
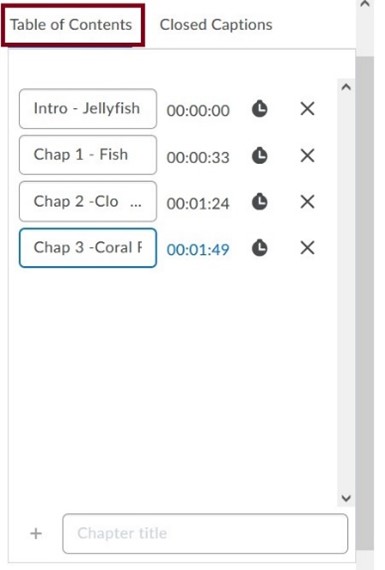
When in the Advanced Editor, select the Table of Contents tab on the top right side of the video.
-
Use the Seek tool to select a space on the timeline where you want your chapter to start.
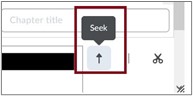
-
Enter your chapter title and click the + button.
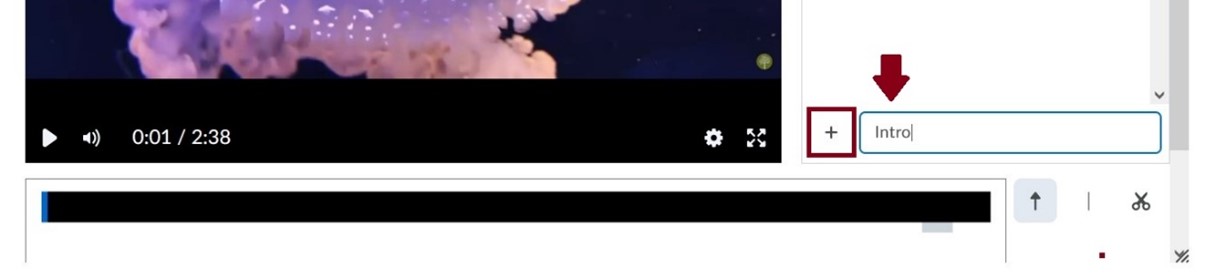
-
For the next chapter, select the next spot on the timeline, enter the chapter title and click +.

- If you add an incorrect time, you can update it by selecting a spot on the timeline and clicking the clock beside that Chapter in Table of Contents.
-
Click X to remove the entry. Click on the chapter name to edit the title.
Editing: Closed Captions
-
To access the Closed Captions Editing tool, click on the Closed Captions tab at the top of the Advanced editing page.
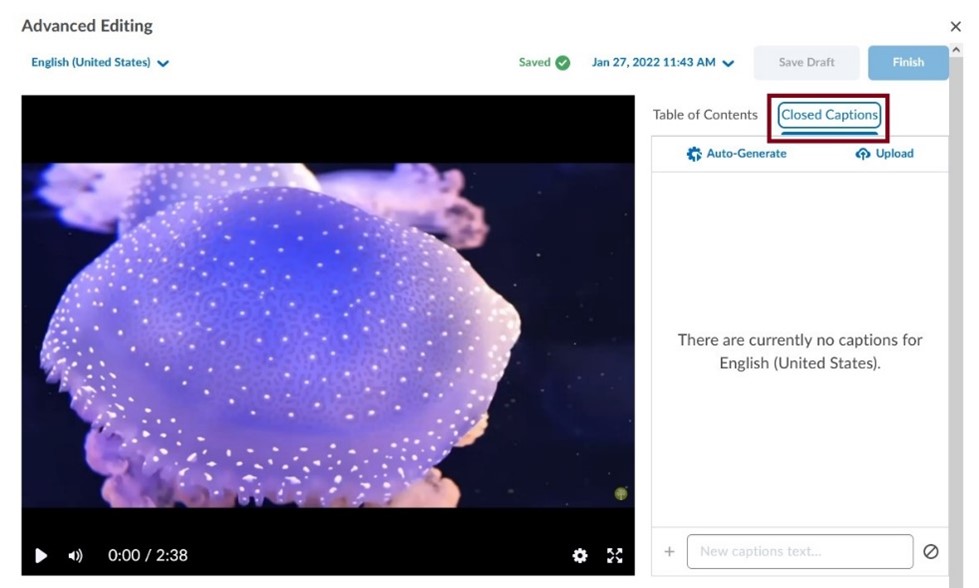
- If you already have a .srt or .vvt file for your video, click on Upload to upload the file.
-
If you do not have a caption file, click on Auto-Generate. This process can take several minutes to complete. Once it’s complete the page will refresh, and you can click on Close Captions again to view the Auto-Generated captions.
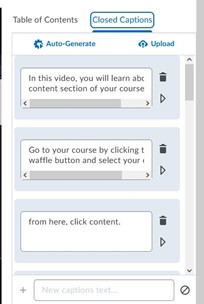
- You can Edit the captions by clicking in the dialogue box and editing the text. You can also edit the embedded time codes by clicking on the arrow under the garbage can. You can delete a segment of text by clicking on the garbage can.
- Once you are satisfied with your captions click Save Draft and then Finish. Click Finish one more time. Close the editing window and click on Update on the video file. This will update your file on Brightspace.
-
Once the Captions have been generated and saved on a video, Individual users can turn on the captions by clicking on the cog icon on the bottom right on the video to turn them on.


