Introduction to Microsoft Outlook
Using Outlook at SMU
If you have any questions about using Outlook or would like any additional support using the software, please reach out to the Software & Application Support Centre via email at sas@smu.ca.
Technical Setup
Outlook is a part of the Microsoft 365 suite – this means that you can access the web version of the software by signing in with your @SMU.ca email address and password on office.com, or from the desktop application on your computer. If you are using a SMU-owned computer, Outlook should already be installed.
The most recent version of Outlook available to SMU users is Outlook – Microsoft 365. If you are running an older version of Outlook and would like to get the most recent version, you can request a new install by emailing hdesk@smu.ca.
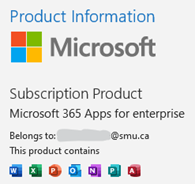
To check what version of Outlook you are using, open the app from your desktop and click on File along the top ribbon. Then, select Office Account in the bottom left corner. Your version information will be available under the Product Information section.
You can use either the desktop application or the web application – they both have similar features and functionalities; it is all about personal preference. The desktop application does offer a more robust suite of features, including the ability to be signed into multiple Outlook accounts at once. If you are responsible for managing multiple inboxes, the desktop application may be a better option for you. For checking your email on the go or from a device that isn’t your own, the web application is a great option!
Categories
You can use categories to tag your mail and calendar events with a unique name and colour. Navigate to the Home tab on the Ribbon and click on Categorize to access the categories associated with your Outlook account.

To assign a category to an email, choose your desired category from the drop-down menu with the email selected. To manage your list of Categories:
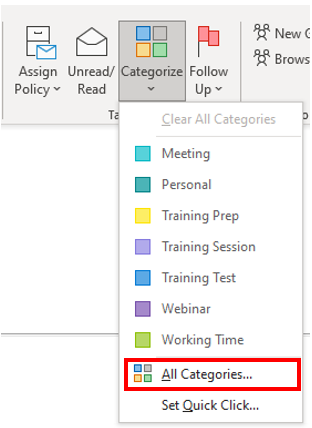
- Choose All Categories...from the drop-down menu.
-
A pop-up window with a full list of your Categories will appear:
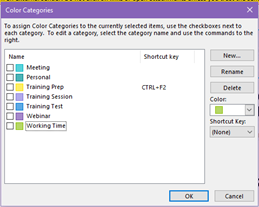
- To change a category’s name, select the checkbox next to the name of the category and click on Rename. Then, click on the name of the category again and type in the new name. Click OK to save the change.
- To change a category’s colour, select the checkbox next to the name of the category and click on the Color drop-down menu. Select a colour from the drop-down menu, or choose None if you do not wish for the category to have a colour. Click OK to save the change.
- To delete a category, select the checkbox next to the name of the category and click on the Delete button. Click Yes in the pop-up box, then click OK to save the changes.
- To add a keyboard shortcut to a category, select the checkbox next to the name of the category and choose an option from the Shortcut Key drop-down menu. You can now quickly assign any selected email or calendar event to a category by holding down the appropriate keys on your keyboard. Click OK to save the change.
- To add a new category, select the checkbox next to the name of the category and click on the New button and type the name of your new category. Choose the category’s colour from the Color drop-down menu, and a keyboard shortcut from the Shortcut Key dropdown menu if desired. Click OK in the pop-up box, then click OK to save the changes.
Creating Rules
Rules are a great way to proactively organize your inbox. Rules are actions that Outlook will automatically run when certain conditions are met.
- Click on the More commands button in the top right corner.
- Select Rules from the drop-down menu.
- Choose Manage Rules & Alerts
-
Click on New Rule

- Select the template that best describes the type of rule you’d like to create. You can make changes to the rule later, so just choose the closest fit. If none of the templates seem like a good fit, select one of the options under Start from a blank rule. Once you’ve made your selection, click Next.
-
Select the condition(s) that you want to be met for the rule to run. A condition is the circumstance that needs to have occurred for Outlook to recognize that the rule should be applied. Once you select a specific condition in Step 1, click on the corresponding underlined value in Step 2 to edit the condition.
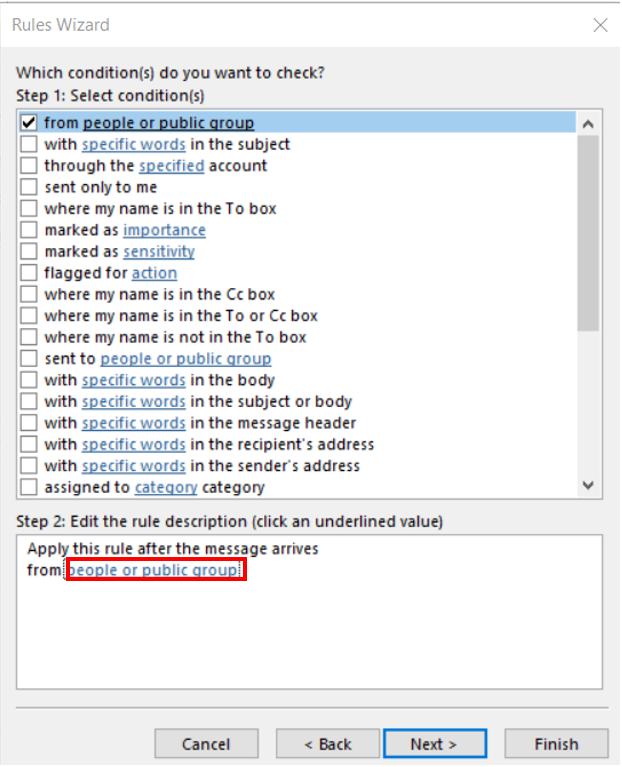
- Once you’ve made the necessary changes, click Next.
- Select the action(s) you would like Outlook to take when the condition(s) of your rule are met. Once you select a specific action in Step 1, click on the corresponding underlined value in Step 2 to edit the action.
- Once you’ve made the necessary changes, click Next.
- If you don’t want the rule to run in certain circumstances, you can set exceptions to your rule. Select the appropriate exception(s) you would like Outlook to make for your rule. Once you select a specific exception in Step 1, click on the corresponding underlined value in Step 2 to edit the exception.
- Once you’ve made the necessary changes, click Next.
- Type a name for your new rule in the Step 1 text box.
- In Step 2, select whether or not you’d like to turn on the rule, run the rule on mail already in your inbox, and if you’d like the rule to apply to all Outlook accounts that you are signed into.
- Click on Finish after you review your rule in Step 3.
- Select Apply.
- Click OK.
Automatic Replies
You can have Outlook send an automatic reply to incoming messages both inside and outside of SMU. To set up Automatic Replies:
- Click on the File tab along the Ribbon.
- Select Info from the left navigation bar.
-
Click on the Automatic Replies (Out of Office) button.

-
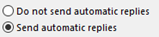
A pop-up window will appear. Select the Send automatic replies radio button.
-
To set up automatic replies for a specific period, check the Only send during this time range checkbox and select the appropriate date and time range from the drop-down menus.

-
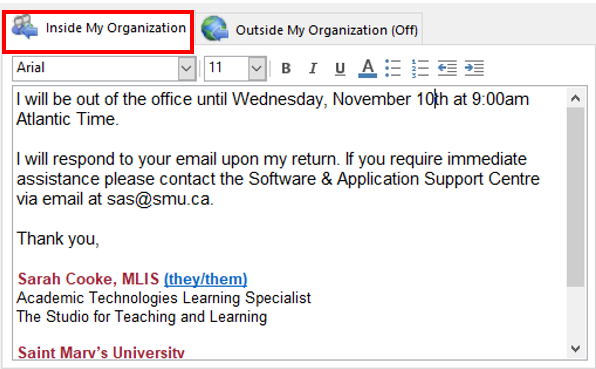
To set your Automatic Reply for emails internal to SMU, select the Inside My Organization tab and type your desired Automatic Reply in the text box. Use the formatting options to select a specific font style, size, and colour.
-
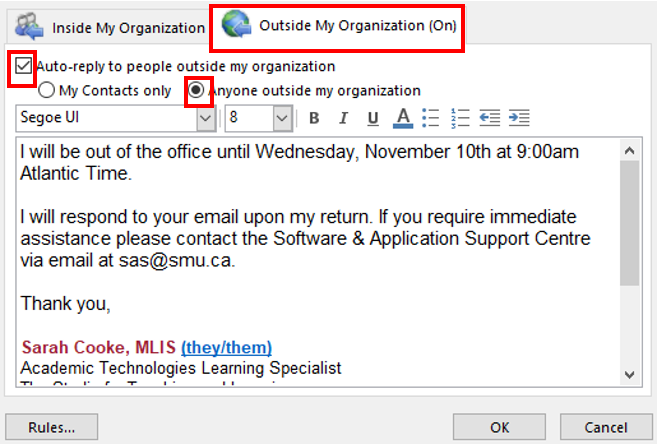
To set your Automatic reply for emails external to SMU, choose the Outside My Organization tab and select the Auto-reply to people outside my organization checkbox. Select the Anyone outside my organization radio button to send your Automatic Reply back to any email you receive while your Automatic Reply is on. Use the formatting options to select a specific font style, size, and colour.
- To set Rules to send during the period your Automatic Reply will be turned on, click on the Rules… button and click Add Rule… Set your desired conditions and actions, then click OK. Click OK again.
Calendar Permissions
Share your Outlook calendar with people inside your organization:
-
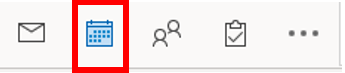
Go to your calendar by clicking the calendar option in the bottom right-hand corner.
-
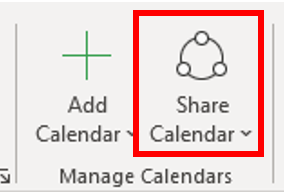
Click the Share Calendar drop-down button. Select which calendar you would like to share (this is only applicable if you have more than one email account in Outlook).
-
A new window will open allowing you to add the individual to your calendar.
-
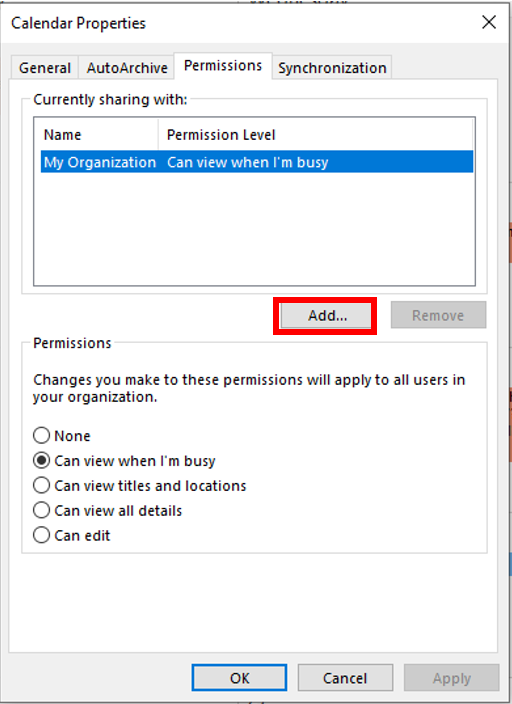
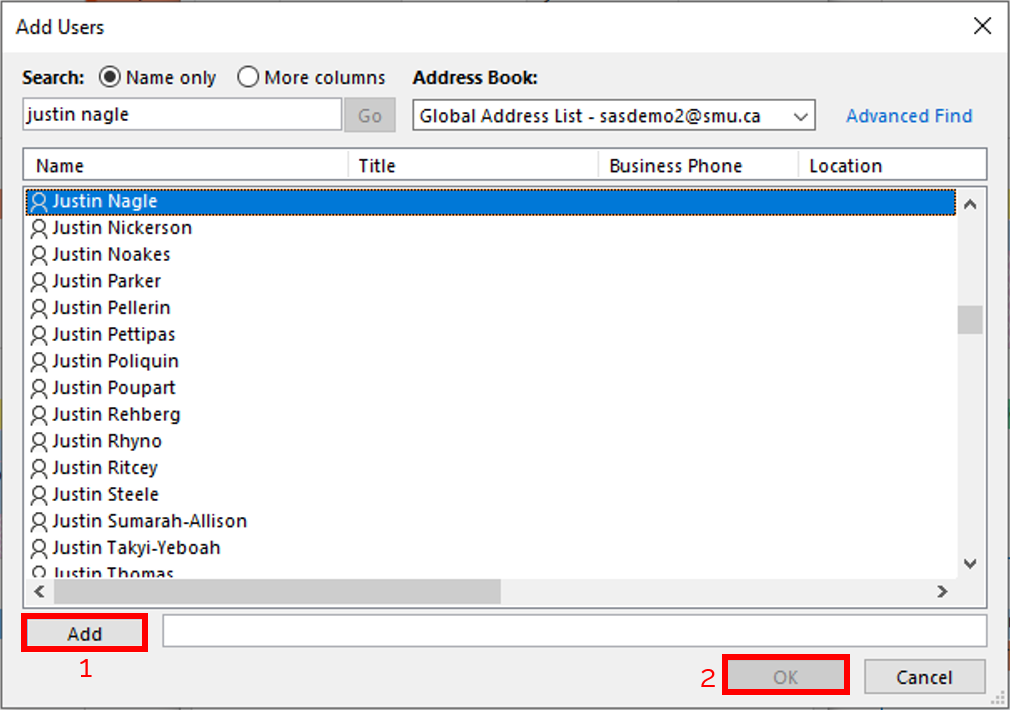
To share your calendar with someone, click Add… Under Address Book select Global Address List, you can either scroll through the list or in the search field type in the individuals name and select the person you want to give permission to and click Add. Then click OK.
-
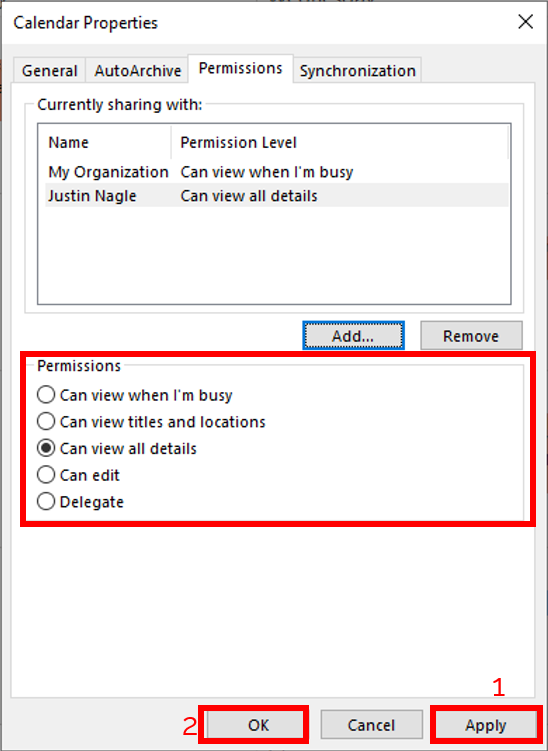
Now, you want to set the viewing permissions for the individual you just added.
-
There are 5 different permission options you can chose from:
- Can view when I’m busy – this is the standard option available for SMU. It means that people can only see when you are busy. They cannot see any other details about your calendar.
- Can view titles and locations – this means that people can see where your calendar meeting/appointment location is as well as the title of the meeting/appointment.
- Can view all details – means they can view all details about meetings/appointments in your calendar.
- Can edit – means the individual can edit meetings/appointments in your calendar.
- Delegate – means you are delegating someone to look after your calendar (this includes accepting/declining meetings on your behalf, editing meetings and appointments, etc.)
- Click Apply then OK once you have chosen a permissions option.
-
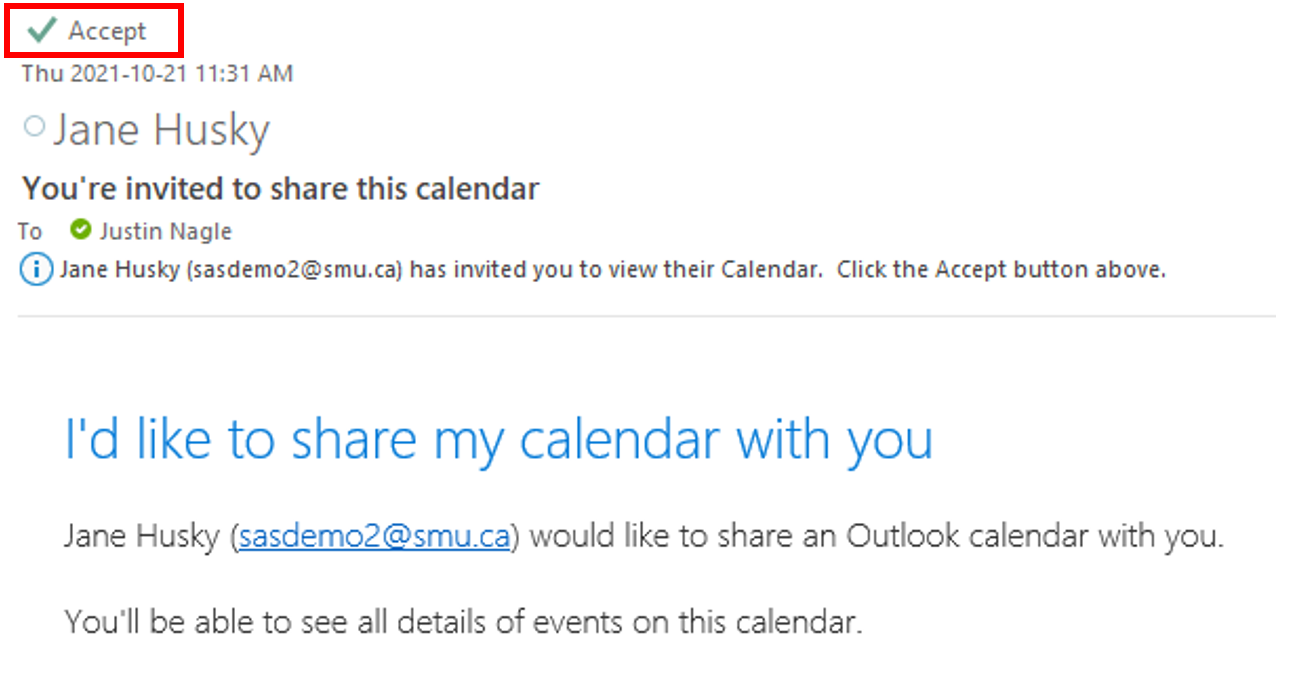
The individual you select will receive an email informing them that your calendar was shared with them. They can click the accept button at the top of the email and it will add it to Shared Calendars on the outlook calendar.
Add a shared Outlook calendar into your Outlook:
-
Go to your calendar by clicking the calendar option in the bottom right-hand corner.
-
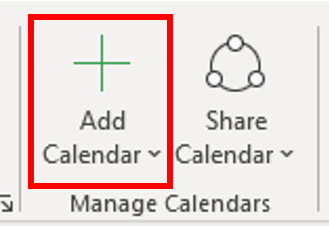
Click the Add Calendar drop-down button. Select From Address Book….
-
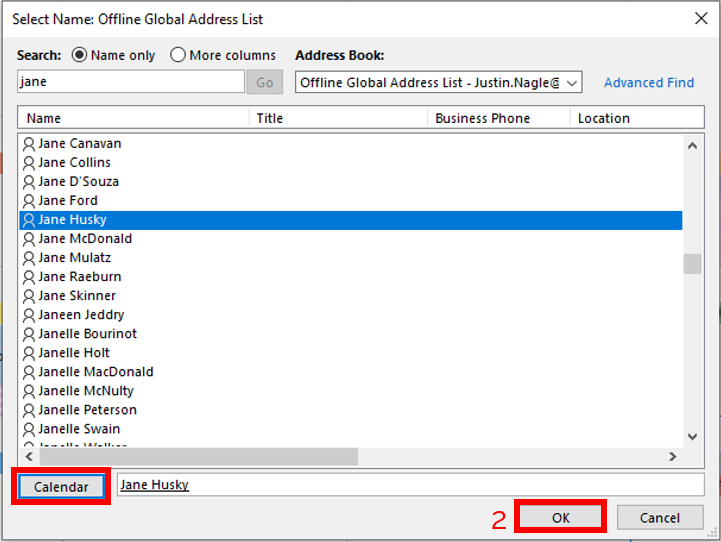
A new window will open, type in the individual’s name that sent the Shared Calendar. Click Calendar, then OK.
-
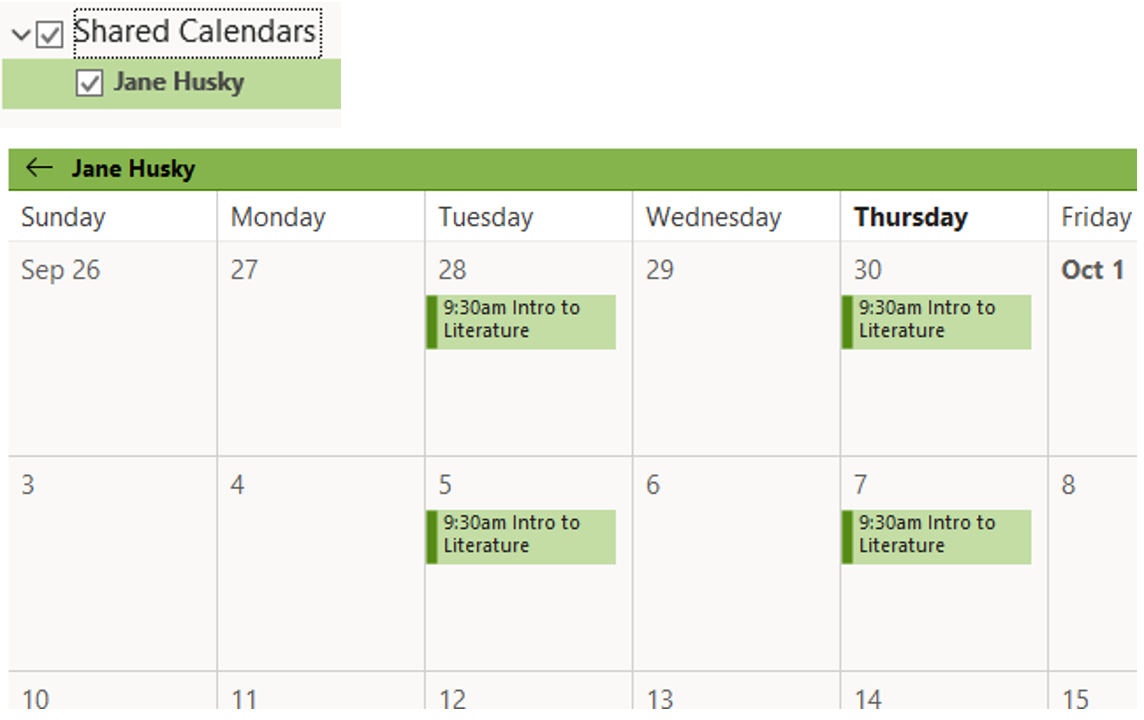
Now you will be able to see their calendar under the Shared Calendars header on the left-hand side of Outlook. Their calendar will load in the calendar field.
Scheduling Assistant
The Scheduling Assistant is a great way to check and see who is available for a meeting on the day you are scheduling it. It allows you to select a time when the most people are available. To open the Scheduling Assistant:
-
Go to your calendar by clicking the calendar option in the bottom right-hand corner.
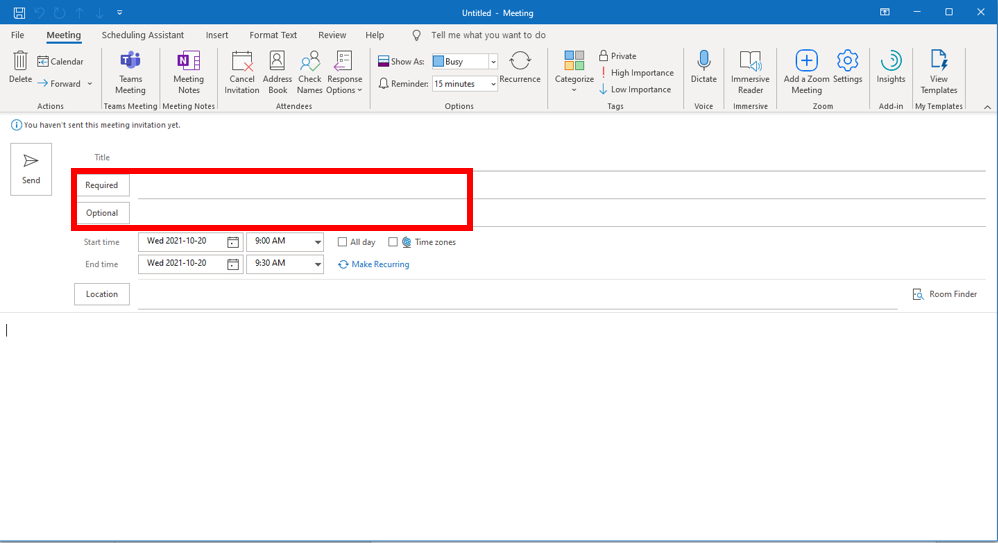
- Click New Meeting from the Ribbon Bar. A new window will open.
-
Add the Required and Optional attendees by typing in their name and selecting the appropriate email address or typing in their @smu.ca email address.
- To see attendees' availability and to chose the best meeting time, click the Scheduling Assistant tab from the ribbon bar of the meeting window.
-
As the image below indicates, the best time to schedule a meeting in which the all the attendees can attend is either from 11:00 am to 11:30 am or after 3:30 pm for Oct. 20th.
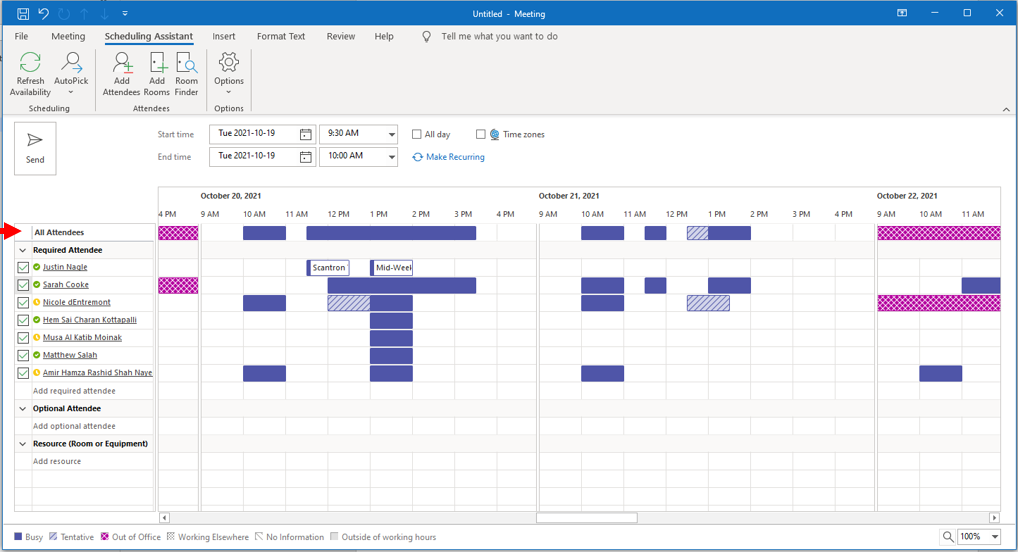
Purple indicates that attendees are busy during that time, and the pink cross-hatched indicates that the attendee is out-of-office. The best field to pay attention to on this screen is the All Attendees field at the top.
Now that you have a meeting time that works for all/most of your attendees, the last thing to do is go back to the meeting time, input the meeting time and any other meeting details, and send the meeting invitation.
Responding to Meeting Invitations
When a meeting invitation arrives in your inbox, you can accept, decline, reply as tentative, or propose a new meeting time.
When choosing a response, a drop-down menu will load with three options:
- Edit the Response before Sending: this allows you to make a comment to the meeting organizer before sending your response. You can type your response in the body of the new window that opens. Once complete, you can click send.
- Send the Response Now: this sends a response back the meeting organizer that you have accepted their invitation.
-
Do Not Send a Response: this option results in no response being sent to the meeting organizer, even though you accepted the meeting.
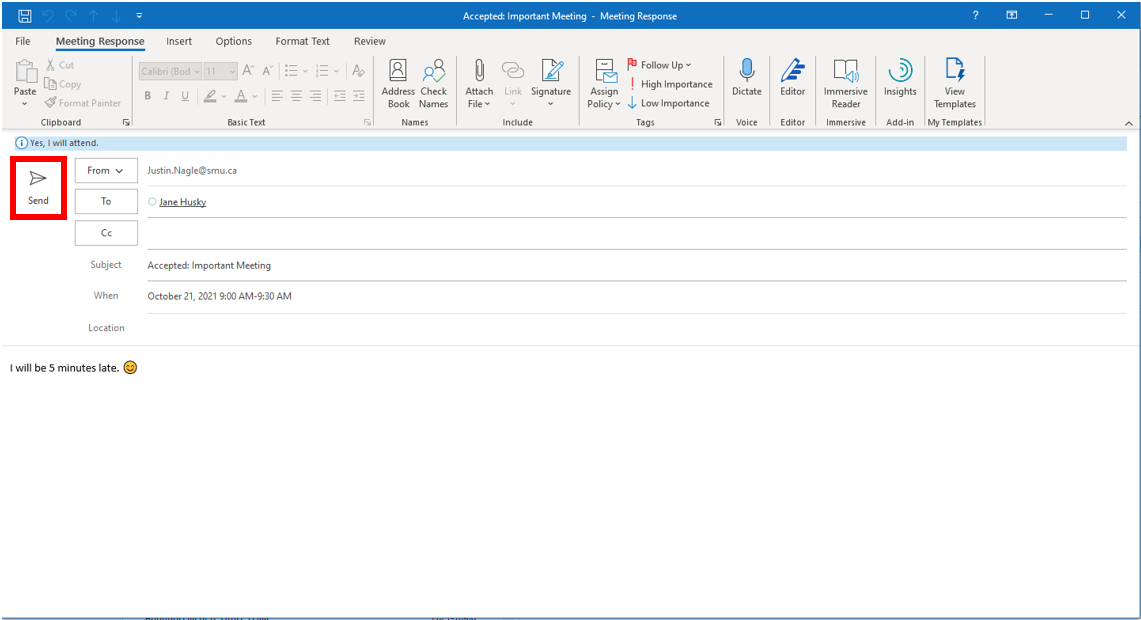
When choosing a meeting option, it is important to always Send the Response to the meeting organizer; that way they can plan accordingly on how many people will show up, etc.
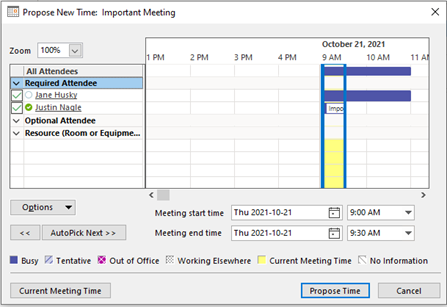
If you wanted to propose a new meeting time to the meeting organizer, select Propose New Time. A drop-down menu will open and show two options:
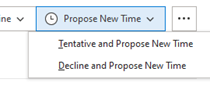
A new window will open for either option that you chose. It is like a mini scheduling assistant. Here you can see which time everyone is available for the meeting and propose a new time/future date.
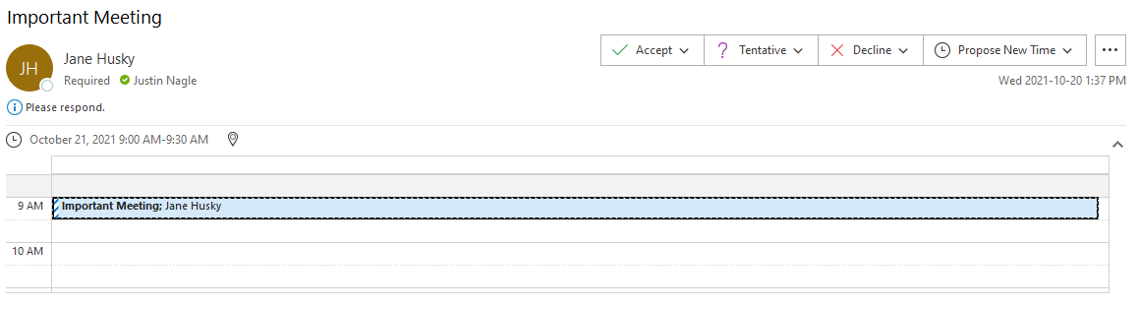
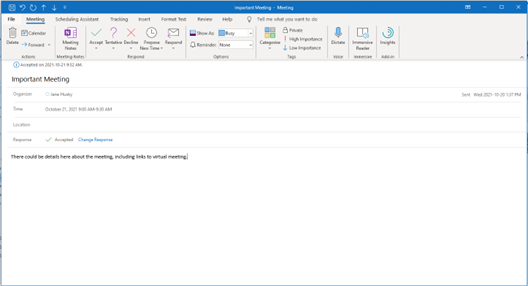
When you accept a meeting invitation, it will appear in your calendar as below:
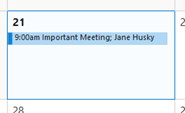
You can double click the event in the calendar, to open more details about the event (to get the Zoom link, Teams link, and further information from the meeting invitation):
Outlook Signature
How to put signature on the desktop application
- In order to set a signature in Outlook, first open Outlook Microsoft 365.
-
Type in Signature into the search bar.

-
Click on Signature and select Signatures….

-
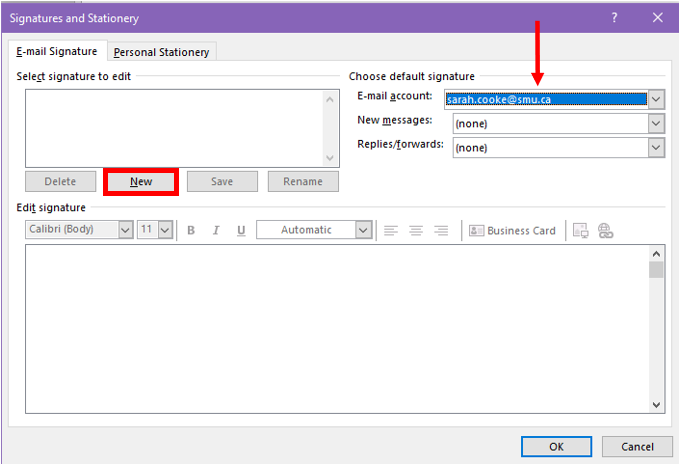
A new window will open. Make sure the proper email address is selected (arrow). Click New to make a new signature.
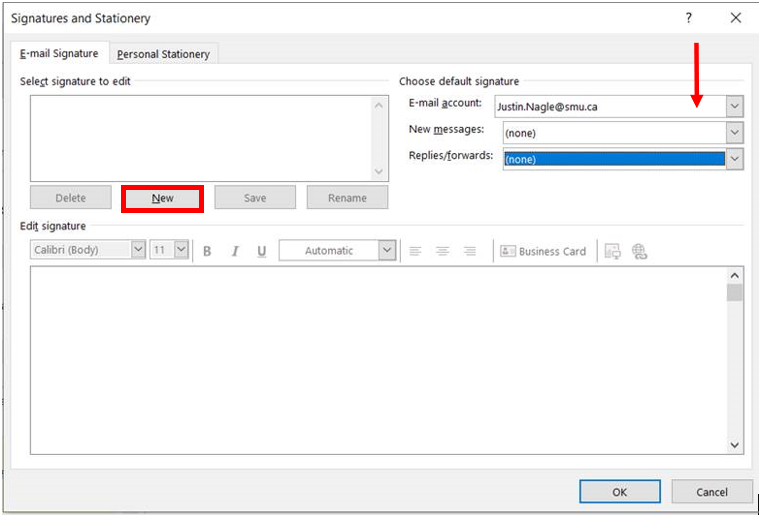
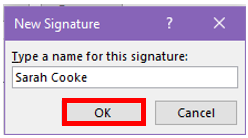
- A new dialog box will open. Type in a unique name for the signature and click OK.
-
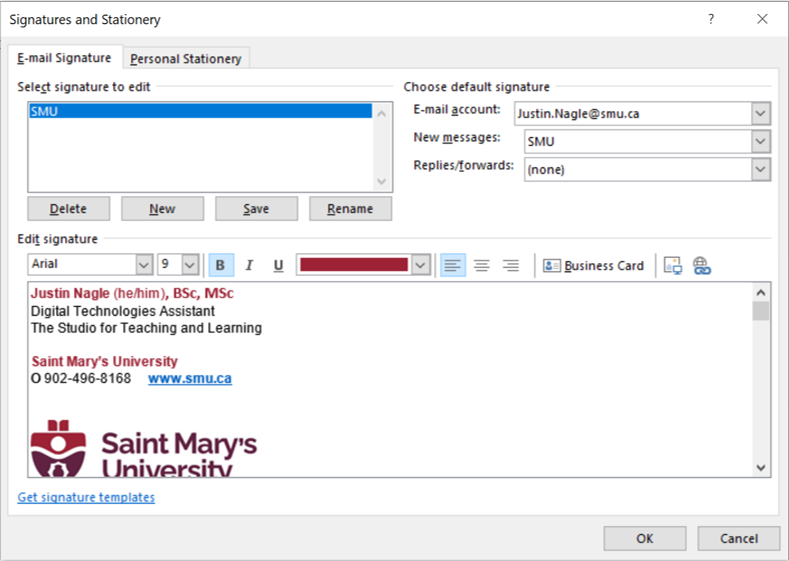
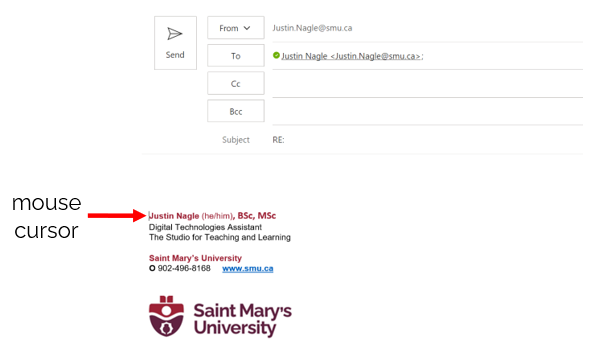
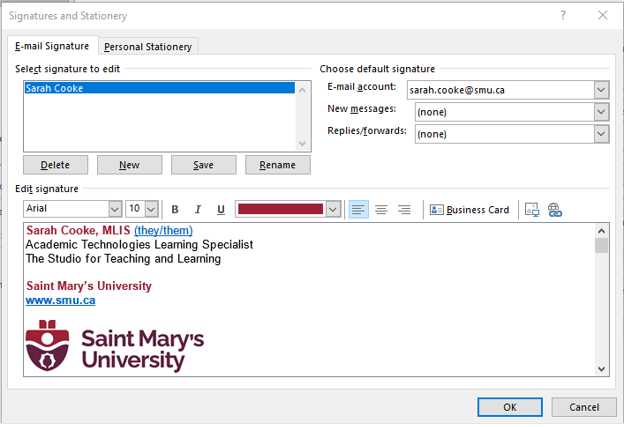
In the body of Edit signature, type in the various information you would like displayed in the signature (name, personal pronouns, education, position, company, company info/phone number, company logo, etc.).
-
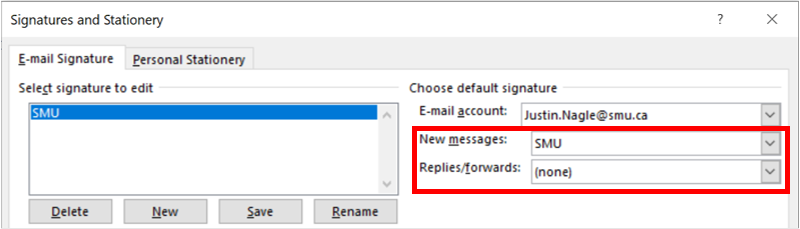
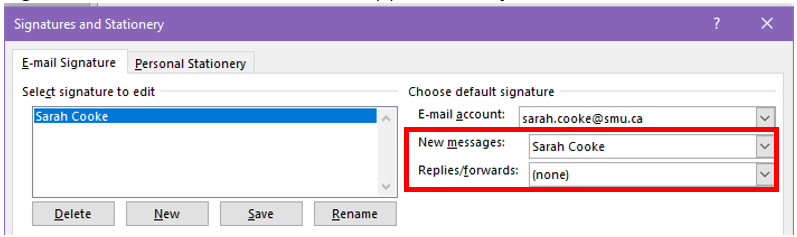
If you want the signature to automatically load in the body of a new email, navigate to the New messages: and select the name of your signature. This method can also be applied to Replies/forwards.
-
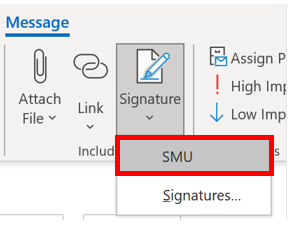
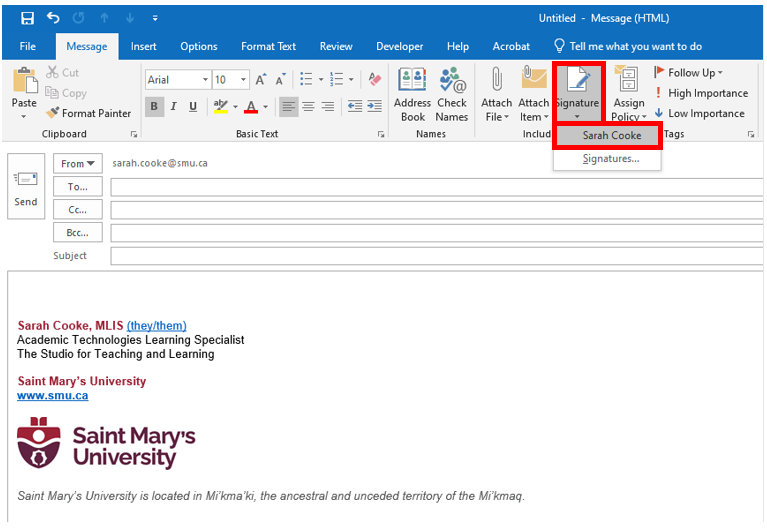
To use your signature in an email, select the Signature dropdown in any New Email, Reply, Reply All, or Forward. This will insert your signature wherever the mouse cursor is in the body of the email.
How to put signature on outlook web
- Open your favourite browser (Chrome, Edge, Firefox, Brave) and navigate to outlook.com and Sign in.
-
Click on the Settings Gear in the top right.

-
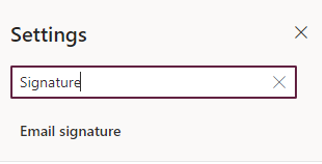
This will bring up a search box. Type in “Signature” and hit enter.
-
This will open a new dialog box.
-
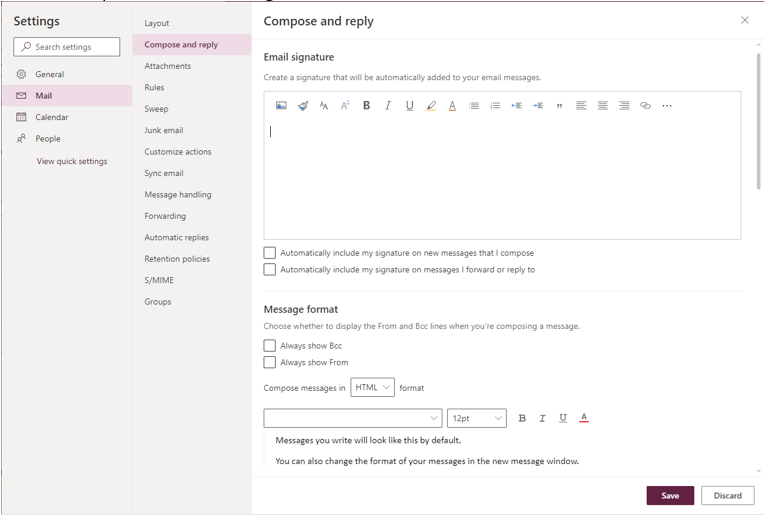
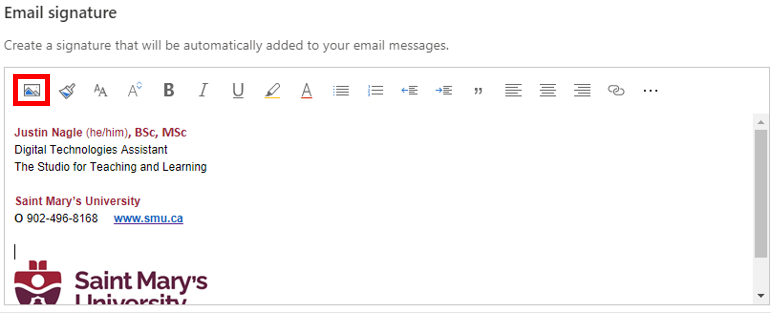
Type in the various information you would like displayed in the signature (name, personal pronouns, education, position, company, company info/phone number, company logo, etc.).
Note: When inserting a company logo, the logo may not insert properly if you copy and paste. If this happens, the logo can be inserted as an image by clicking the following button and selecting the appropriate file path.
-
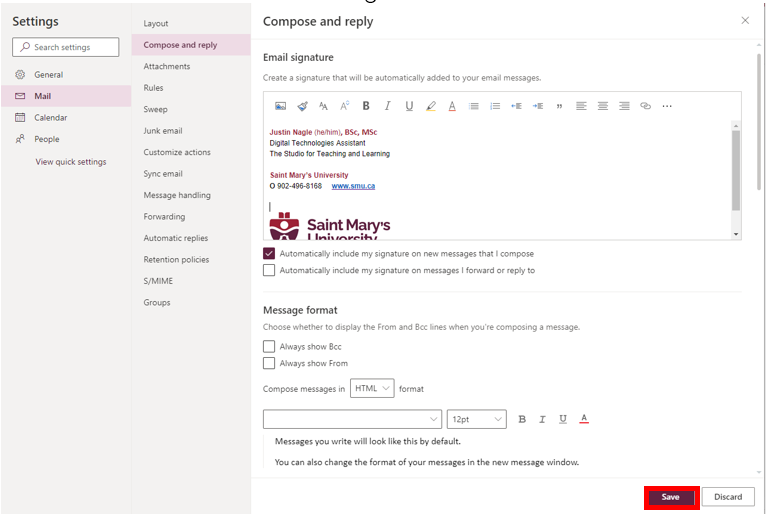
If you want the signature to automatically load in the body of a new email, navigate below the email signature body and click the check box next to Automatically include my signature on new messages that I compose. This can also be done for replies and forwards by clicking the check box Automatically include my signature on messages I forward or reply to.

-
Once the signature and relative settings are complete, remember to click save at the bottom of the dialog window.
-
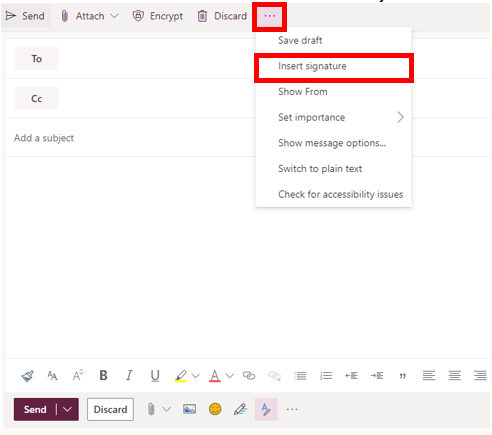
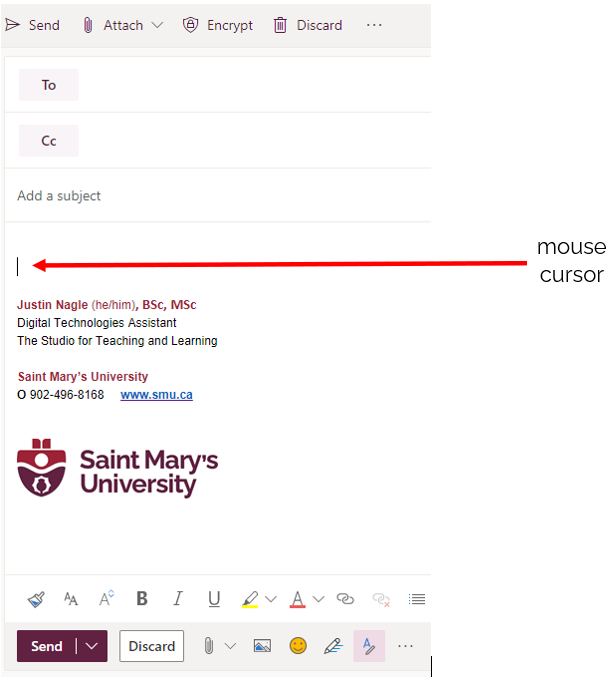
To manually insert your signature in an email, select the three … dropdown and select Insert Signature. This will insert your signature below the mouse cursor is in the body of the email.
How to put signature on the 2019 Desktop Application
- In order to set a signature in Outlook, first open Outlook 2019.
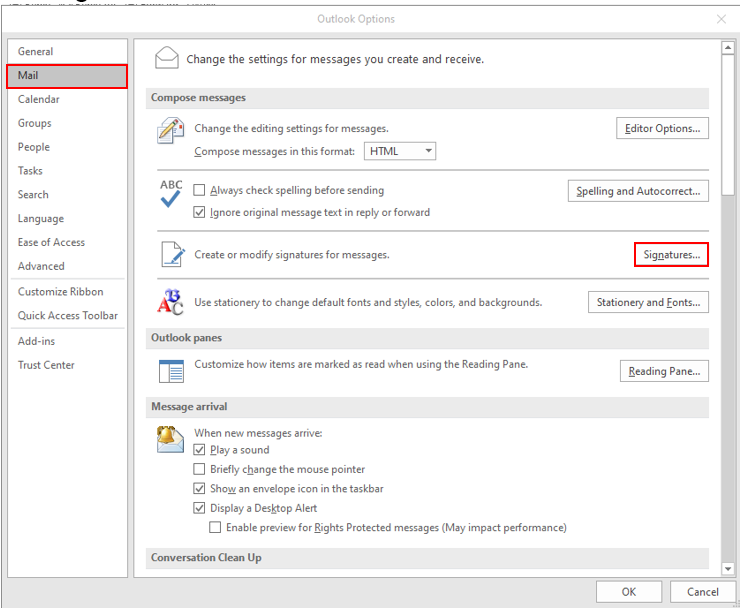
- Click on the File tab along the top ribbon.
- Select Options from the left navigation bar.
- A new window will open. Select the Mail tab from the list of options.
-
Click Signatures.
-
A new window will open. Make sure the proper email address is selected (arrow). Click New to make a new signature.
-
A new dialog box will open. Type in a unique name for the signature and click OK.
-
In the body of Edit signature, type in the various information you would like displayed in the signature (name, personal pronouns, education, position, company, company info/phone number, company logo, etc.).
-
If you want the signature to automatically load in the body of a new email, navigate to the New messages: and select the name of your signature. This method can also be applied to Replies/forwards.
-
To use your signature in an email, select the Signature dropdown in any New Email, Reply, Reply All, or Forward. This will insert your signature wherever the mouse cursor is in the body of the email.
How to put signature on the 2019 Desktop Application
- Open the Outlook application on your Mac.
-
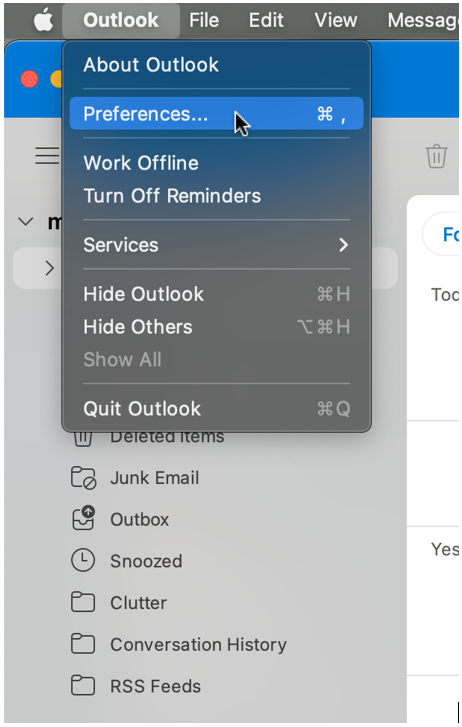
Click on Outlook on the top left corner and then go to Preferences.
-
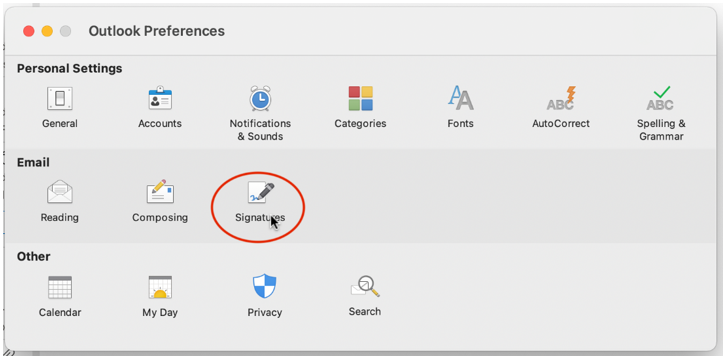
Click on Signatures.
-
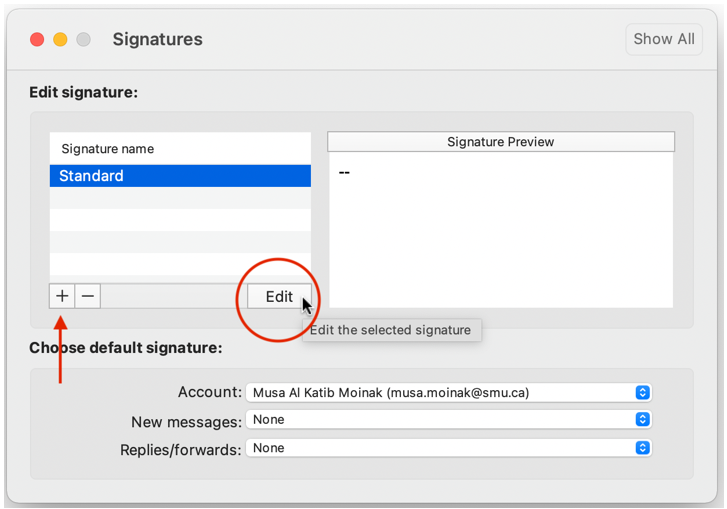
You can click on Standard from the list and then press Edit, or you can press the + sign to create a new signature.
-
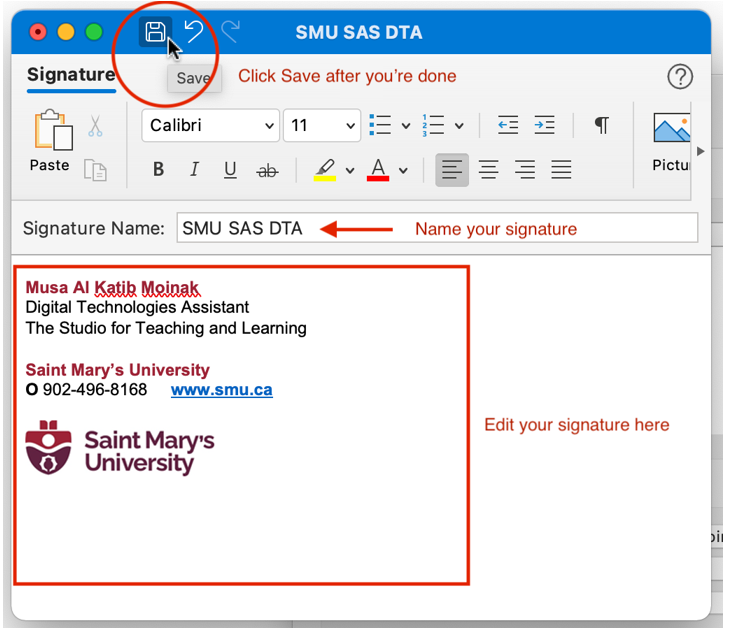
Create your custom signature in the blank space provided. You can use different fonts, colors and even include pictures. And, give your signature an appropriate name and then click on the save button at the top. After saving it, you can close the box by pressing the red cross at the top left.
-
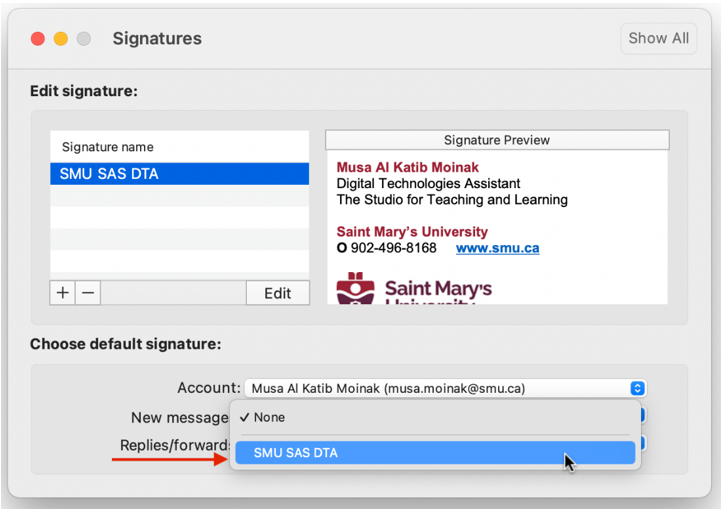
After creating your signature, you should see it appear on the list. To have the signature automatically appear on all of your emails, click on the drop-down menu beside New Messages and Replies/Forwards and select your newly created signature.
-
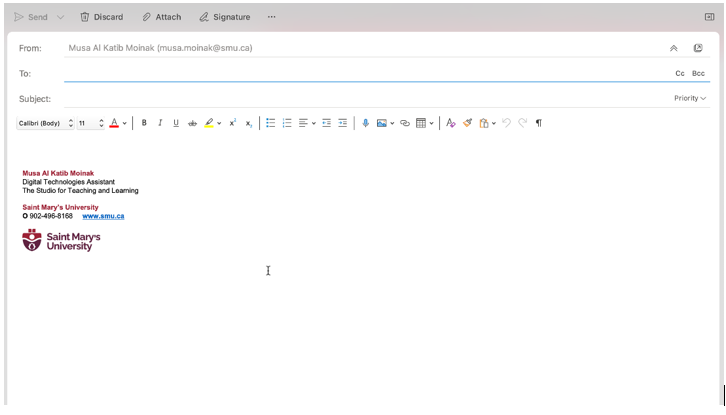
Close the signature menu and your signature should now appear whenever you create a new message.
-
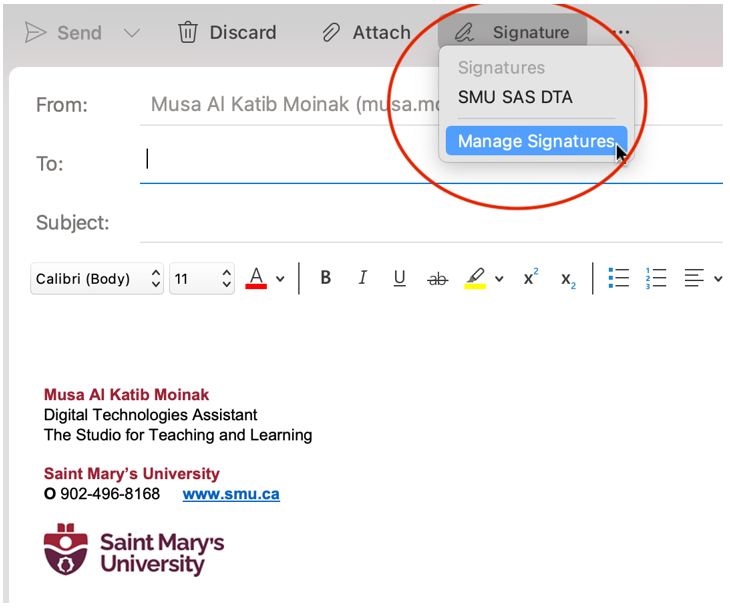
You can always click on the Signature button at the top of your new message to select a different signature or edit your current signature or to add a new one, click on Manage Signatures.
SMU Branding
Here are some short information on the SMU brandings
- To view the most up-to-date branding information, please check out the following link: https://www.smu.ca/brand/templatesandguidance/ and select the Email Signatures dropdown. There is also a short video available here.
- Formatting guide: Email signatures should be located at the bottom of the email's body. The font for email signatures is Arial. The font size is 8 pt to 10 pt and the colour is black, using custom font colour RGB 157 34 53 only for name and institution (Saint Mary's University) which are bolded.
-
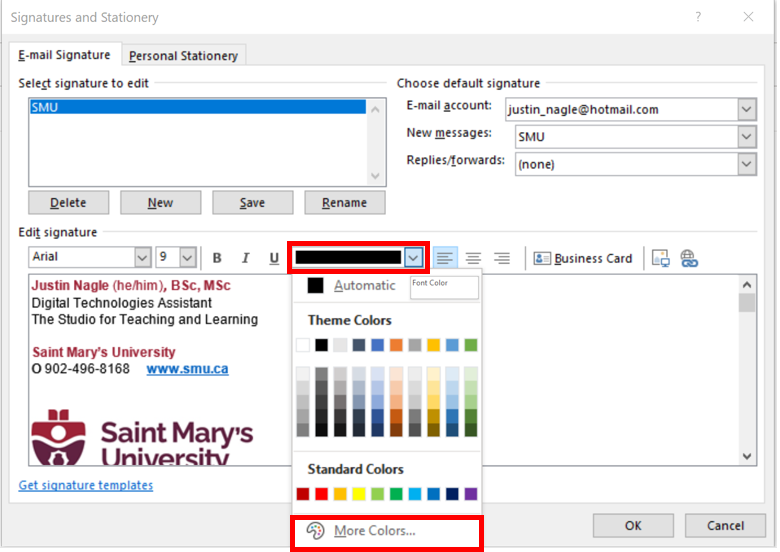
To change the font colour in the Outlook 365 desktop application, bring up the signature window and click the Font Color dropdown and select More Colors….
-
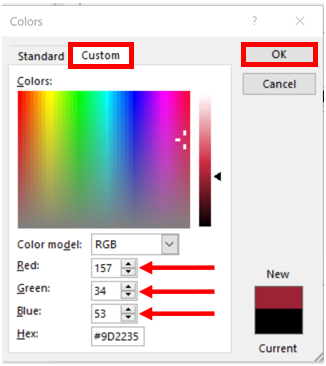
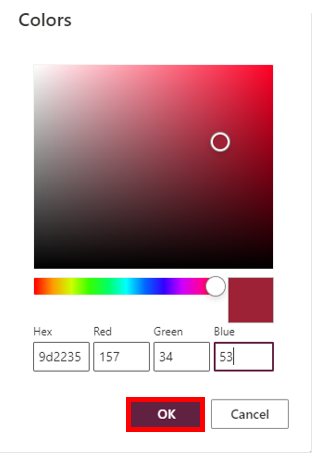
A new window will pop up. Select the Custom tab. Then enter 157 for Red, 34 for Green, and 53 for Blue and select OK.
-
A new window will pop up. Select the Custom tab. Then enter 157 for Red, 34 for Green, and 53 for Blue and select OK.
-
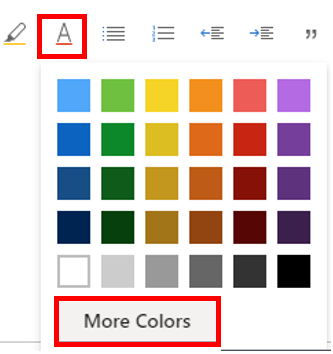
To change the font color on the Outlook Web Application, bring up the signature window and click Font Color, then the More Colors button.
-
A new window will pop up. Enter 157 for Red, 34 for Green, and 53 for Blue and select OK.
-
A new window will pop up. Enter 157 for Red, 34 for Green, and 53 for Blue and select OK.
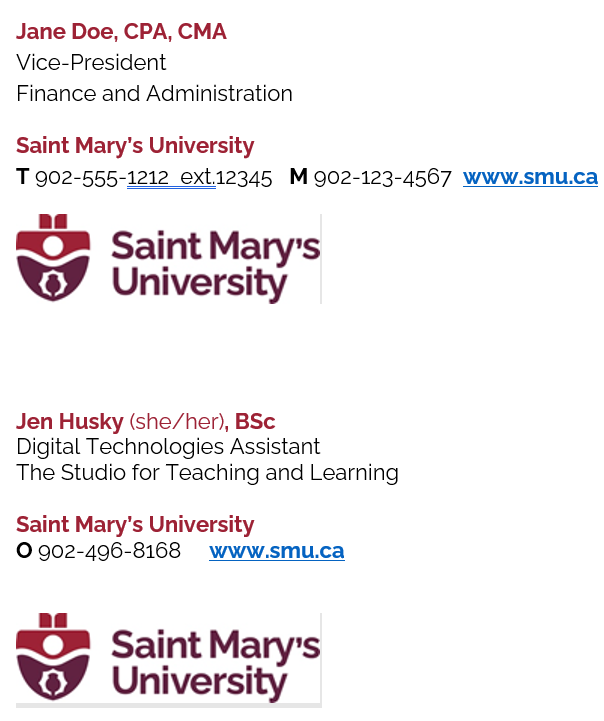
- Alternatively, you can also copy one of the examples below into the signature body and edit it to match your information.
-
What to include in your email signature:
- Name, degree(s) and/or professional designation, personal pronouns
- Title
- Faculty or department
- Name of the institution which in this case is Saint Mary’s University.
- Phone number using the format 519-888-4567 ext. #####
- Optional: Cell phone or fax number using the format ###-###-####
- Optional: University website URL (without the http:// prefix) and relevant social media accounts.
- Email Optimized Saint Mary’s University logo.
Include any relevant official university messages under the email signature such as operational office changes.
-
What to AVOID including in your email signature:
- Your email address because the recipient already has it.
- Inspirational quotes as some users may be offended and the quote selected may not support the Saint Mary's University Brand.
- Links to your personal social media accounts.
- Disclaimers, sustainability statements or anti-phishing statements.
- Unauthorized formatting including bold, italics, colours or font sizes.
- Any graphics with the exception of the Saint Mary's University email optimized logo. Many people use text-only email systems and won't be able to see them. Images may not display properly in other email programs, and a distorted image harms our university's brand. Often, images are treated as attachments and can clog a user's inbox or cause email to be filtered as spam.
-
Examples:
Schedule Send
Here is how to use Schedule Send in Outlook on the Web:
-
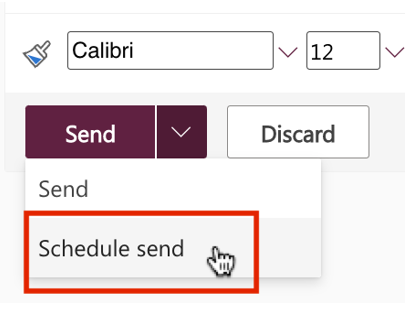
After typing in your message, click on the down-arrow right beside the Send button at the bottom. Then click on Schedule send.
-
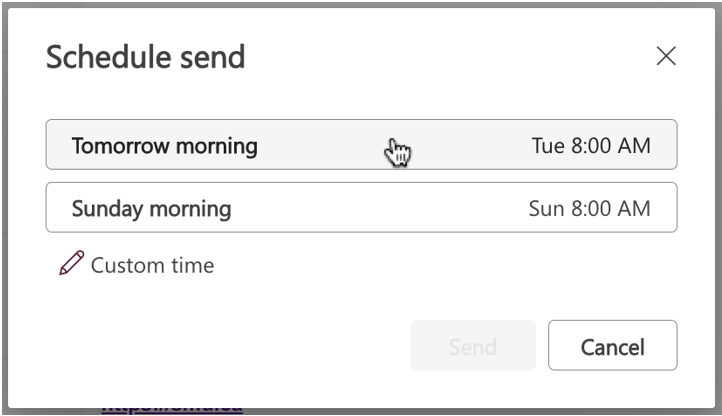
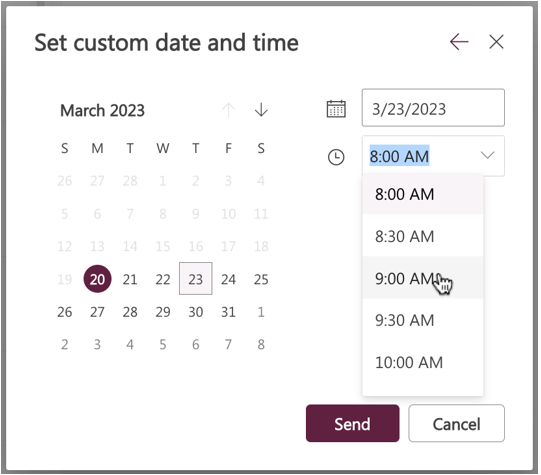
A box will appear with two suggested time options. If the suggested times are not when you want to send the email, click on the Custom time button at the bottom.
-
After pressing the Custom time option, choose the date and your time when you want the message to be sent, then click Send.
- You can find your scheduled email saved in the Drafts folder.
-
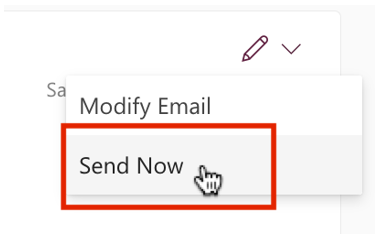
To send a scheduled email right away, go to the email in your Drafts folder, then click on the down-arrow beside the Schedule send options pencil icon at the top right corner of the email. Then select Send Now.
-
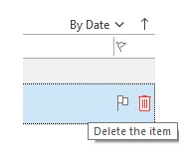
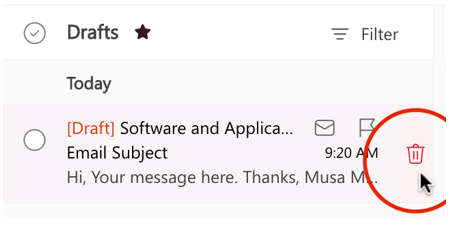
If you want to cancel/delete the scheduled email, then go to your Drafts folder and click on the trash icon on the right side of the email.
Here is how to use Schedule Send in Outlook on the Desktop Application:
-
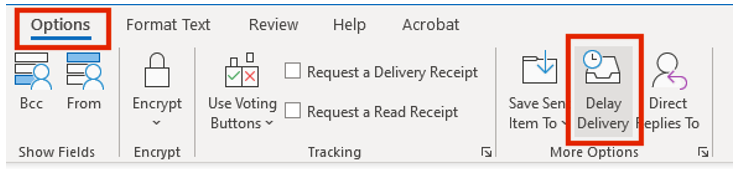
Type in a new message. Then at the top of the navigation bar, click on the Options tab. Then select the Delay Delivery button.
-
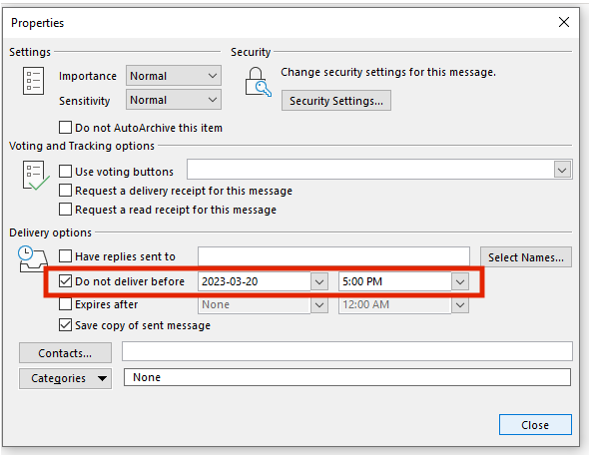
Check the Do not deliver before option and set your date and time when you want the email to be sent. Then click on Close.
-
Now press Send.
Note: The Outlook desktop application must remain open in order to send the message at the scheduled time.
-
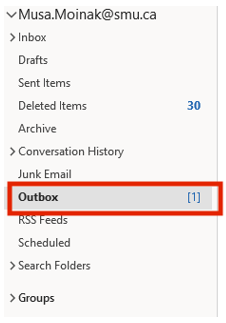
Go to your Outbox folder and you can find your scheduled email.
-
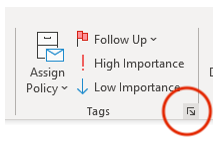
To send a scheduled email right away, double-click on the email in your Outbox folder. Go to the Message tab from the top navigation bar, then click on the Message options pointed arrows at the bottom right corner of the Tags section.
 Uncheck the Do not deliver before option as seen on step 2, and then click Close. Then press Send.
-
To cancel/delete a scheduled email. Go to your Outbox folder, and then click on the Trash icon on the right side of your scheduled email.