Brightspace Creator+
About Creator+
The Creator+ package extends the Brightspace Editor with additional features to help you create more dynamic customized content in your course. In addition to all the basic Brightspace Editor features, these Creator+ features make it easier for non-technical users to customize content to meet their needs.
Creators can build dynamic content and media experiences with these new easy-to-use tools that appeal to the love of learning, improve comprehension, and achieve high engagement for instructors and learners.
Creator+ offers the following 4 main tools for content creators to enhance their course content:
- Insert Elements enables users to create dynamic content following instructional design best practices, easily and seamlessly.
- Practices to deepen comprehension and reinforce concepts using formative practice questions in Content HTML topics.
- Use Layouts to create panels that add structure and help organize your course content. Layouts can be used with any element!
- Advanced Media using Capture Web to quickly capture screen and video learning assets that can be automatically captioned, edited, and used across your courses.
- Creator+ content templates that you can easily edit with Creator+ tools to get started quickly.
Creator+ Demo video
To view more detailed demo videos for each Element and Practice available in Creator+, please visit our
YouTube Channel.About Insert Elements
The Insert Elements feature enables users to build interactive elements in their content pages without any coding or HTML knowledge.
The dynamic components included:
- Accordions
- Tabs
- Click and Reveal
- Callout
- Timeline
- Stylized Quote
- Flip Cards
About Insert Practices
With practices, instructor can create formative, interactive, questions in content pages. Learners can get immediate feedback on their understanding of a specific topic outside of a formal assessment.
Practice types available:
- Dropdown Fill in the Blanks - Dropdown Fill in the Blank type questions consist of a phrase, sentence, or paragraph with a blank space where the respondent selects the missing word or phrase from the drop-down list. You can create a question with a single blank or multiple blanks. There is only a single correct answer for each blank.
- Fill in the Blanks - Fill-in-the-blank questions consist of a phrase, sentence, or paragraph with a blank space, where the respondent provides the missing word or phrase. You can create a question with single or multiple blank spaces. There is only a single correct answer for each blank.
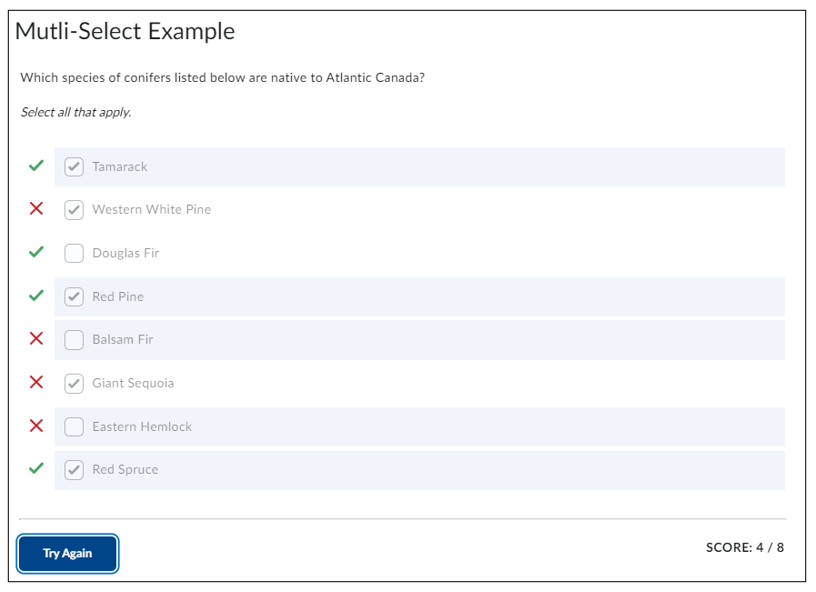
- Multi-Select - Multi-select questions require respondents to identify one or more correct answers in a list of possible answers. Unlike multiple choice questions, multi-select questions enable you to choose a grading format and allow users to select more than one answer.
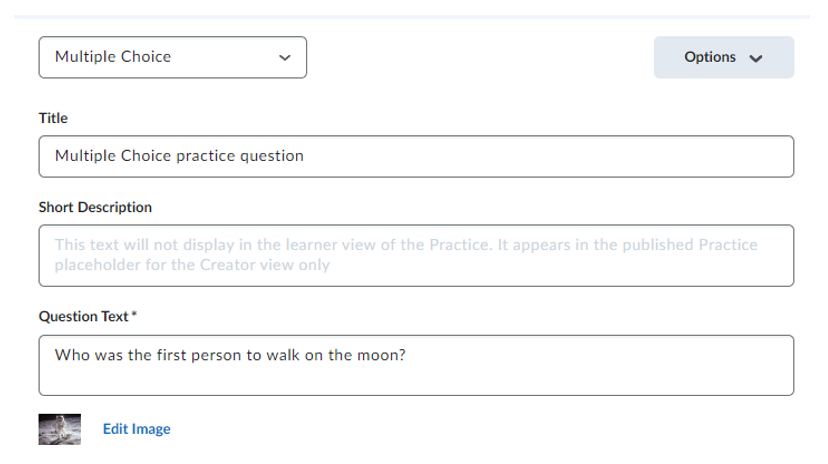
- Multiple Choice - Multiple choice questions present a statement or question with a list of possible answers, in which learners must choose the best possible answer. Multiple choice questions differ from multi-select questions in that learners select one answer for each multiple choice question.
- Sequencing - Sequencing questions require respondents to arrange a series of items into a correct sequence or order.
- Sorting - Sorting questions require respondents to choose from a set of possible match choices from a list and correctly pair them with related items. This question type enables you to assess users' recognition of information and demonstrate comprehension of specific relationships.
- True or False - True or false (T/F) questions present a statement that respondents must determine is correct or incorrect.
To learn more click and open the accordions below.
Using the Creator+ Features in Brightspace
The Insert Elements and Practices features are found in the HTML editor Ribbon. To find and use these features follow these instructions:
- Go to your course. Click Content on the Navbar.
- Select the module you’d like to add content to.
- Click on New and select Create a File.
- From here you can choose to work with a template or create your own page from scratch. To select a template, click on Select a Document template. There are 4 templates to choose from. Select your desired template.
-
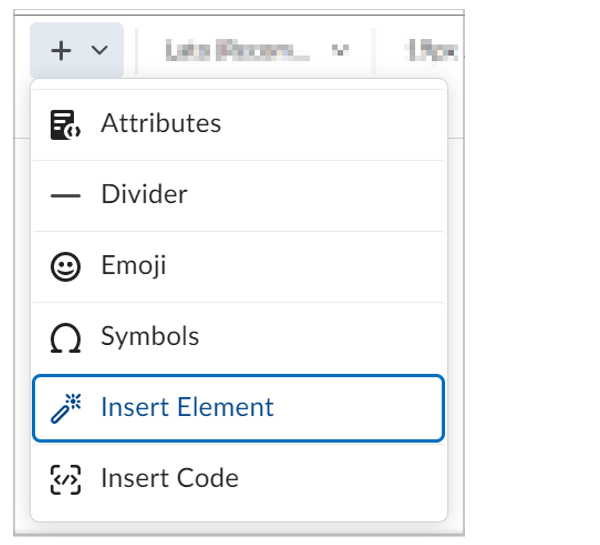
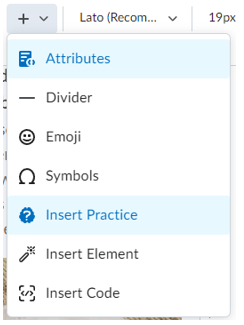
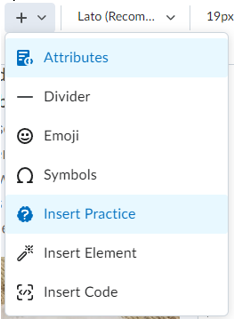
Click on the Other Insert Options button on the HTML editor ribbon.
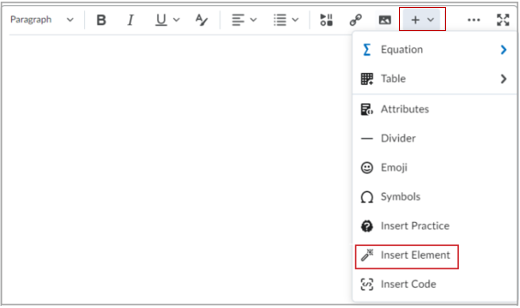
- Click on Insert Element (or Practice).
- A dialogue box will open with options to edit the element. Here you will insert your text and images as required.
- Once you have inserted you own information, click on Preview. Click Back to continue to edit or Insert if you are satisfied.
- To view the element in action. Click Save and Close. You will then be able to try out the Practices and Elements and see what it will look like to students.
(For more information on using HTML templates and creating pages in Content, please view our Content guide found here: [ADD LINK]
To start adding in Elements and Practices to your page:
Please review examples below for detailed instructions for each Element and practice type.
Use the Layouts tool to create panels that add structure and help organize your course content. Layouts can be used with any element.
To add a Layout to and HTML Content page
- Within any tool that uses the Brightspace Editor, place your text cursor in the editor in the position you would like to place your playout.
-
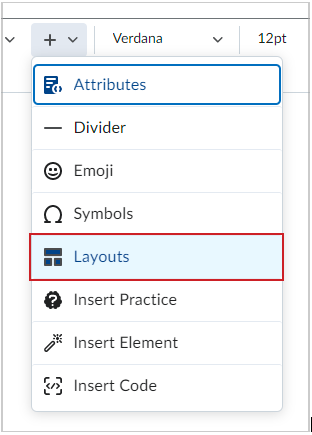
Select other Insert Options > Layouts.
-
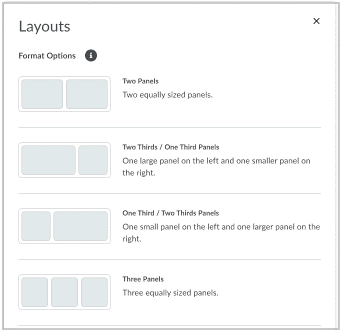
In the Format Options section, select one of the following layout options:
- Two Panels
- Two Thirds / One Third Panels
- One Third / Two Thirds Panels
- Three Panels
You can now begin creating content in your layout. Select a panel to begin adding content using tools from Brightspace Editor.
Detailed Examples of all Elements and Practices
For the following examples we are jumping at step 5 (above). Please review steps 1-4 above to understand where we are starting from.
Tabs are useful for providing information that belongs in a series. For example, laying out the information from a scientific study that has a hypothesis, a method, and findings.
Please note that the demo video does not have audio. Text instructions follow below.
To insert Tabs:
-
Click on the Other Insert Option icon in the HTML Editor Ribbon.

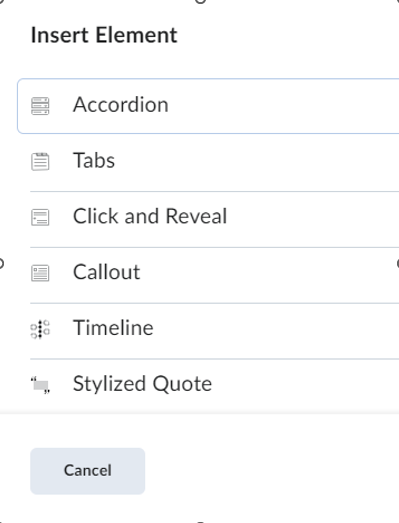
- Select Insert Element.
-
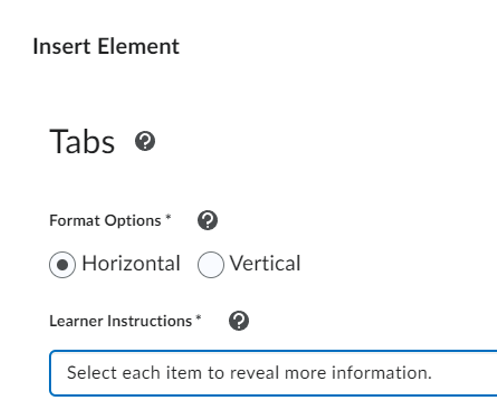
Select the Element you want to add to your page. In this example we will be inserting the Tabs element.
-
Tabs have the option to be created vertically or horizontally. Select which option you prefer. Then edit the Learner Instructions as desired.
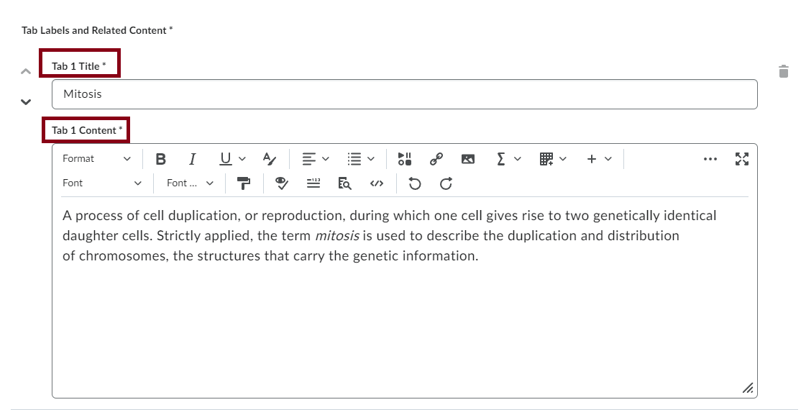
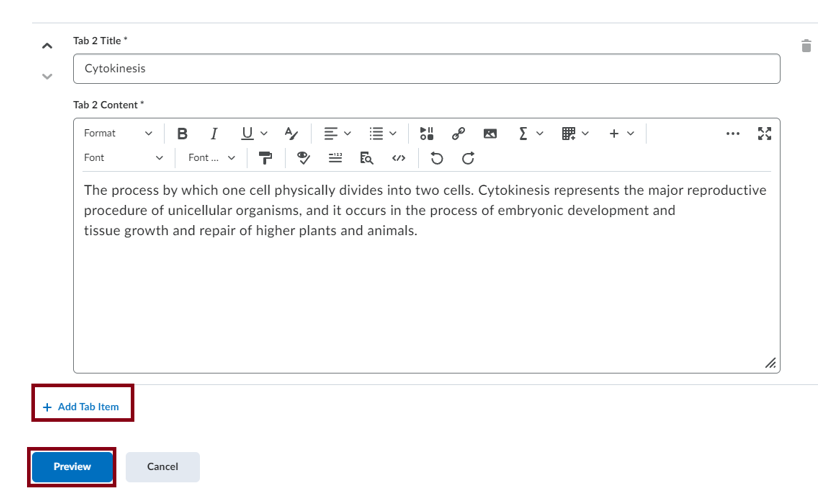
-
To edit the content of the tabs, fill out the Tab 1 Title and Tab 1 Content, then continue on to tab 2. If you need to add more tabs, click on the Add Tab Item at the bottom.
-
Once you’re finished click on Preview. If you are satisfied, click insert. If you wish to continue editing, click on Back.
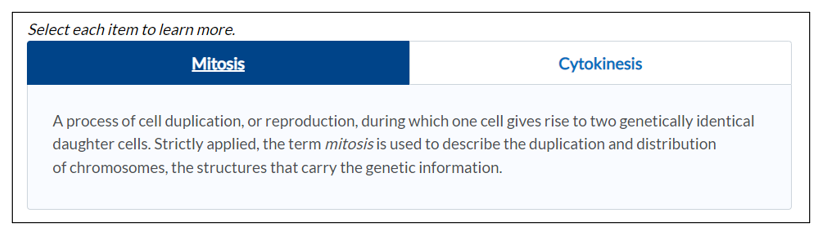
-
To view the element in action. Click Save and Close. You will then be able to try out the Practices and Elements and see what it will look like to students.
Accordions are useful when you have a list of items with additional information to learn about each item. Using an accordion allows the learner to focus on learning the list first, then expanding their understanding by opening each accordion. Scaffolding content in this way supports the cognitive organization of this information.
Please note that the demo video does not have audio. Text instructions follow below.
To Insert Accordions:
-
Click on the Other Insert Option icon in the HTML Editor Ribbon.
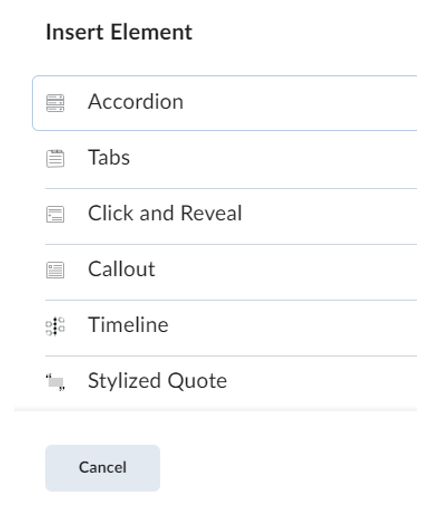
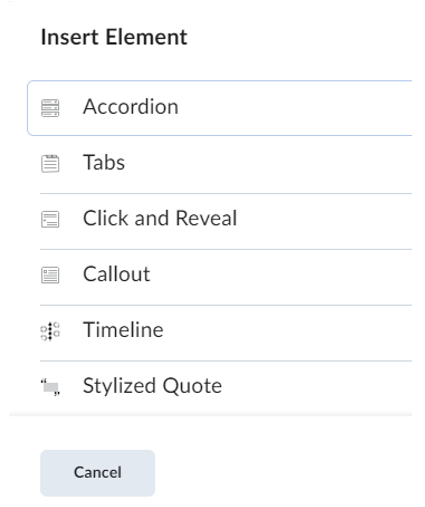
- Select Insert Element.
-
Select the Element you want to add to your page. In this example we will be inserting the Accordion element.
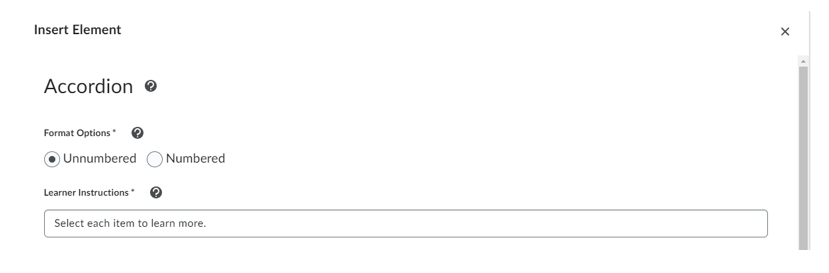
-
Accordions can be numbered or unnumbered. Select the appropriate option. For this example we are selecting unnumbered.
-
Type in the first accordion tab title and it’s contents. Then continue with the second, then third by clicking on Add Accordion Item, and so on until you have entered in all the relevant information. Then click Preview.
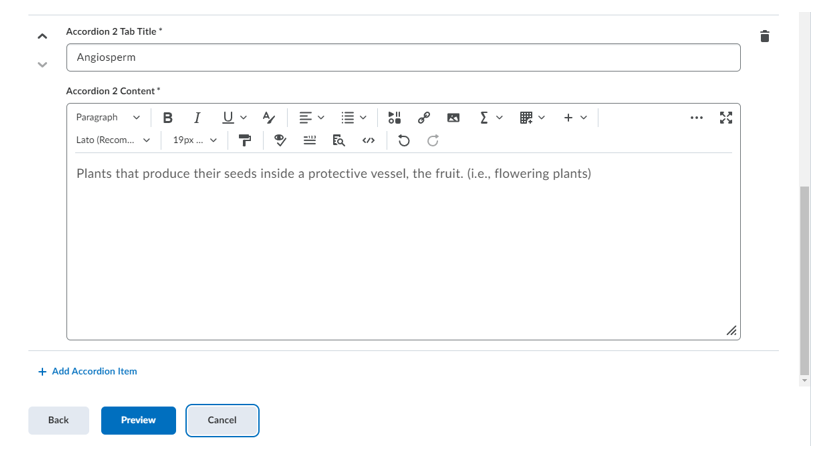
-
Test out the element. If you are satisfied, click Insert. If not, click Back to continue editing. Once you have clicked insert, click Save and Close to view the completed page.

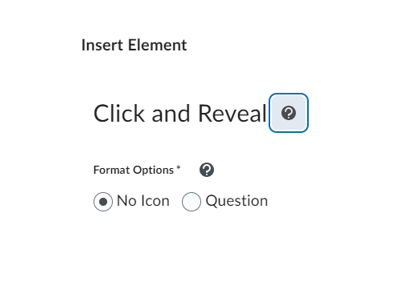
Click and Reveals are a useful tool when you want to present a learner with a question, statement, or fact to reflect on before they select a button to reveal the key learning related to the original statement. You can also use a Click and Reveal to provide additional optional learning materials.
Please note that the demo video does not have audio. Text instructions follow below.
To insert Click and Reveal:
-
Click on the Other Insert Option icon in the HTML Editor Ribbon.
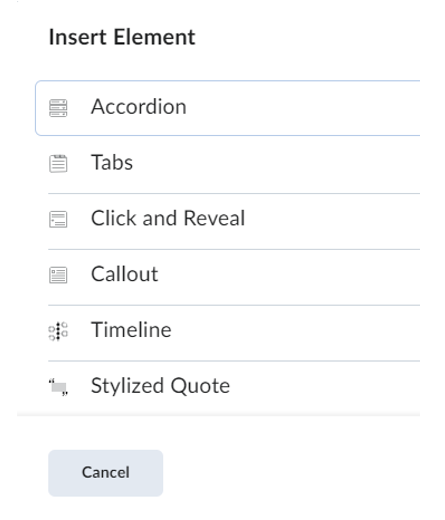
- Select Insert Element.
-
Select the Element you want to add to your page. In this example we will be inserting the Click and Reveal element.
-
The Click and Reveal has the option to include a Question icon or not. Select the desired option.
-
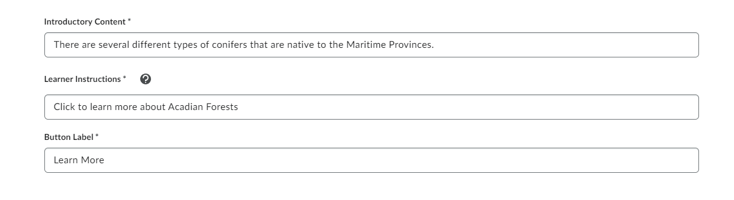
Add in the Introductory Content and Learner Instructions. You can also edit the button Label.
-
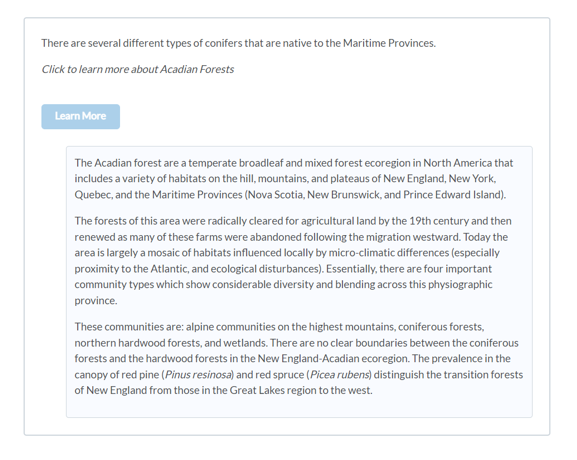
In the Revealed content box, type in the information you want students to see once they click on the button.

-
Click Preview. Test out the element. If you are satisfied, click Insert. If not, click Back to continue editing. Once you have clicked insert, click Save and Close to view the completed page.
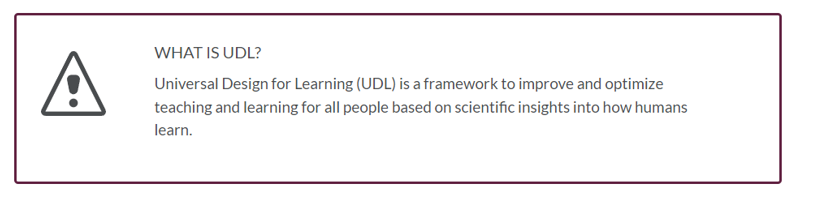
A callout is a bordered rectangle. It separates the content within the rectangle from the rest of the content. Callouts are useful for drawing attention to a key detail or an aside to the primary content, like a case study, definition, or anecdote.
Please note that the demo video does not have audio. Text instructions follow below.
To insert a Callout:
-
Click on the Other Insert Option icon in the HTML Editor Ribbon.
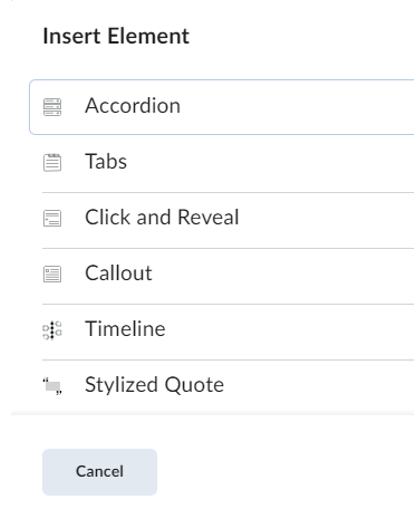
- Select Insert Element.
-
Select the Element you want to add to your page. In this example we will be inserting the Callout element.
-
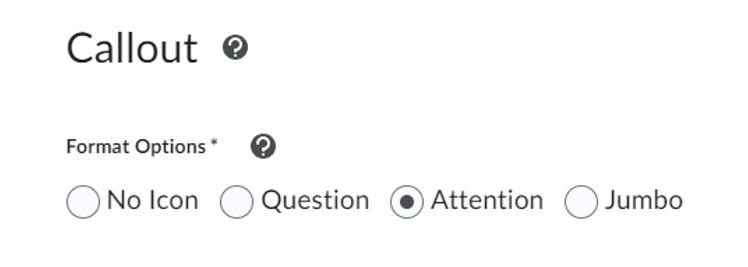
In Callouts, you have 3 icon options: Question, Attention, and Jumbo. Select you desired option.
-
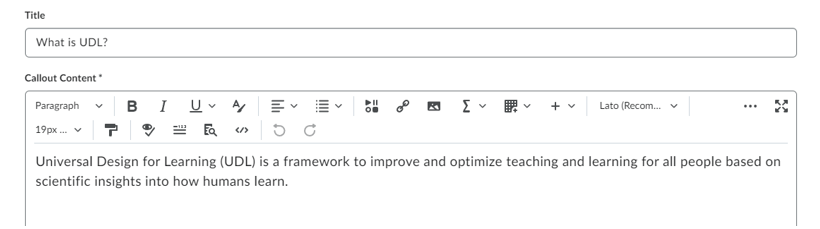
Add in information in the Title and Callout Content boxes.
-
Click Preview. Test out the element. If you are satisfied, click Insert. If not, click Back to continue editing. Once you have clicked insert, click Save and Close to view the completed page.
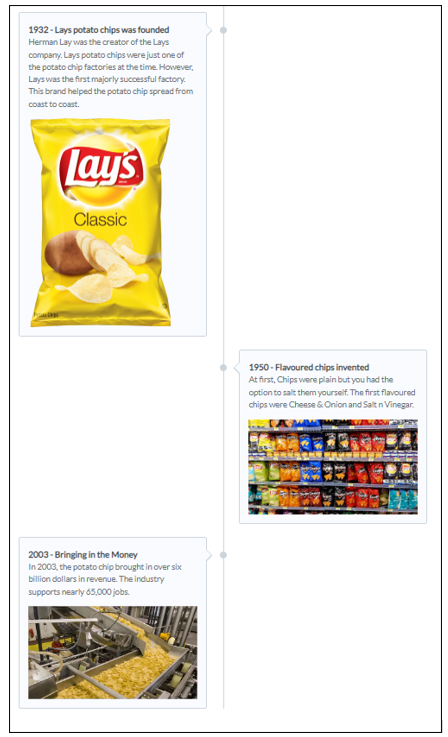
A timeline is useful for laying out events over a period of time, the steps in a process, or items in a series. A timeline can also be useful for demonstrating two sides of a conversation.
Please note that the demo video does not have audio. Text instructions follow below.
To insert a Timeline:
-
Click on the Other Insert Option icon in the HTML Editor Ribbon.
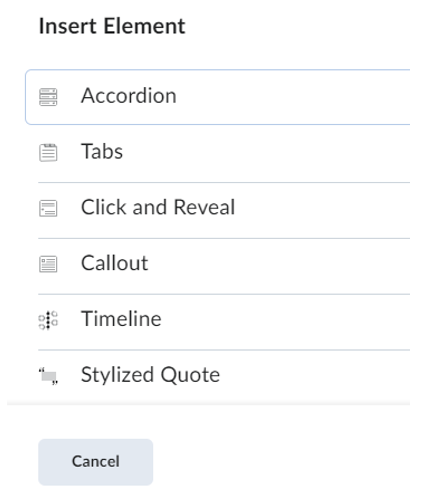
- Select Insert Element.
-
Select the Element you want to add to your page. In this example we will be inserting the Timeline element.
-
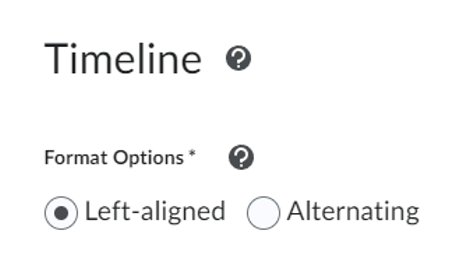
The timeline has two format options. You can select from either Left-aligned timeline, or alternating timeline which will have content alternation left and right of the timeline. Select your desired Format Option.
-
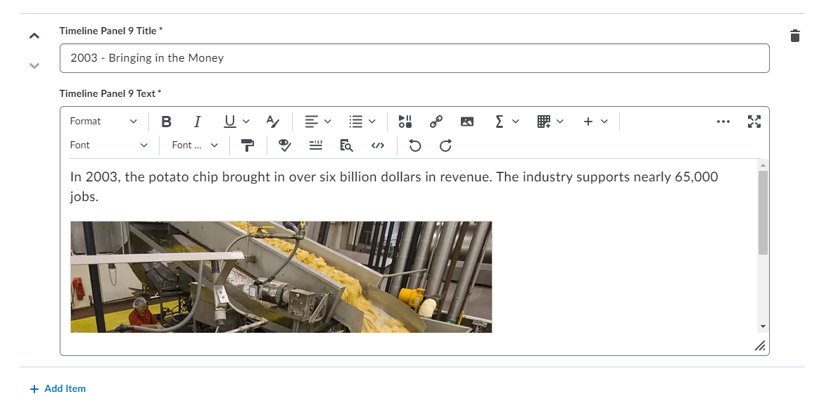
Add in the panel titles and Text as required. You can add additional Panels by clicking add Item at the bottom.
-
Click Preview. Test out the element. If you are satisfied, click Insert. If not, click Back to continue editing. Once you have clicked insert, click Save and Close to view the completed page.
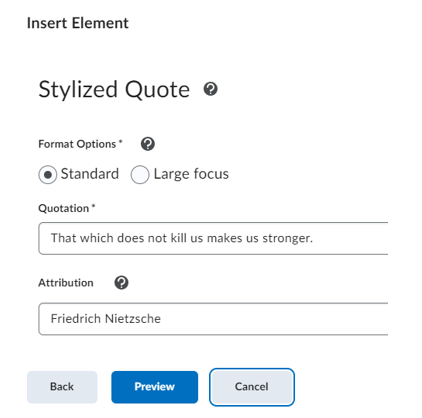
A stylized quote uses large, stylized quotation marks and colour to set it apart from primary content.
Please note that the demo video does not have audio. Text instructions follow below.
To insert a stylized quote:
-
Click on the Other Insert Option icon in the HTML Editor Ribbon.
- Select Insert Element.
-
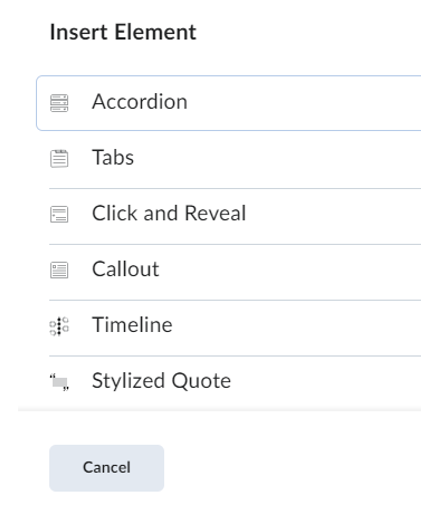
Select the Element you want to add to your page. In this example we will be inserting the Stylized Quote element.
- There are 2 format options for stylized quotes: standard and large focus. Select the desired format option.
-
Insert the quote text under Quotation. Including an attribution is optional, but this is where you would insert the name of the person or group that you are quoting.
-
Click Preview. Test out the element. If you are satisfied, click Insert. If not, click Back to continue editing. Once you have clicked insert, click Save and Close to view the completed page.
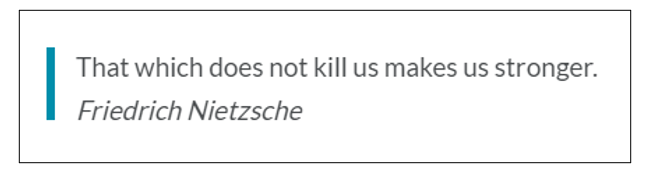

Top Image is the Standard format while bottom image is the Large Focus format.
Flip cards are an excellent choice for displaying a collection of items, that don’t necessarily have a strict structure in their relationship to one another. This of flip cards like items that belong in the same group that can be laid out at random without impacting meaning. Flip cards are an especially engaging choice when you can incorporate images.
Please note that the demo video does not have audio. Text instructions follow below.
To insert Flip Cards:
-
Click on the Other Insert Option icon in the HTML Editor Ribbon.
- Select Insert Element.
-
Select the Element you want to add to your page. In this example we will be inserting the Flip Cards element.
-
Update the learner instructions as necessary.
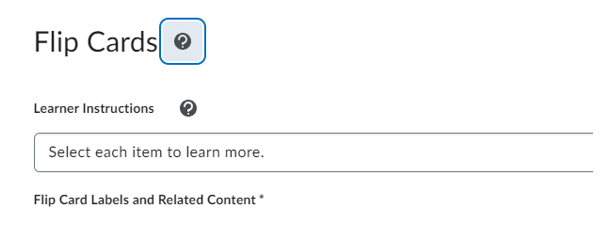
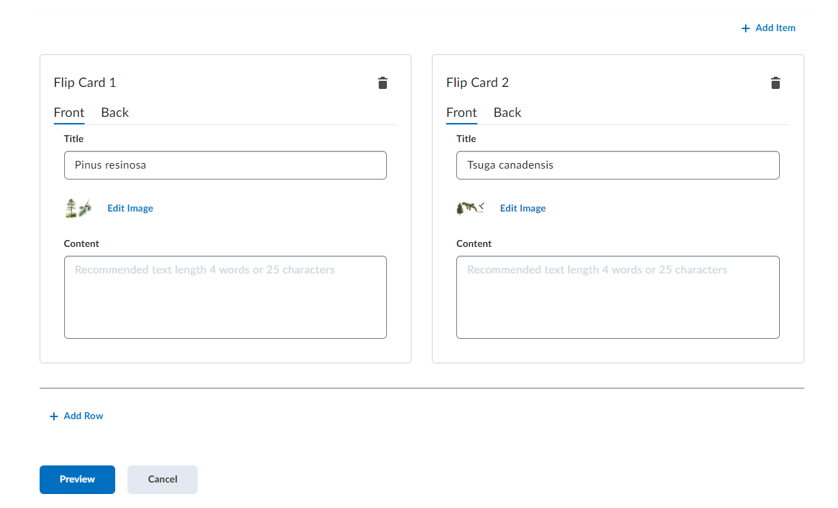
- Start by filling out the information for Flip Card 1. Add in a title and Content to the Front, then click on Back to add a title and content to the back of the card.
-
With flip cards you can add additional cards either horizontally (one next to the other) by clicking Add Item on the right on the page, or vertically (one on top of the other) by clicking on Add Row.
-
Click Preview. Test out the element. If you are satisfied, click Insert. If not, click Back to continue editing. Once you have clicked insert, click Save and Close to view the completed page.
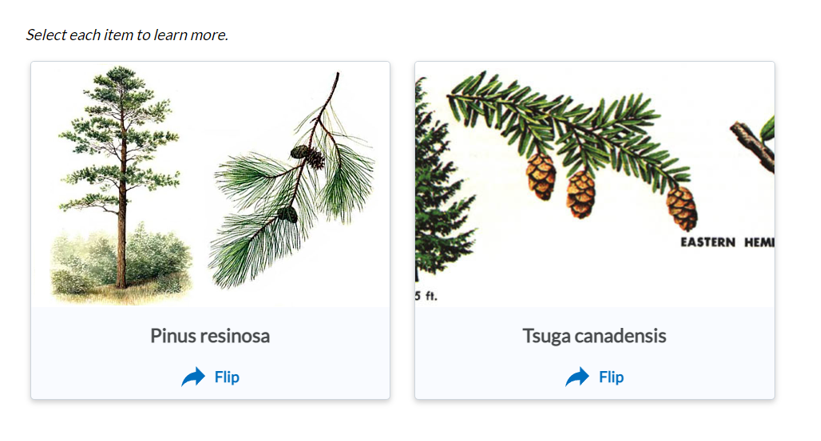
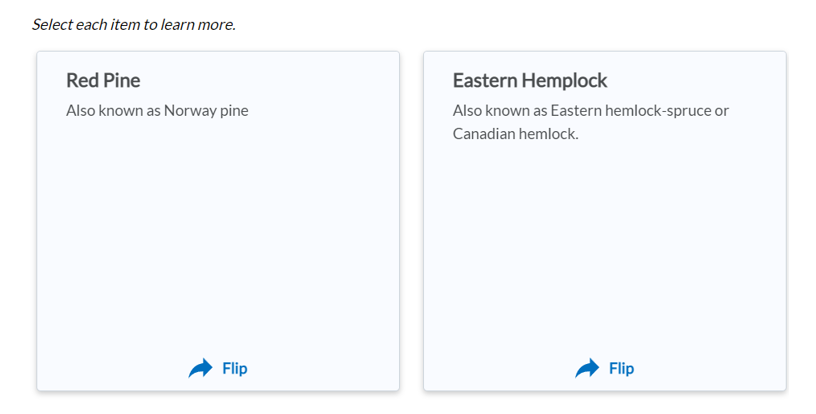
Top Image displays the front of the cards. The bottom image displays the back of the cards.
Hotspots provide a multilayer learning experience enriched with multimedia and interactive components that promote exploration, analysis, and evaluation. Learners can select and open active icons to learn more about the parts of an image. An invisible grid overlay allows the image to be fully accessible with the integration of micro alt tags.
Please note that the demo video does not have audio. Text instructions follow below.
To add hotspot markers to images:
-
In Brightspace Editor, select Other Insert Options > Insert Element.
- In the Insert Element dialogue, click Hotspot.
- Choose to keep the default Learner Instructions or add custom Learner Instructions.
- Click Add Image and select an image from your personal device. Enter alt text in the Alternative Text field.
- Click Save.
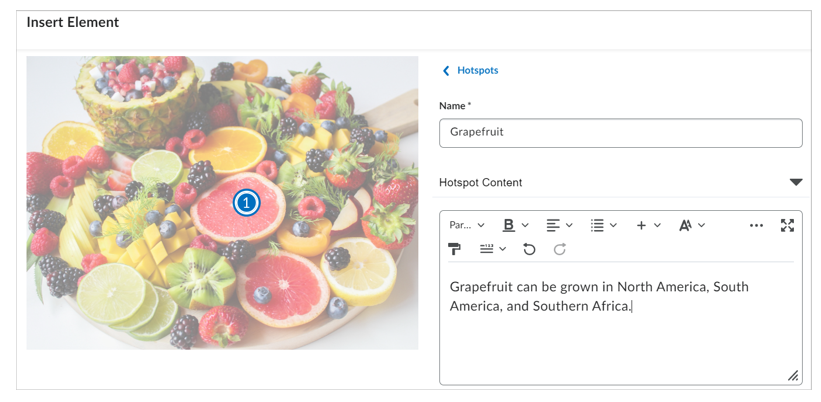
- Click anywhere on the image to place a hotspot marker. The interface to build content associated with the hotspot appears to the right of the image.
- In the right panel, select a hotspot to edit or add content. Each hotspot is labeled in the order in which you placed the marker.
- You can rename the hotspot, Hotspot names are used for editing and for screen reader users.
-
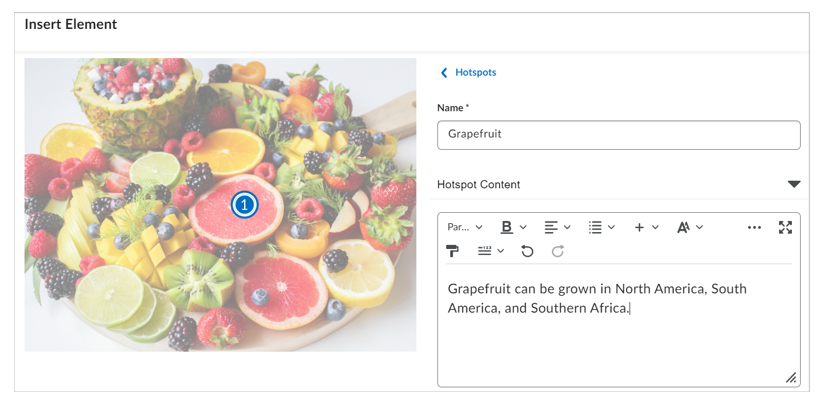
In the Hotspot field, use the full HTML editor ro add a description or more information, additional images, videos, and links to additional resources.
-
Click Hotspot Marker to change the icon and colour of a hotspot marker.
- Select Hotspots to return to the hotspot selection option. Repeat steps 6-10 for all hotspots. Note: you can insert up to nine hotspot markers for an image.
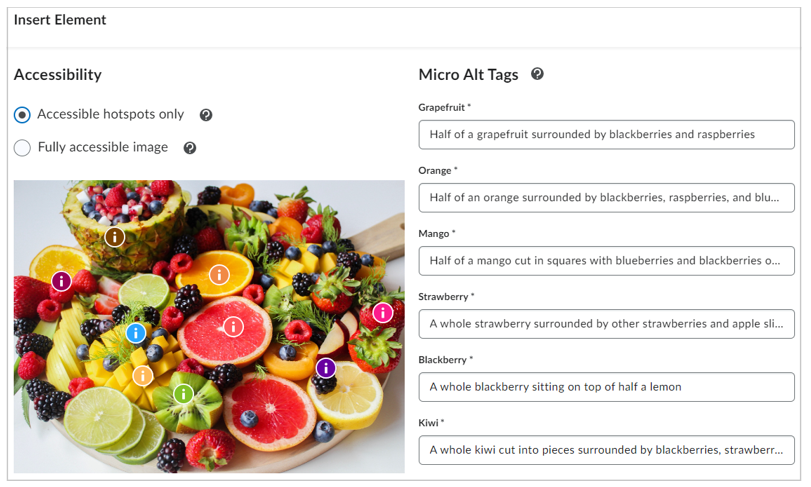
- After adding all your hotspot markers, below Learner Instructions, click Accessibility.
-
Under the Accessibility heading, select one of the following:
- Accessible hotspots only: Let’s you add a micro alt tag for each hotspot to describe the part of the image associated with the hotspot. This is an ideal option when the position of the hotspot within the image or the contextual details of the image are not relevant to the learning.
- Fully accessible image: Lets you split the image into a gride, allowing you to add a micro alt tag for each cell of the grid to describe all parts of the image. This is an ideal option when the position of the hotspot within the image or the contextual details of the image will inform the learning.
-
Add micro alt tags as required based on your accessibility section.
- Click Save and Insert to add the Hotspot into the Content page.
- Click Save and Close.
You have created a Hotspot Element.
A Carousel is like a mini slide show that can be embedded right into your course page. Each Carousel slide can display an image and text. Learners have the option of progressing to the next slide in the Carousel or going back to view a previous slide.
Please note that the demo video does not have audio. Text instructions follow below.
To insert a Carousel:
-
Click on the Other Insert Option icon in the HTML Editor Ribbon.
- Select Insert Element.
- Select the Element you want to add to your page. In this example we will be inserting the Carousel element.
- Update the learner instructions as necessary.
-
Edit each Carousel Slide by uploading an image, adding title, and/or adding text.

- Two slides will populate by default. Click on Add Slide at the bottom of the page to add additional slides.
- Click on Preview to view to preview your slides. If happy, click on Insert. If you wish to make changes, click back and proceed with editing.
- Once inserted, click on Save and Close (or Save) to save your HTML page.
Please note that the demo video does not have audio. Text instructions follow below.
To insert the Dropdown fill in the blank Practice:
-
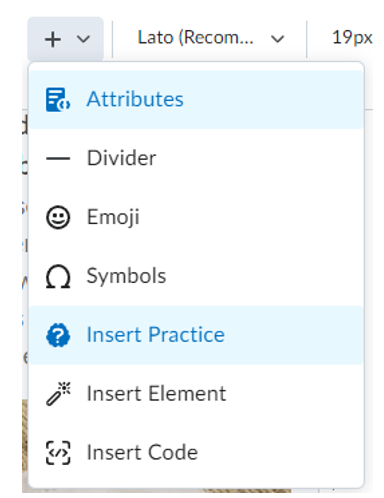
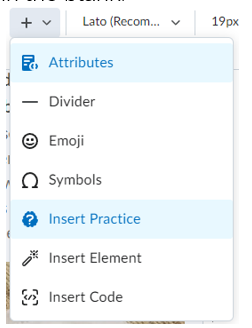
Click on the Other Insert Option icon in the HTML Editor Ribbon.
- Select Insert Practice.
-
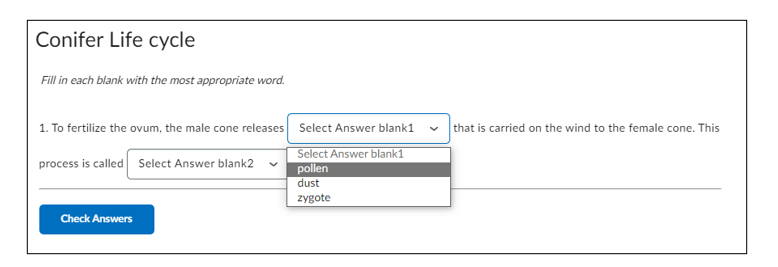
Select the Practice you want to add to your page. In this example we will be inserting the Dropdown fill in the blank.
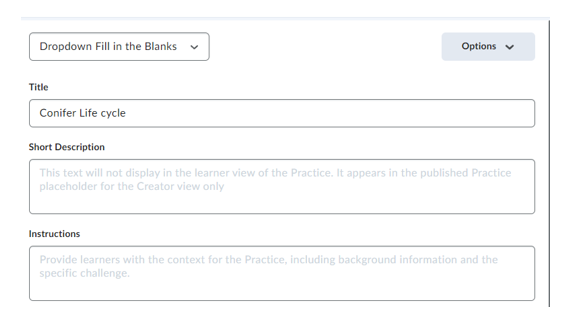
-
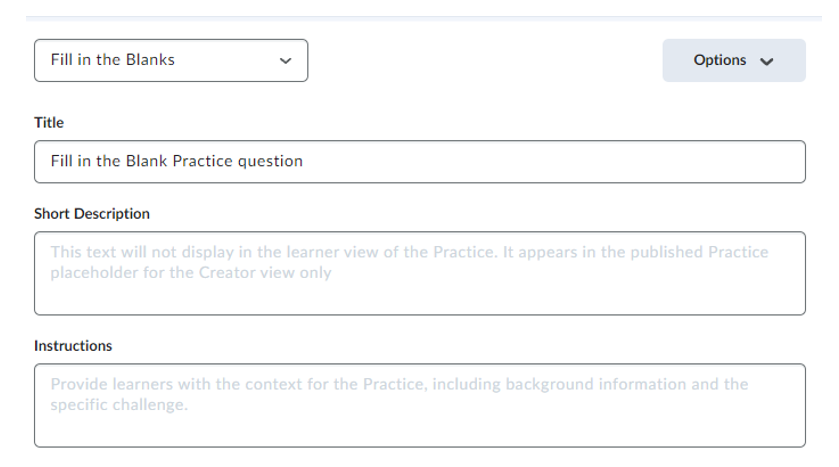
Add in a title. Description and instructions are optional but recommended.
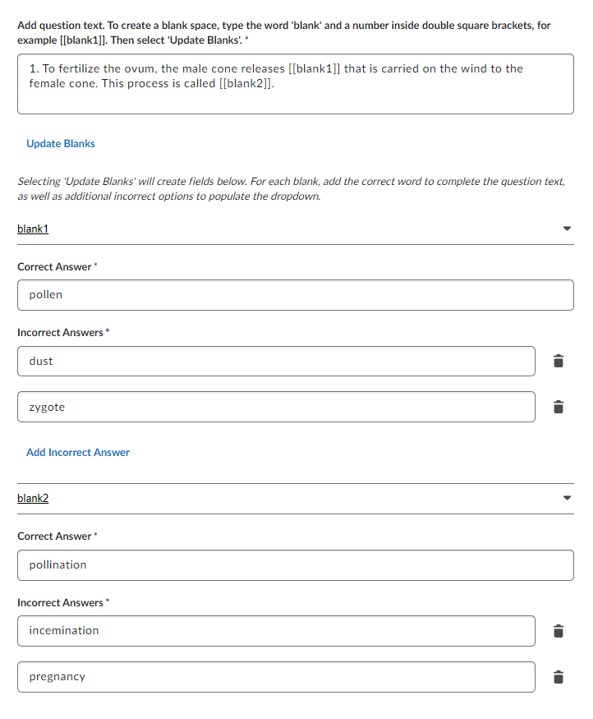
- Add in question text. To create a blank spot, type in [[blank1]]. To add a second blank type [[blank2]], etc. Click on Update Blanks once you’ve added all your blank spots.
-
This will create blank fields below where you can type in the correct answer, as well as incorrect answers to add options to choose from in the drop down menu.
-
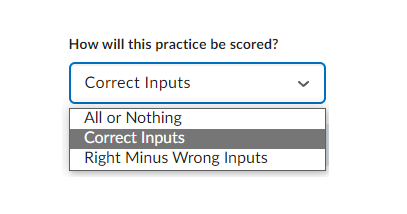
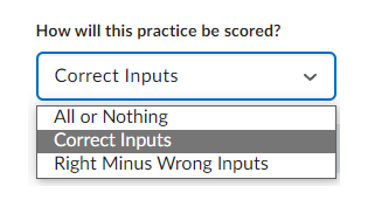
Select how the practice will be scored.
-
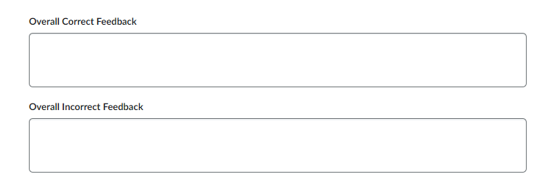
If you would like to add in feedback for the student, click on Options at the top of the page and select Add Feedback. This will create two new boxes at the bottom of the page where you can type in your feedback.
-
Click Preview to test out the question or Insert to add the practice onto your page.

Please note that the demo video does not have audio. Text instructions follow below.
To insert the Fill in the blank Practice:
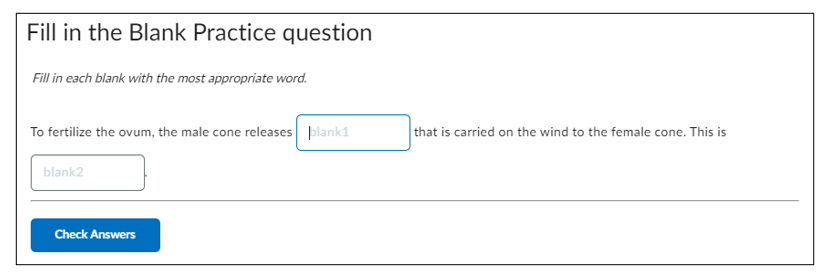
-
Click on the Other Insert Option icon in the HTML Editor Ribbon.
- Select Insert Practice.
-
Select the Practice you want to add to your page. In this example we will be inserting the Fill in the blank.
-
Add in a title, short Description, and Instructions as desired.
- Add in question text. To create a blank spot, type in [[blank1]]. To add a second blank type [[blank2]], etc. Click on Update Blanks once you’ve added all your blank spots.
-
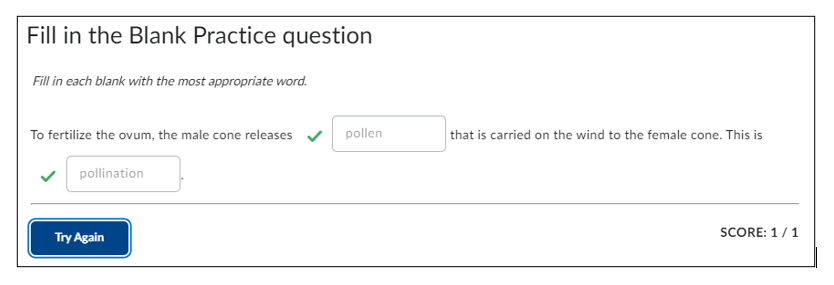
This will create blank fields below where you can type in the correct answer. You will also have the option to add in alternative answers, turn on the case sensitive option, and create regular expressions.

-
Select how the practice will be scored.
-
If you would like to add in feedback for the student, click on Options at the top of the page and select Add Feedback. This will create two new boxes at the bottom of the page where you can type in your feedback.

-
Click Preview to test out the question or Insert to add the practice onto your page.
Please note that the demo video does not have audio. Text instructions follow below.
To insert the Multi-Select Practice:
-
Click on the Other Insert Option icon in the HTML Editor Ribbon.
- Select Insert Practice.
-
Select the Practice you want to add to your page. In this example we will be inserting the Multi-Select.
-
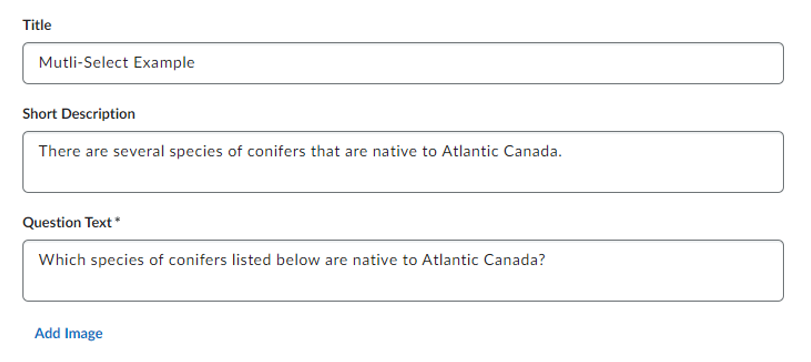
Add in a title and short description as desired.
-
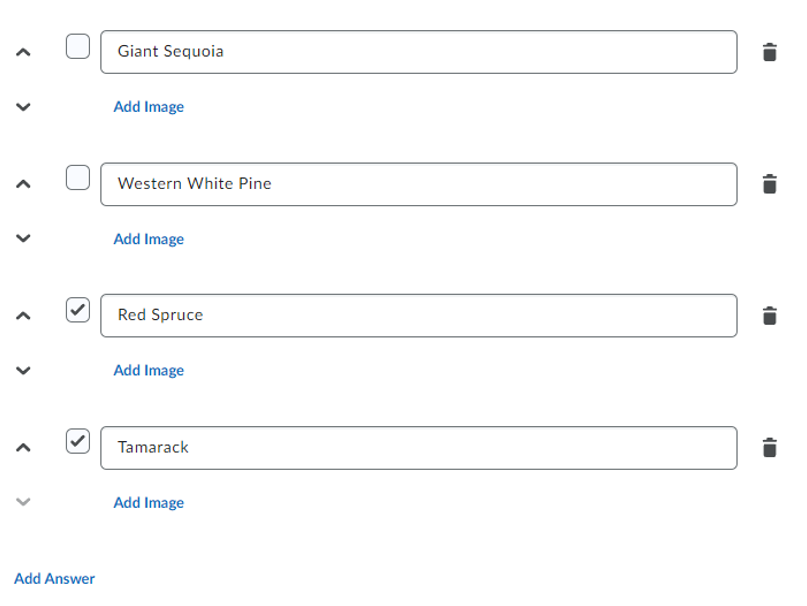
Type in the Question in the Question text box, then type in the answers below. To add more answer options, click on Add Answer. You also have the option to add in images. Finally, make sure to select the correct answers.
-
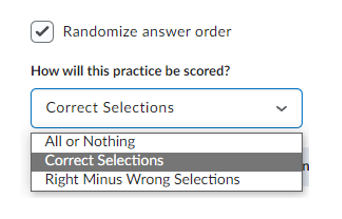
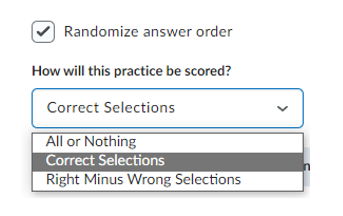
Then check off Randomize answer order if you wish to do so and select how the practice will be scored from the drop-down.
-
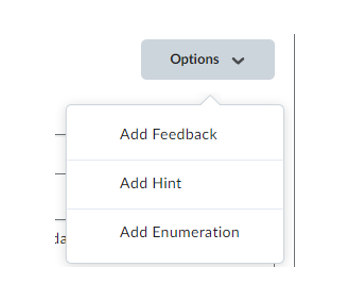
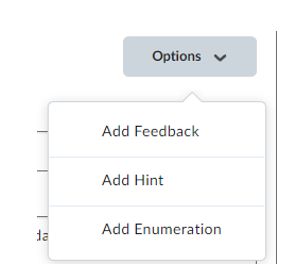
If you would like to add in feedback, hints, or enumeration, click on Options at the top of the page and select the appropriate choice.
-
Click Preview to test out the question or Insert to add the practice onto your page.
Please note that the demo video does not have audio. Text instructions follow below.
To insert the Multiple Choice Practice:
-
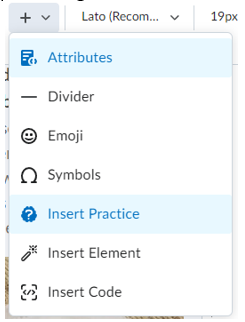
Click on the Other Insert Option icon in the HTML Editor Ribbon.
- Select Insert Practice.
-
Select the Practice you want to add to your page. In this example we will be inserting the Multiple Choice.
-
Add in a title and short description as desired.
-
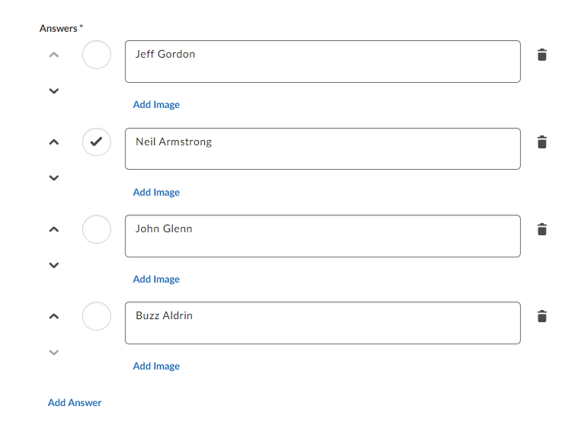
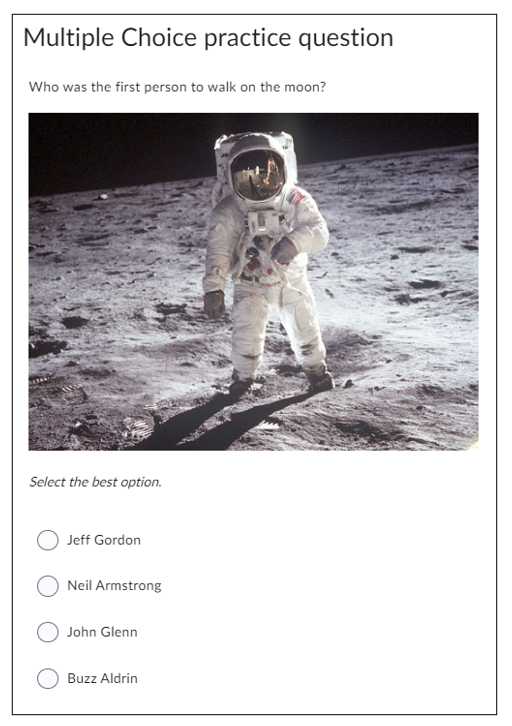
Type in the Question in the Question text box, then type in the answers below. To add more answer options, click on Add Answer. You also have the option to add in images. Finally, make sure to select the correct answer.
-
Then check off Randomize answer order if you wish to do so and select how the practice will be scored from the drop-down.
-
If you would like to add in feedback, hints, or enumeration, click on Options at the top of the page and select the appropriate choice.
-
Click Preview to test out the question or Insert to add the practice onto your page.
Please note that the demo video does not have audio. Text instructions follow below.
To insert the Sequencing Practice:
-
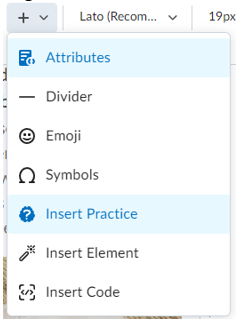
Click on the Other Insert Option icon in the HTML Editor Ribbon.
- Select Insert Practice.
-
Select the Practice you want to add to your page. In this example we will be inserting the Sequencing.
-
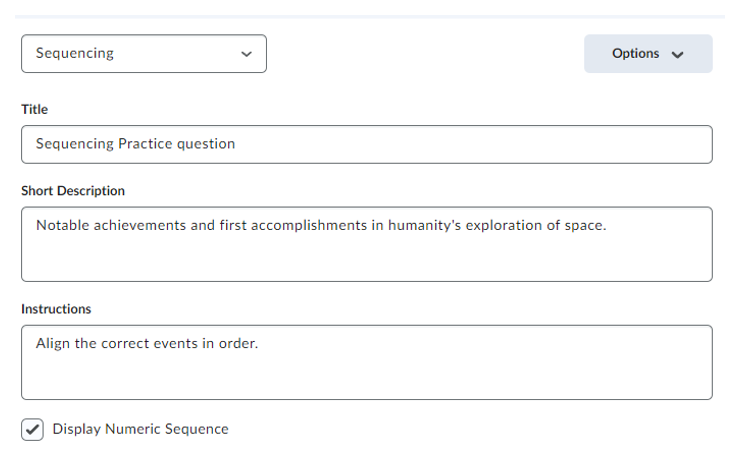
Add in a title, short description, and Instructions as desired.
-
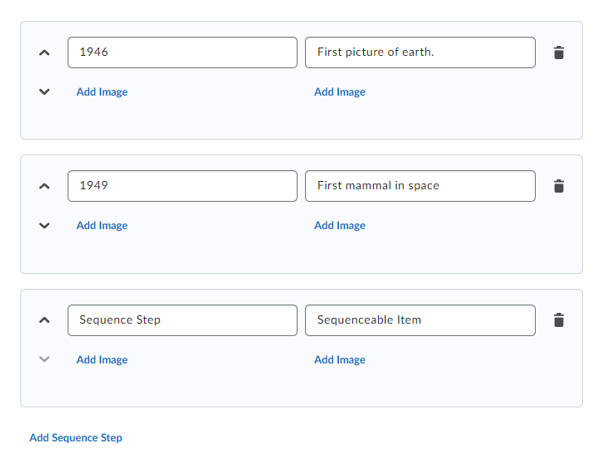
Type in the sequence steps and Items. The Items will automatically shuffle in the practice. If you need more steps, click on Add Sequence Step.
-
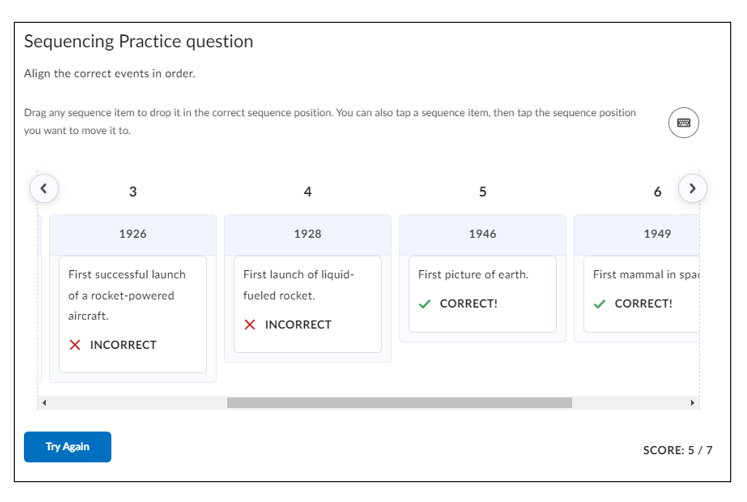
Click Preview to test out the question or Insert to add the practice onto your page.
Please note that the demo video does not have audio. Text instructions follow below.
To insert the Sorting Practice:
-
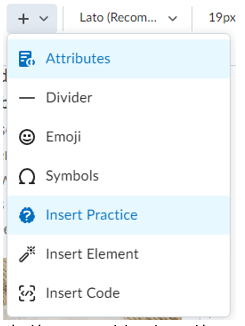
Click on the Other Insert Option icon in the HTML Editor Ribbon.
- Select Insert Practice
-
Select the Practice you want to add to your page. In this example we will be inserting the Sorting.
-
Add in a title, short description, and Instructions as desired.
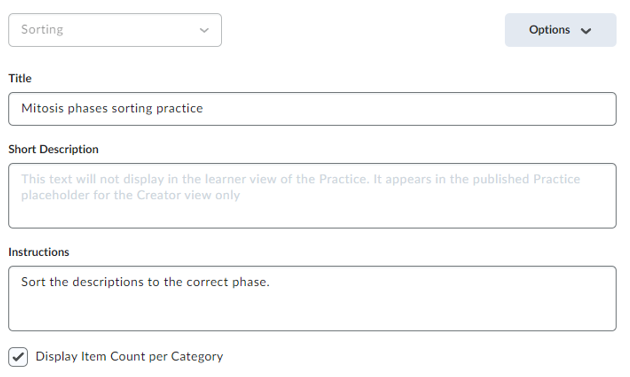
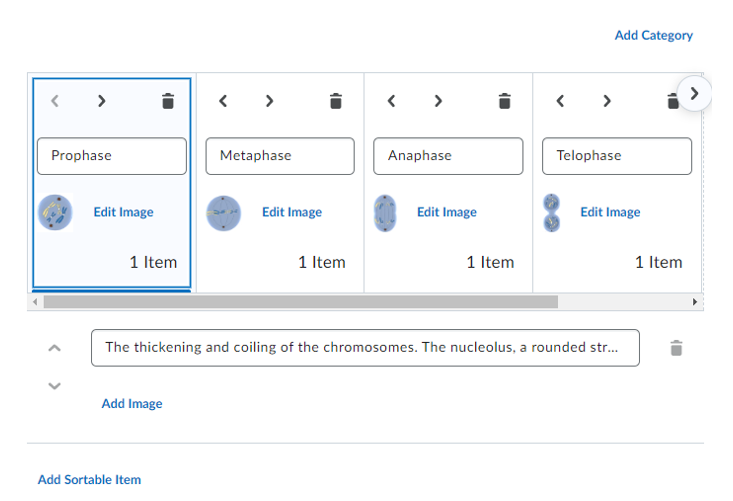
- Fill out the category information. Click add category to add more
-
Click in a category and set up the associated sortable item. You can more than 1 sortable item to a category, if necessary, by clicking on Add Sortable Item.
-
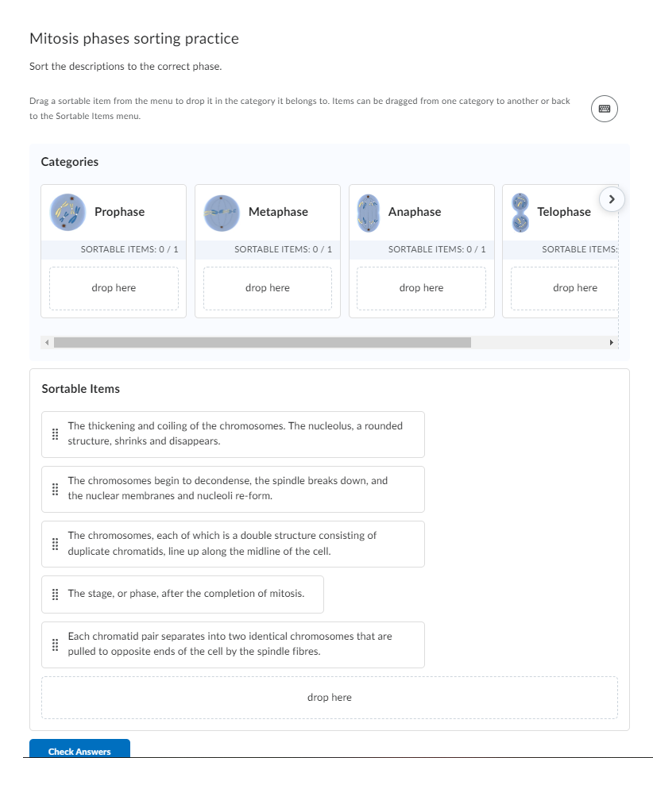
Click Preview to test out the question or Insert to add the practice onto your page.
Please note that the demo video does not have audio. Text instructions follow below.
To insert the Sorting Practice:
-
Click on the Other Insert Option icon in the HTML Editor Ribbon.
- Select Insert Practice
-
Select the Practice you want to add to your page. In this example we will be inserting the True or False.
- Add in a title, short description, and Instructions as desired.
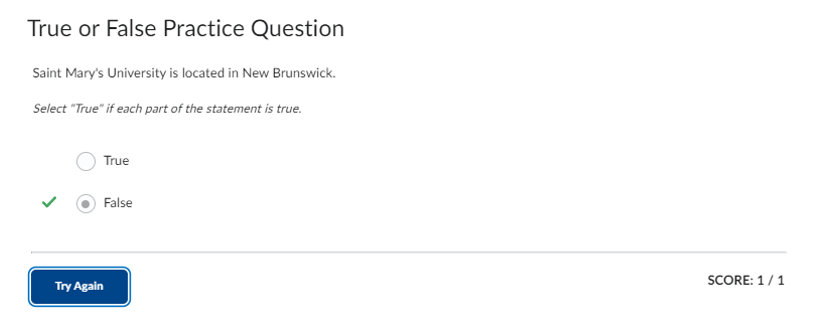
- Type in the Question Text and select the correct answer.
-
Click on Options at the top of the page to add in Feedback, Hints, and/or Enumeration.
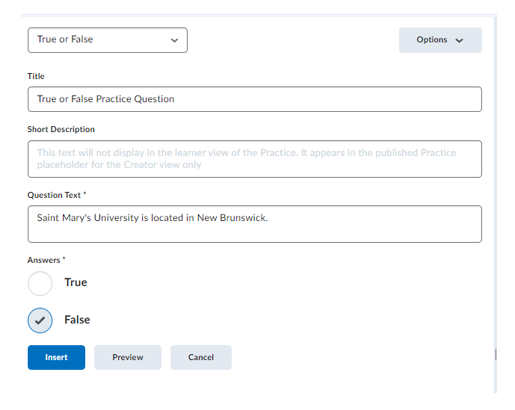
-
Click Preview to test out the question or Insert to add the practice onto your page.
Back to top


