Intro to Microsoft OneNote
Note: Each Brightspace course shell can only have one. Class Workbook associated with them. For each subsequent course, a new workbook will be created.
- Create a new Class Workbook; you may have to make a new OneNote LTI integration.
- To make a new OneNote LTI integration go to Integrate OneNote Class Notebook with an LMS and sign in with your SMU email address and password if prompted.
-
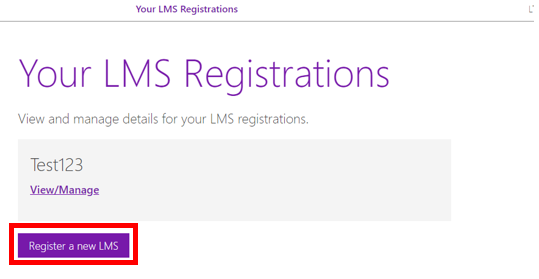
Register a new LMS through this link.
-
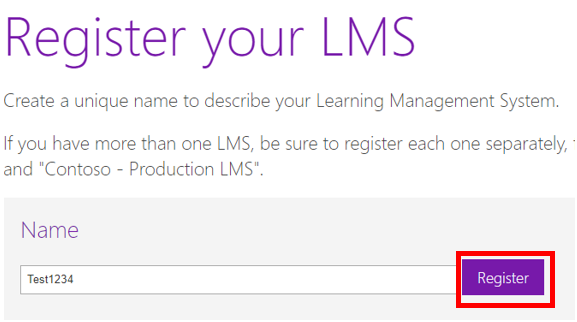
Give the LMS a name. I suggest the course name and/or course number. Then select the register button.
-
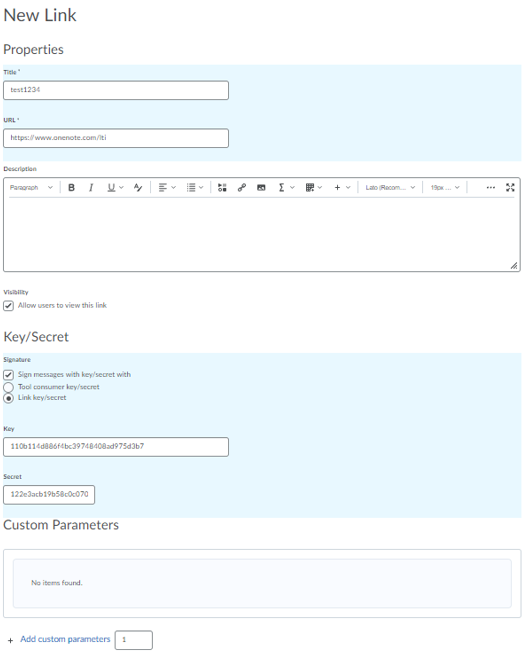
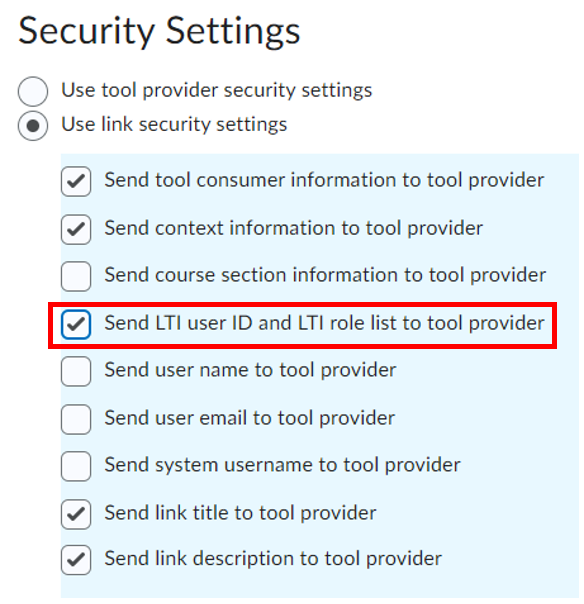
Copy the configuration details from OneNote LTI to your BRightspace course. To select the screen to add the configuration details, go to Course Tools > Edit Course > External Learning Tools. Select New Link button. Give the Link a title (course name and/or course number). Copy the details from OneNote LTI into the appropriate fields below. Remember to select Send LTI user ID and LTI role list to tools provider. Then select Save and Close.
- Navigate to the content module where you would like to add the link to the OneNote in. Select the grey button Add Existing Activities. Then select External Learning Tools. A new window will pop up, select the LTI link you just created.
-
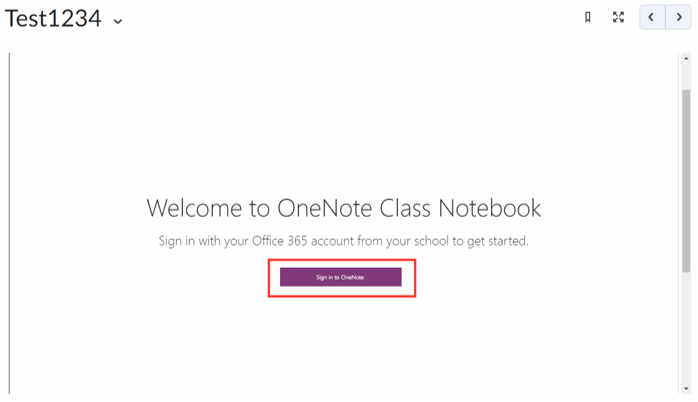
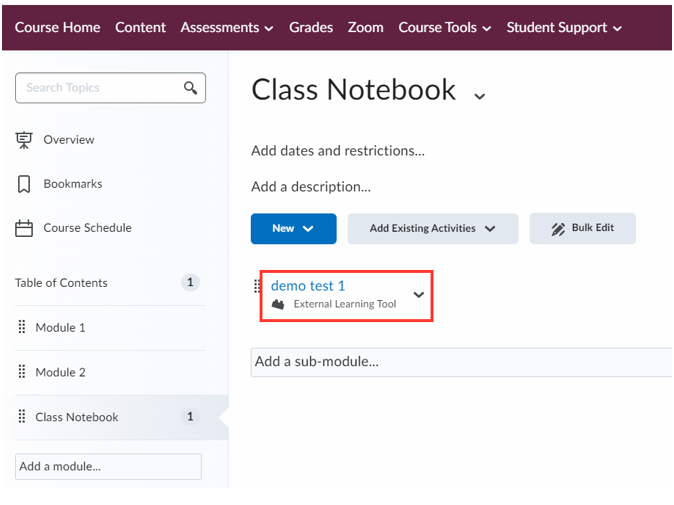
Select the new link that was created in the module for OneNote.
Note: It may require you to sign in to your office 365 account, use your SMU email and password.
-
Now, you will begin to create a new class notebook. Before completing step 1 - ‘What’s the name of your class?’ make sure the name that you decide to call it, is not already a name stored in your Class Notebooks folder of your personal OneDrive.
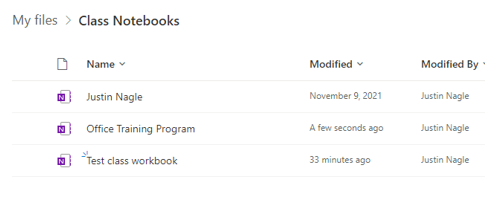
Note: Need to name the Class Workbook a different name than what I have in my Class Notebooks folder.
-
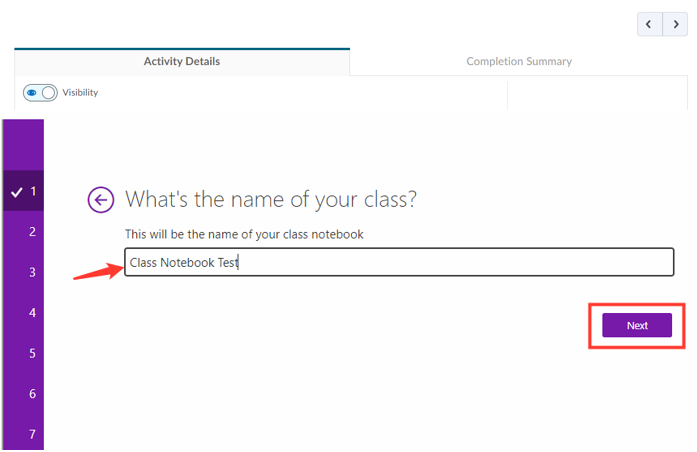
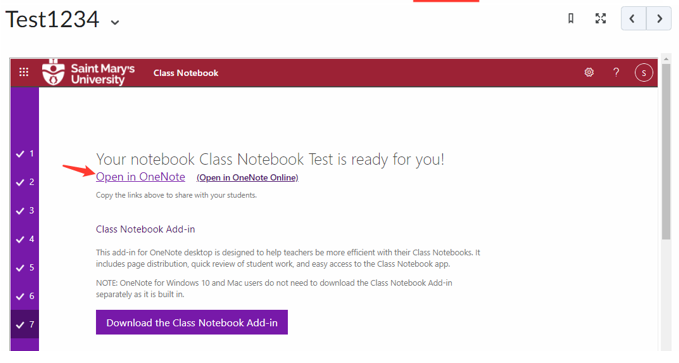
Continue to follow through the 7 steps of creating a class notebook. Refresh the page or navigate back to the module to get to this page.
-
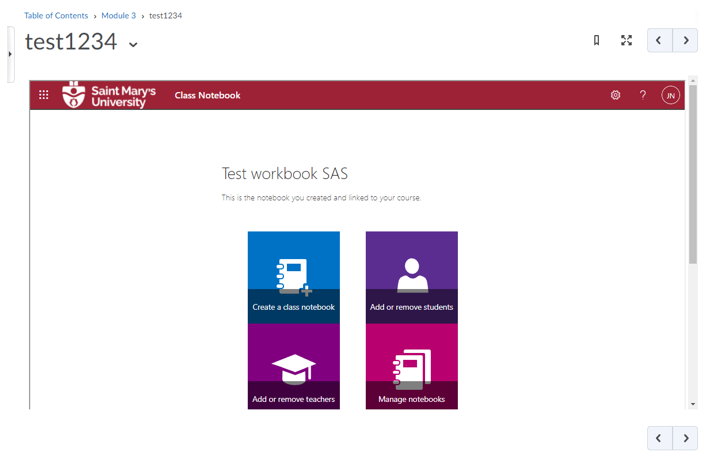
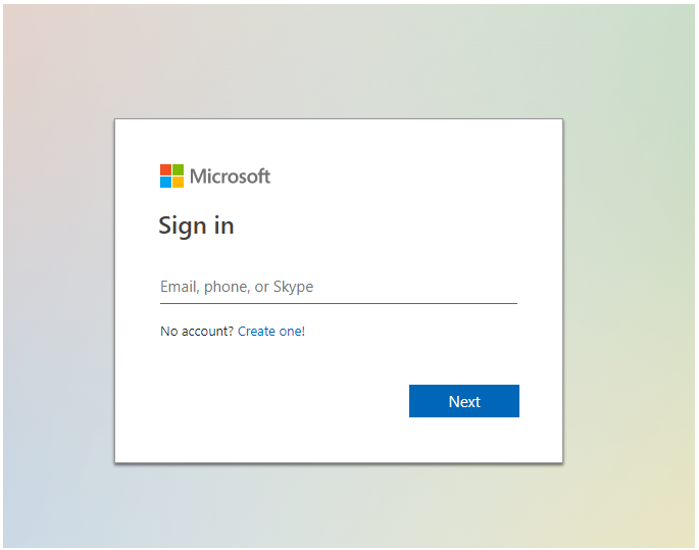
First sign in to your OneNote using your SMU email and password.
-
Click on Create a class notebook and give it a name. This will be your class notebook name.
- After you click next, it will show you all the section groups your class notebook will contain.
-
(Optional) You can also give access to your notebook to another instructor or teaching assistant by providing their SMU email address.

-
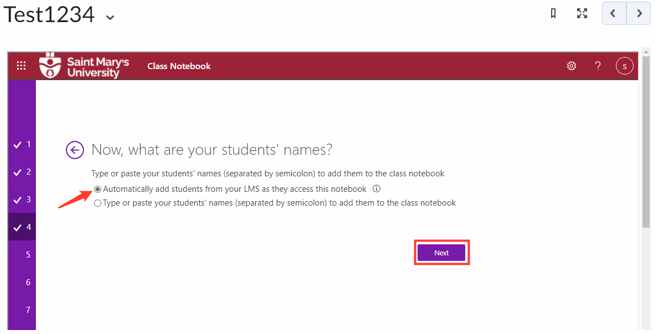
Select Automatically add students from your LMS as they access this notebook.
-
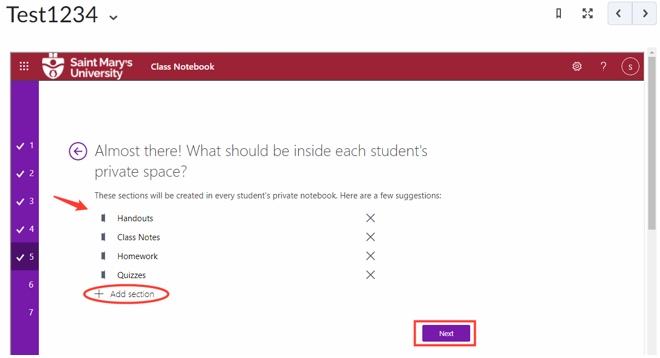
There are some default sections that will be created for each student. You can also add or remove them in this step.
-
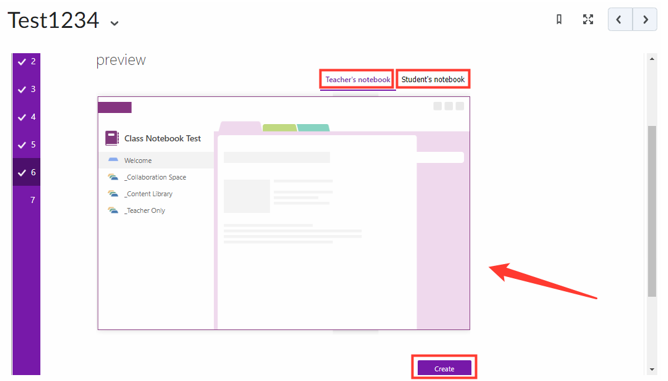
You can do a quick preview for Teacher’s notebook or Student’s Notebook and click Create.
-
First sign in to your OneNote using your SMU email and password.
How are students added to a Class Notebook that is integrated with Brightspace?
Students are automatically added into the Class Notebook when they access the notebook for the first time from Brightspace.
It is not recommended to add students manually as issues can occur since they are automatically added.
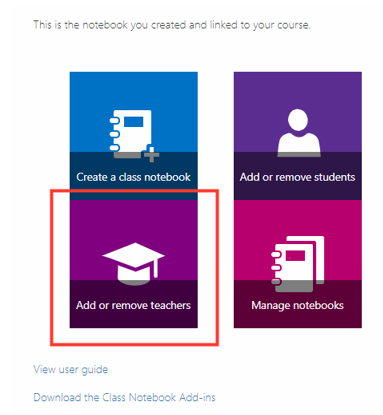
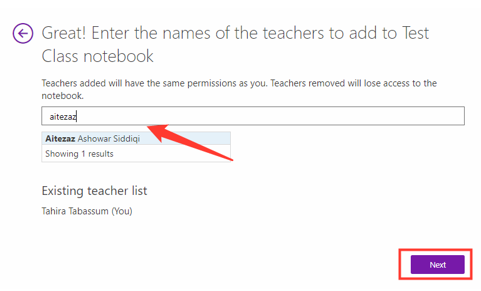
After clicking on the Add or remove teachers, select your class notebook where you would like to add the instructor. Then type in the name of the instructor you want to add, and it should show up on the box below. Select their name and once done, click Next.
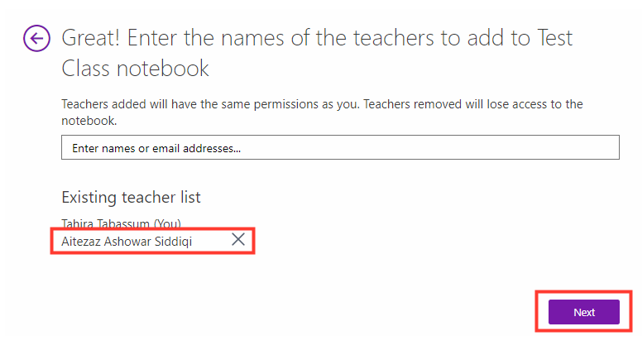
Then it will ask you to confirm the person you just added after which you can click on Update.
In the same way, if you would like to remove an instructor, go to the OneNote homepage and click on Add or remove teachers. Then select the class notebook. You will see a list of all the instructors that are present. You can click on the “X” next to the name and click Next.
Finally, it will ask you to confirm the changes you made and once done, click Next and then Update.
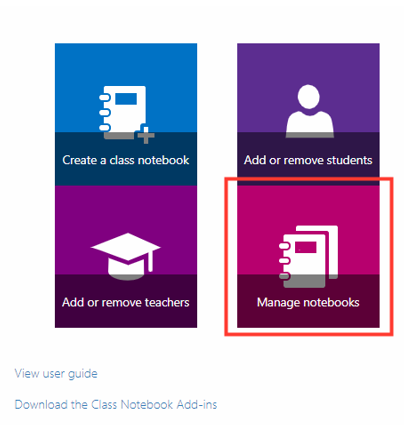
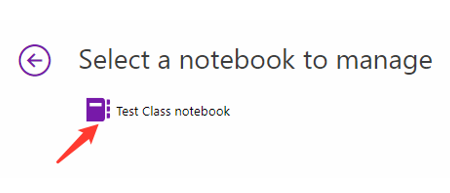
From your Brightspace OneNote homepage , select Manage notebooks and select your class notebook.
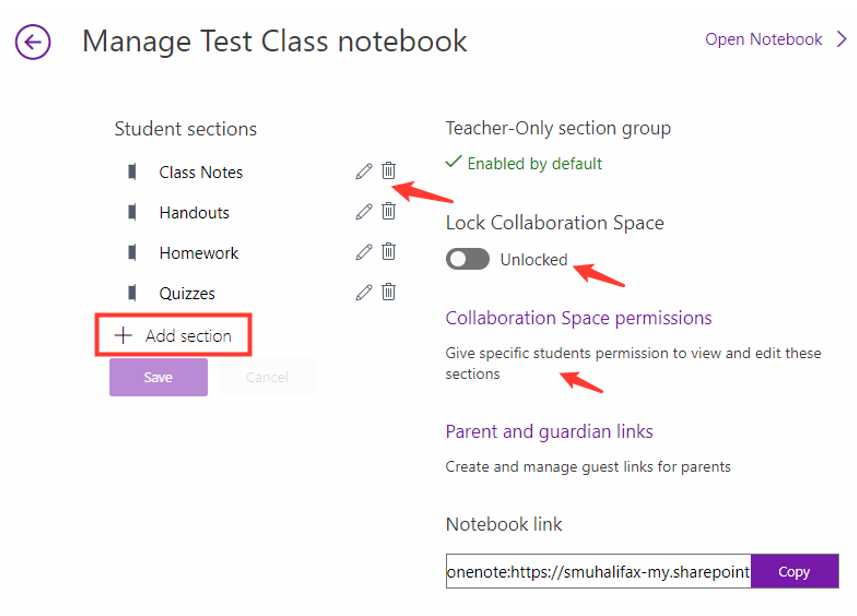
Once selected, now you can add different sections for e.g. homework, quizzes, etc. or change the names of your sections. Make sure to always keep the Lock collaboration option toggled off.
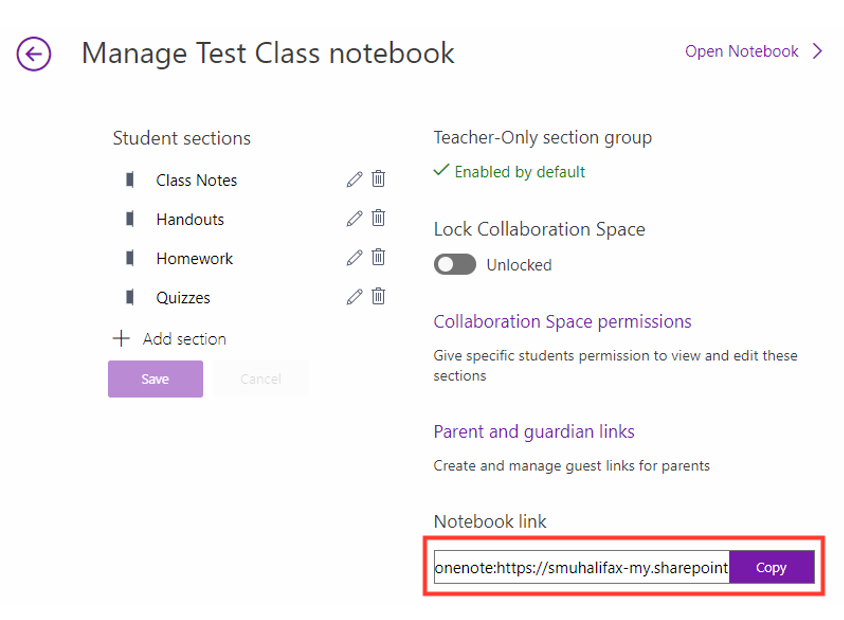
From the Manage notebooks, select your class notebook that you want to share the link for and copy the link from here:
Note: Please make sure the students sign in and access the OneNote Class Notebook through Brightspace, so you do not have to enter their details manually.
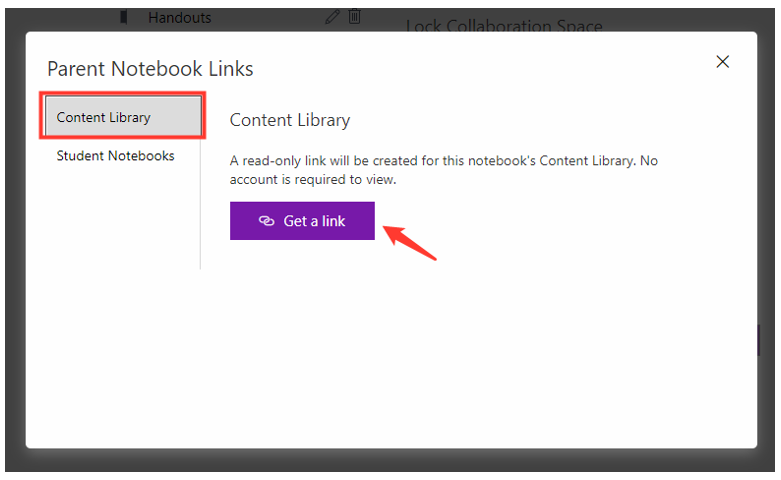
You can get the link for parents and guardians or even for a guest by clicking on the Parent Guardian links. This is a read-only link which does not require any account.
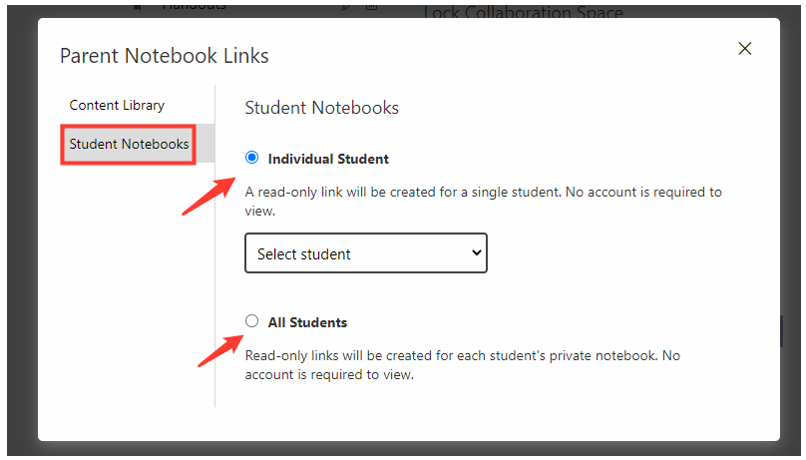
Or you can also get it for all/specific students:
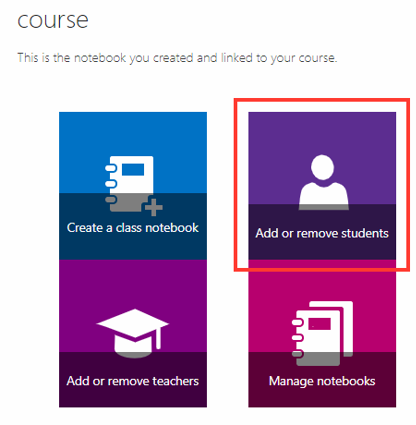
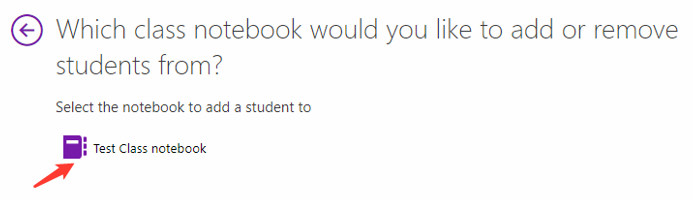
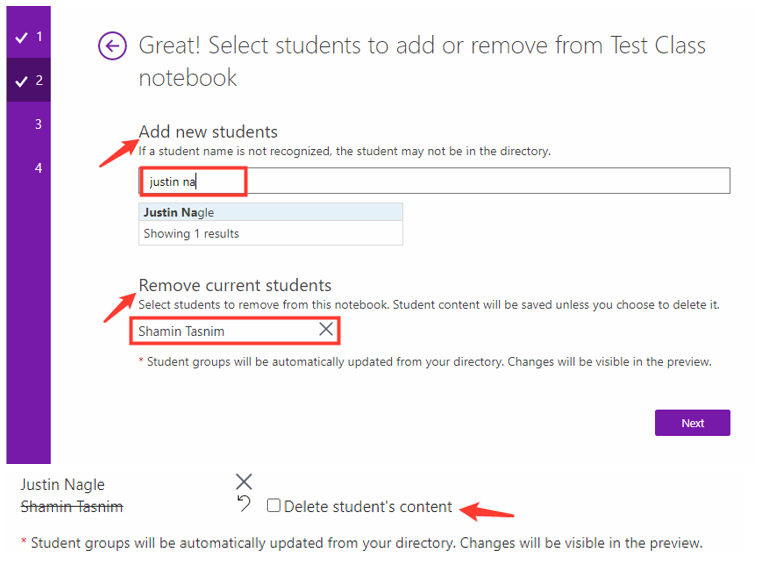
To add a new student, click on Add or remove students then select the class notebook where you would like to add the new student to and select the class notebook.
After that, you can either type in their name(s) or their SMU email(s) under Add new students to add them then select update or click on the ‘X’ beside the name under Remove current students to remove them. Once you click on ‘X’ you also have the option to delete that student’s content or keep it. Once you are done selecting, you can confirm and Update.
To access OneNote from your browser, you can go to this link mentioned below and type your SMU email and password: OneNote.
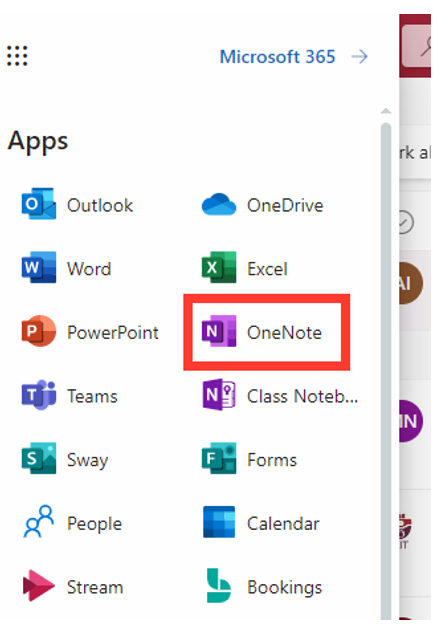
To access OneNote from your Outlook account, from the top nav bar, click on the waffle button on the top left corner.

You will see a list of all the apps, and you can select OneNote from there and it will open in a new window.
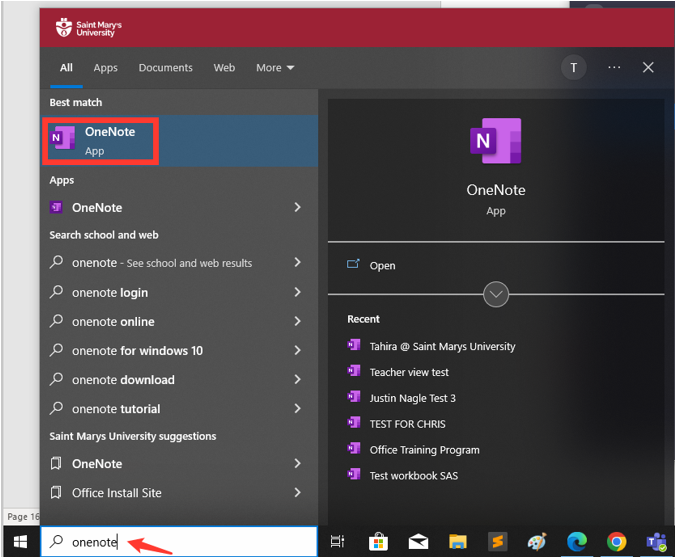
To access OneNote from your desktop app, click on search box and type OneNote, and click on OneNote or Open and that will automatically open the OneNote account and will ask you to sign in if you are opening it for the first time.

After you have signed in, it will show you name on the top bar and you can start working on your class notebook.


