Checklist
The checklist tool can be used to organize and manage week-specific course items for students. A checklist contains categories which are used to organize checklist items with due dates. Once a checklist is create, it can be added to a module on the content page.
Student View of a Checklist

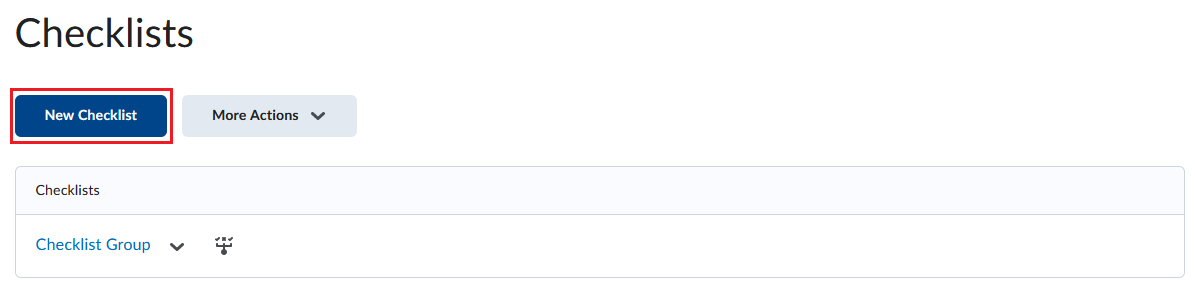
To access the Checklist tool:
- Go to Course Tools > Edit Course and select Checklist.
-
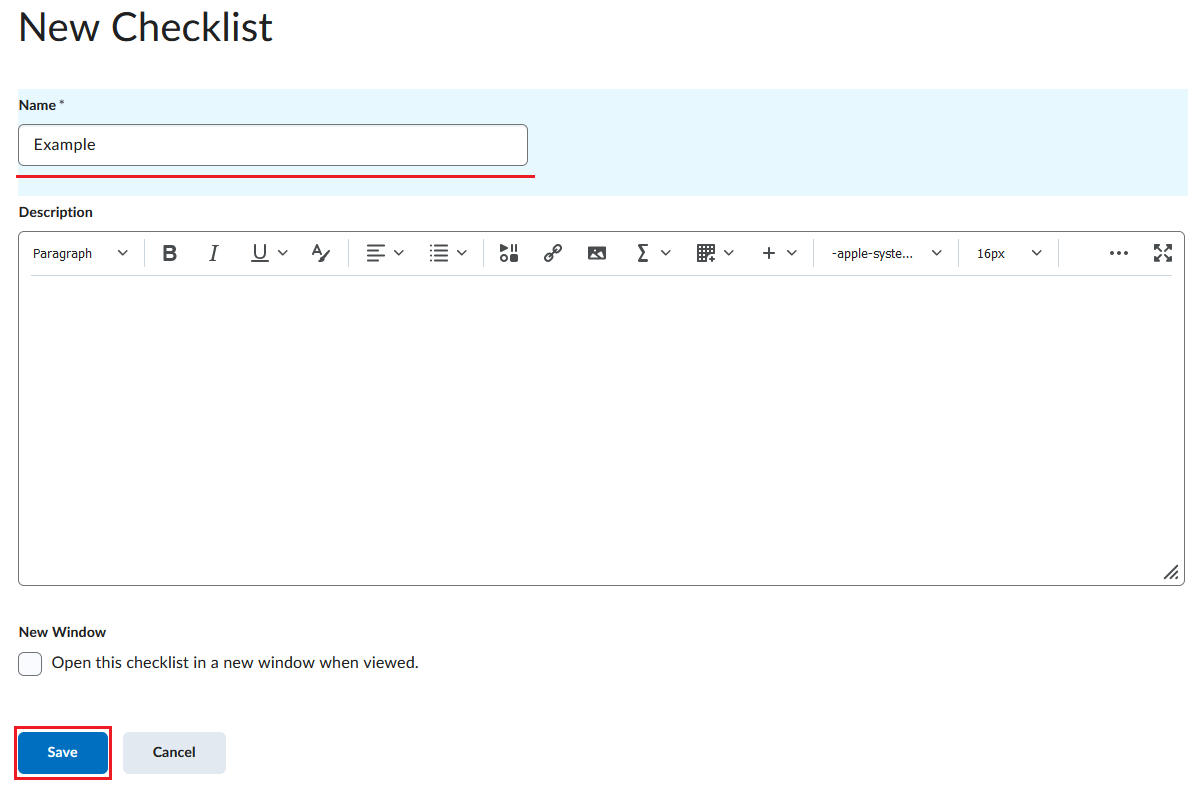
Click the blue New Checklist button and enter your checklist details. You will be taken to the Edit Checklist page after you select Save.
-
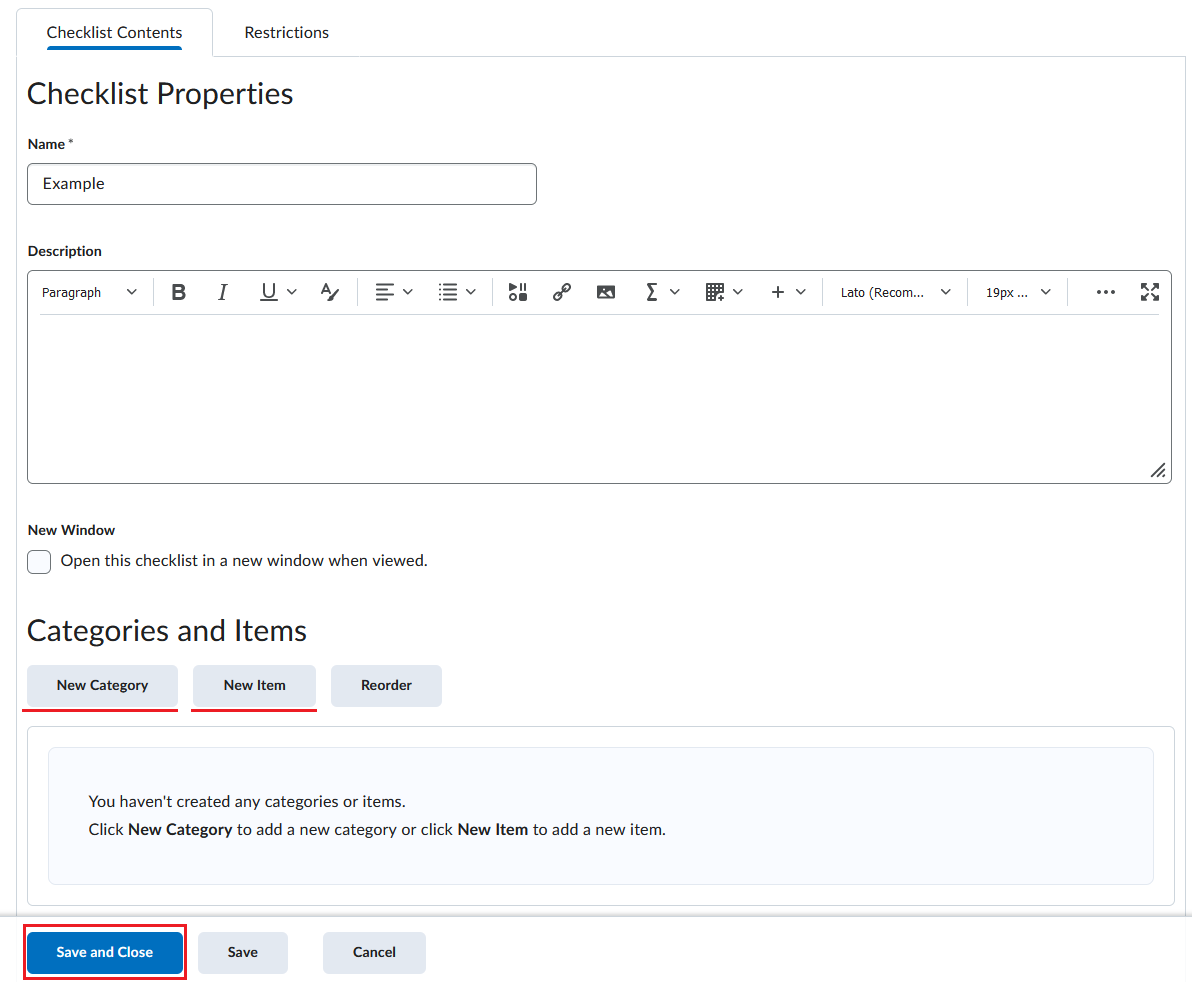
Then, under the Categories and Items area, you can add categories or items. To add a category, click on New Category, enter your category details, and click on Save.
-
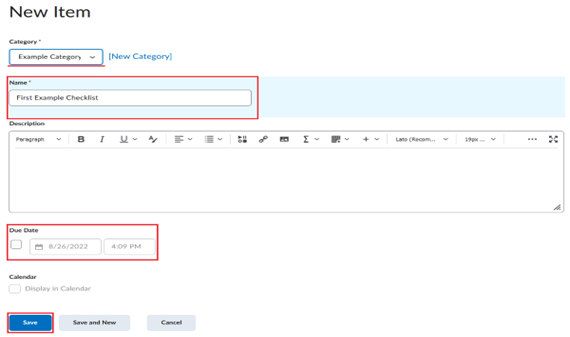
To add an item to the checklist, click New Item and choose a category to put it under. Then add in the details for your checklist item.


Finally, click on Save and Close to save your checklist item.
Note: The default due date for a checklist item is one month from the current date.

Add Checklist to Content
- From the Navbar, click Content.
- Select the module you want to add the Checklist to.
- Click on Add Existing Activities, the select Checklist. Select the appropriate Checklist from the list.
- You should now see the checklist in your Content Module.


