Media Library
About Media Library
The Media Library offers a media processing, storage, and streaming option for all audio-video materials uploaded or created on Brightspace. Use the Media Library to create, view, edit, and manage all your audio-video content.
The Media Library acts as a repository that holds all media files uploaded to Brightspace or created within Brightspace using Create Recording, the Video Note tool, the Content tool, or Capture tool.
Access the Media Library
To access Media Library, click on Course Tools on the NavBar in any course, then select Media Library. You can also access it from Admin Tools (the Gear icon) on the top right corner of any Brightspace Page.
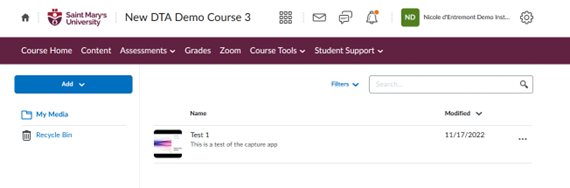
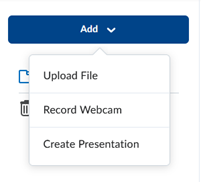
By clicking Add, you will see several different options:
- You can upload video and audio files.
- You can make webcam recordings (video notes) directly in Media Library.
- You can create Presentations, using the Capture App.
How to Upload Video/Audio Files to Media Library
- From any course page in Brightspace, click Course Tools on the NavBar.
- Select Media Library.
- Click Add and then select Upload Files.
- The file explorer (or finder on MAC) will open. Navigate to the file you wish to upload, select it, and click open.
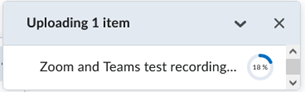
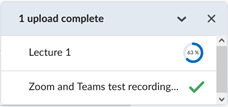
- A small pop up will appear in the bottom right corner of the screen to show the upload. Once it’s complete, it will appear in the list of uploads.
How to use Record Webcam
- From any course page in Brightspace, click Course Tools on the NavBar.
- Select Media Library.
-
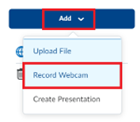
Click Add and select Record Webcam.
-
A dialogue box will open. Click on New Recording to begin Recording. These types of videos can have a maximum duration of 30 mins. You also have the option to record audio only by toggling Audio only on.

- Once you click on New recording you should notice the timer start.
- Once you are complete, click Stop recording. If you are happy with the video, click Next. If you wish to re-record, simply click New Recording.
-
Add in a title (and Description if desired). Select the language. And click on Automatically generate captions from Audio. It is highly recommended you have captions for videos.
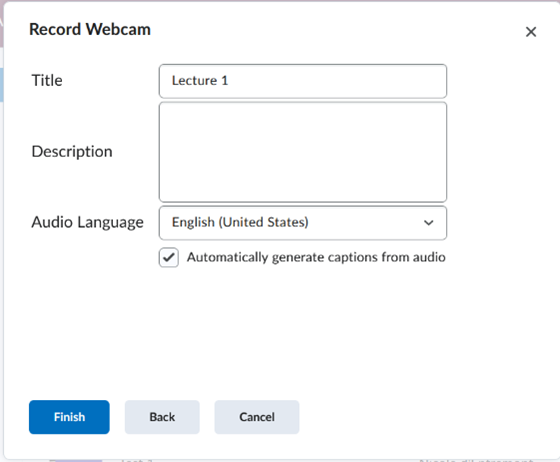
- Click Finish.
-
A small pop up will appear in the bottom right corner of the screen to show the upload. Once it’s complete, it will appear in the list of uploads.
Capture Web enables Students and Instructors to capture full presentations from their own browser without the need to download a desktop client. This includes both screen capture and mixed camera and screen presentations. This tool is available to all users.
To create a presentation with Capture Web:
- Navigate to the Media Library by clicking on Course Tools on the NavBar in any course page and selecting Media Library. You can also find a link to the Media Library in the Admin Tools menu found in the upper right corner of Brightspace. This is your own personal library. No other student or instructor will have access to these videos unless you share them.
-
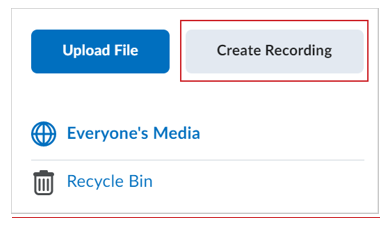
Once on the Media Library page, select Create Recording.
- Capture Web prompts you to enable access to your camera and microphone. Click Allow.
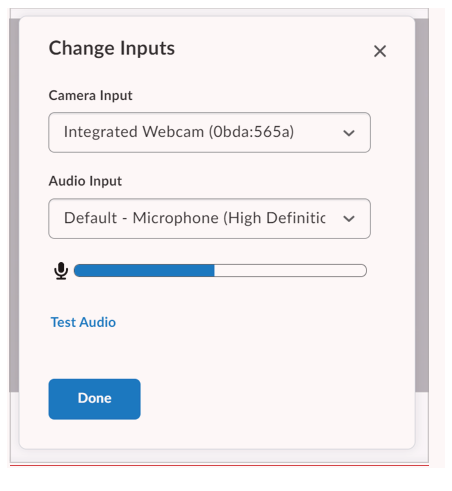
- Click Change inputs to change your camera input, your audio input, and to test your audio.
-
Click Done.
-
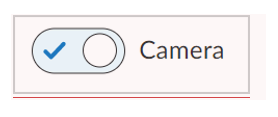
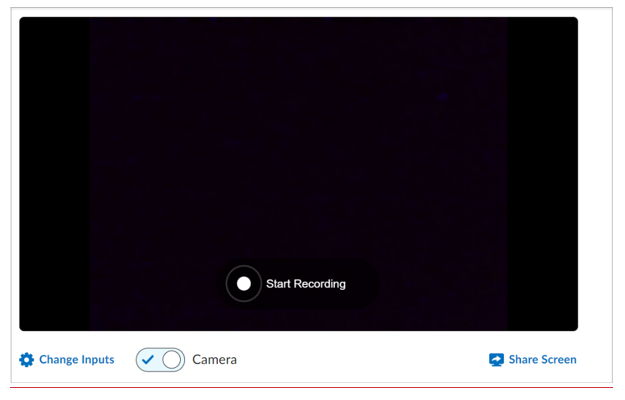
Turn your camera on or off by clicking the Camera toggle.
-
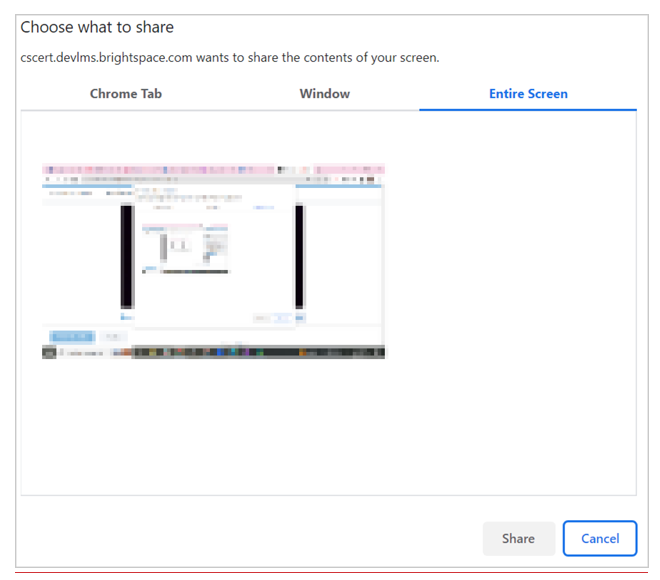
Click Share Screen and select a tab in our browser, a window, or your entire screen to display your recording. Then, click Share.
-
Click Start Recording to begin your presentation.
- Click Pause Recording to pause the recording of your presentation. Click Resume Recording to continue recording
- Click Finish Recording to stop your presentation.
- Add a title for your presentation.
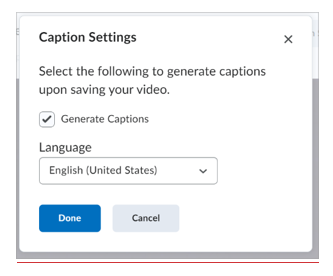
- Click Caption Settings and select Generate Captions to add subtitles to your video. In the Language drop-down, select the language in which you recorded your presentation.
-
Click Done.
- Click Save and Close.
You have created a presentation with Capture Web!
Share recording with Students:
- Go to your course on Brightspace.
- Click Content.
- Select the Module you would like to add the video to.
- Click on Add Existing Activities, then select Media Library.
- Select the video.
- Your video/presentation should now be listed in the module.


